
Pumpkin season is upon us (yay!) and hopefully you've been getting your PSL fix in every form possible. Although carving pumpkins is fun and satisfying, the process is also pretty messy and difficult.
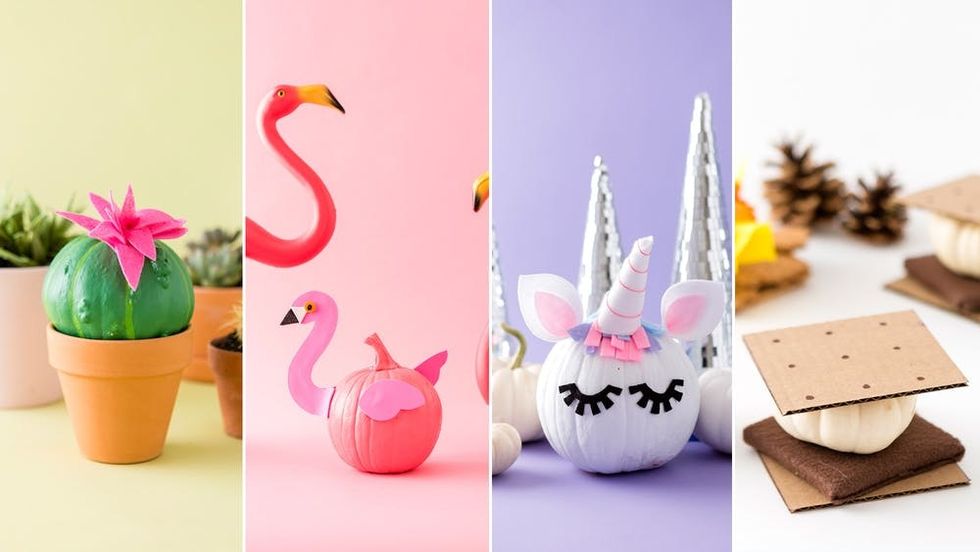
This fall, ditch the carving tools and decorate them with paint, glue, and felt. If you're not sure of where to start, check out these easy DIYs for a cactus, unicorn, s'mores, and flamingo version.
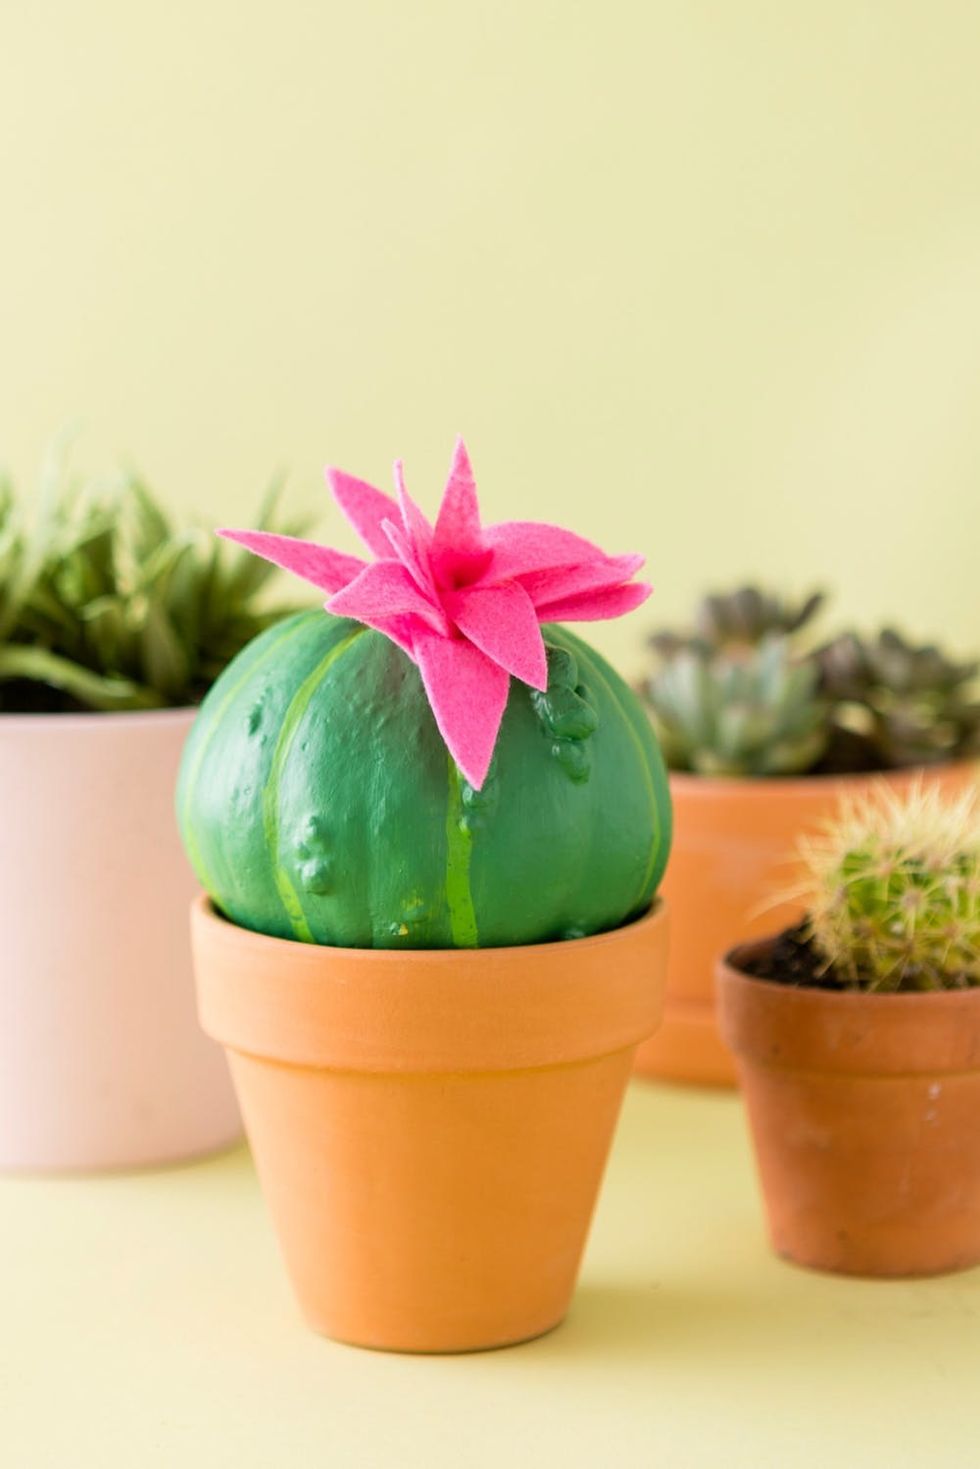
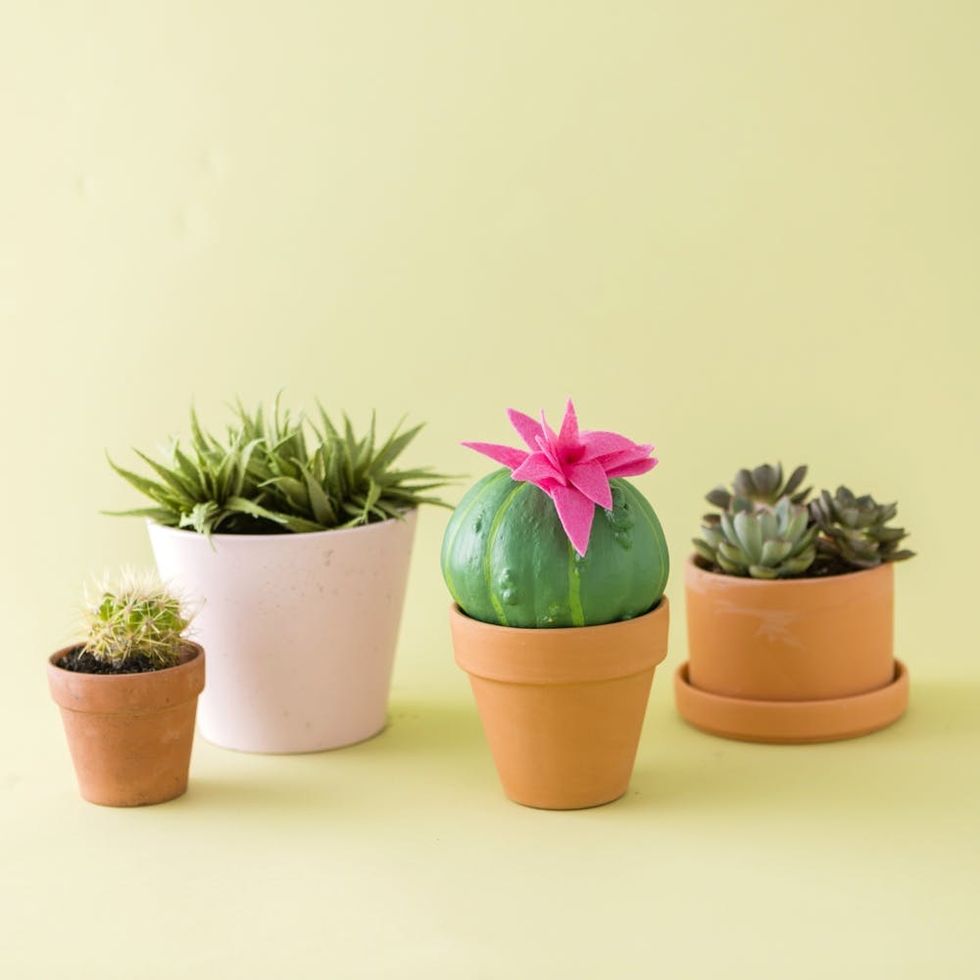
Cactus Pumpkin
It doubles as Halloween decor AND as a plant that'll never die!
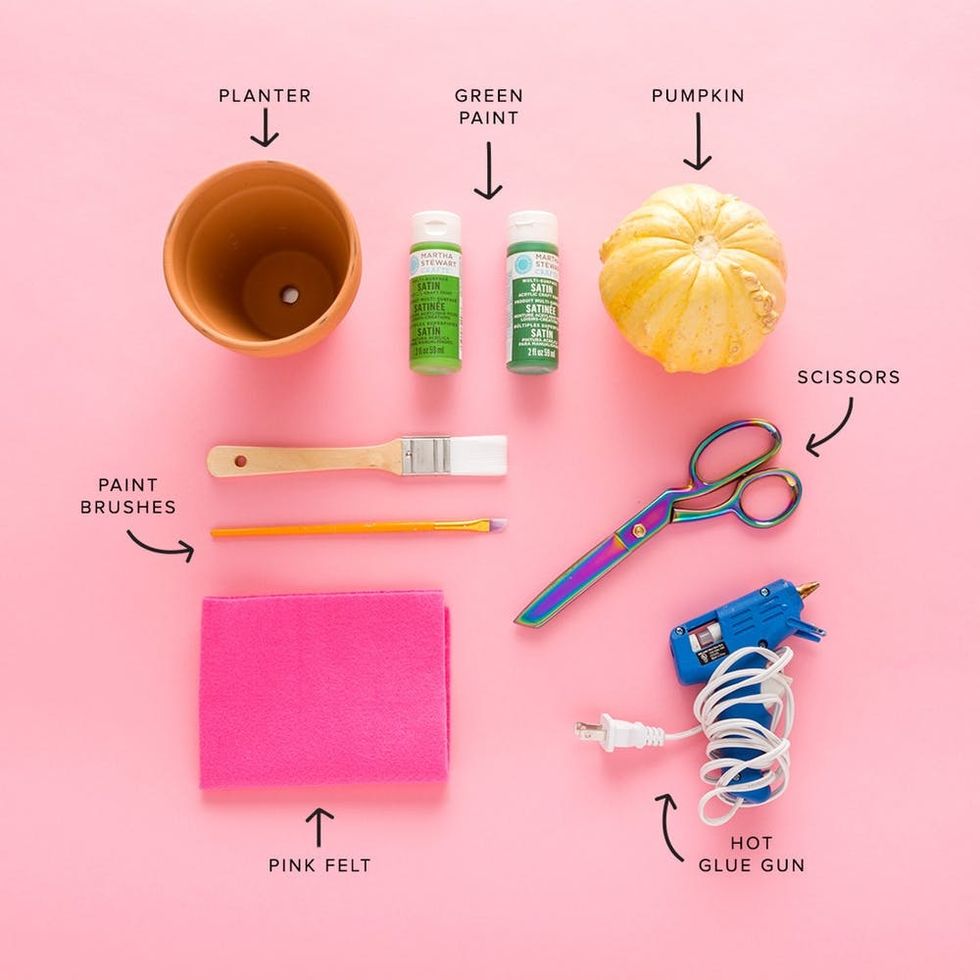
Materials:
- pumpkin
- a planter with a lip that is slightly smaller than the pumpkin
- green paint, one darker and one lighter
- paint brushes
- scissors
- pink felt
- hot glue gun
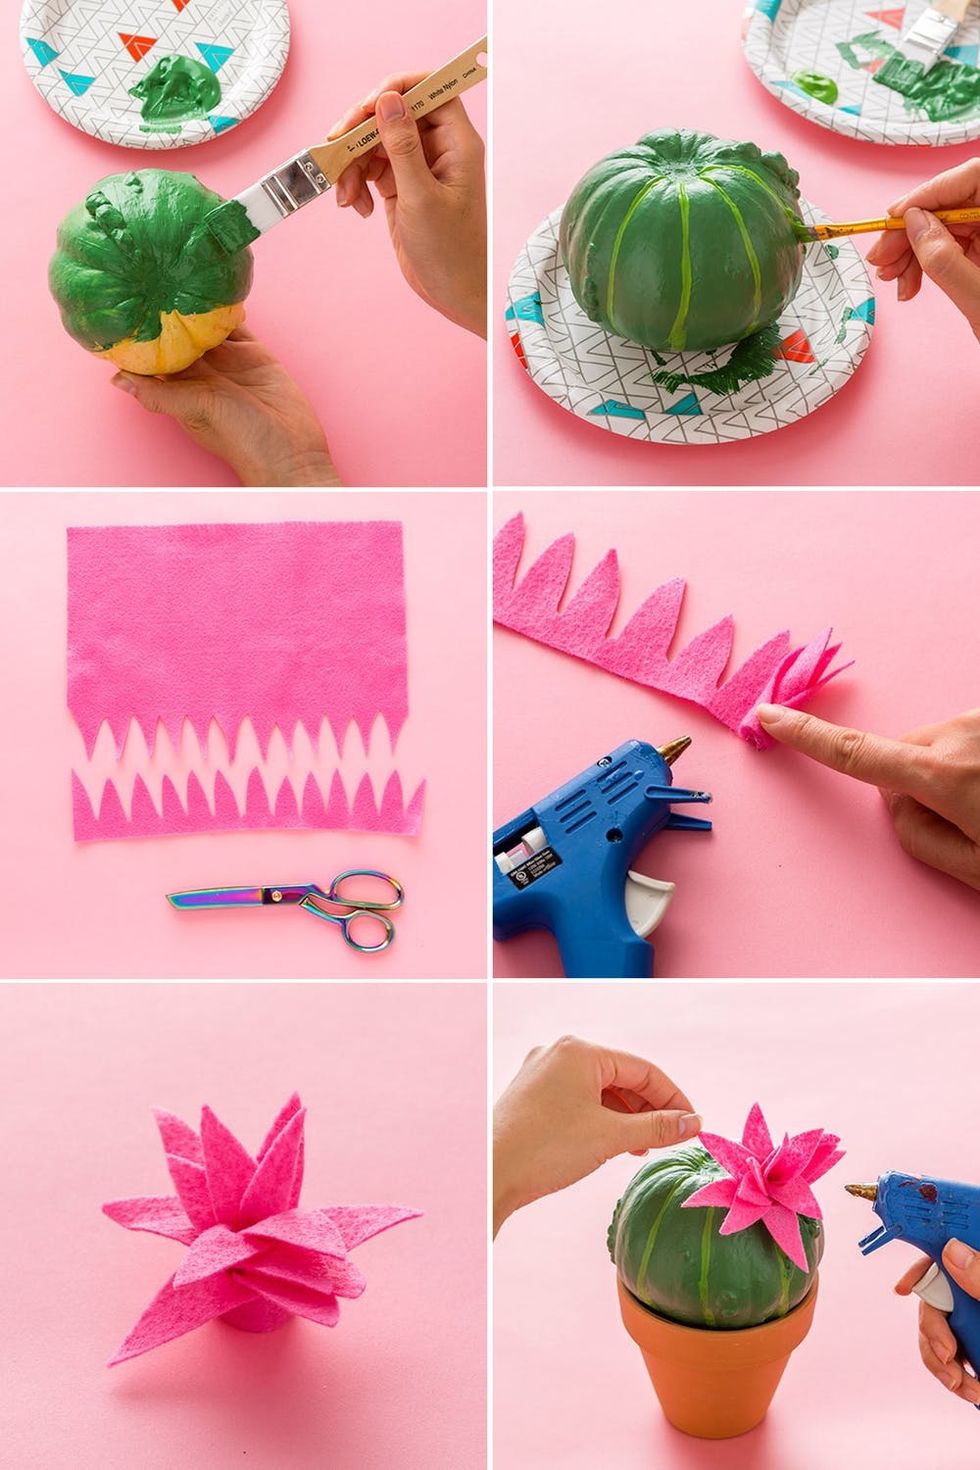
Paint your pumpkin the darker green and let dry. Apply a second coat and let dry. Paint light green stripes along the pumpkin's natural grooves.
Cut a strip of pink felt with one petal-like edge, like the photo above, and roll it into a tight cylinder, adding hot glue along the straight edge to secure. Fan out the petals to make a flower. Place the painted pumpkin on the planter and hot glue the flower to the pumpkin.
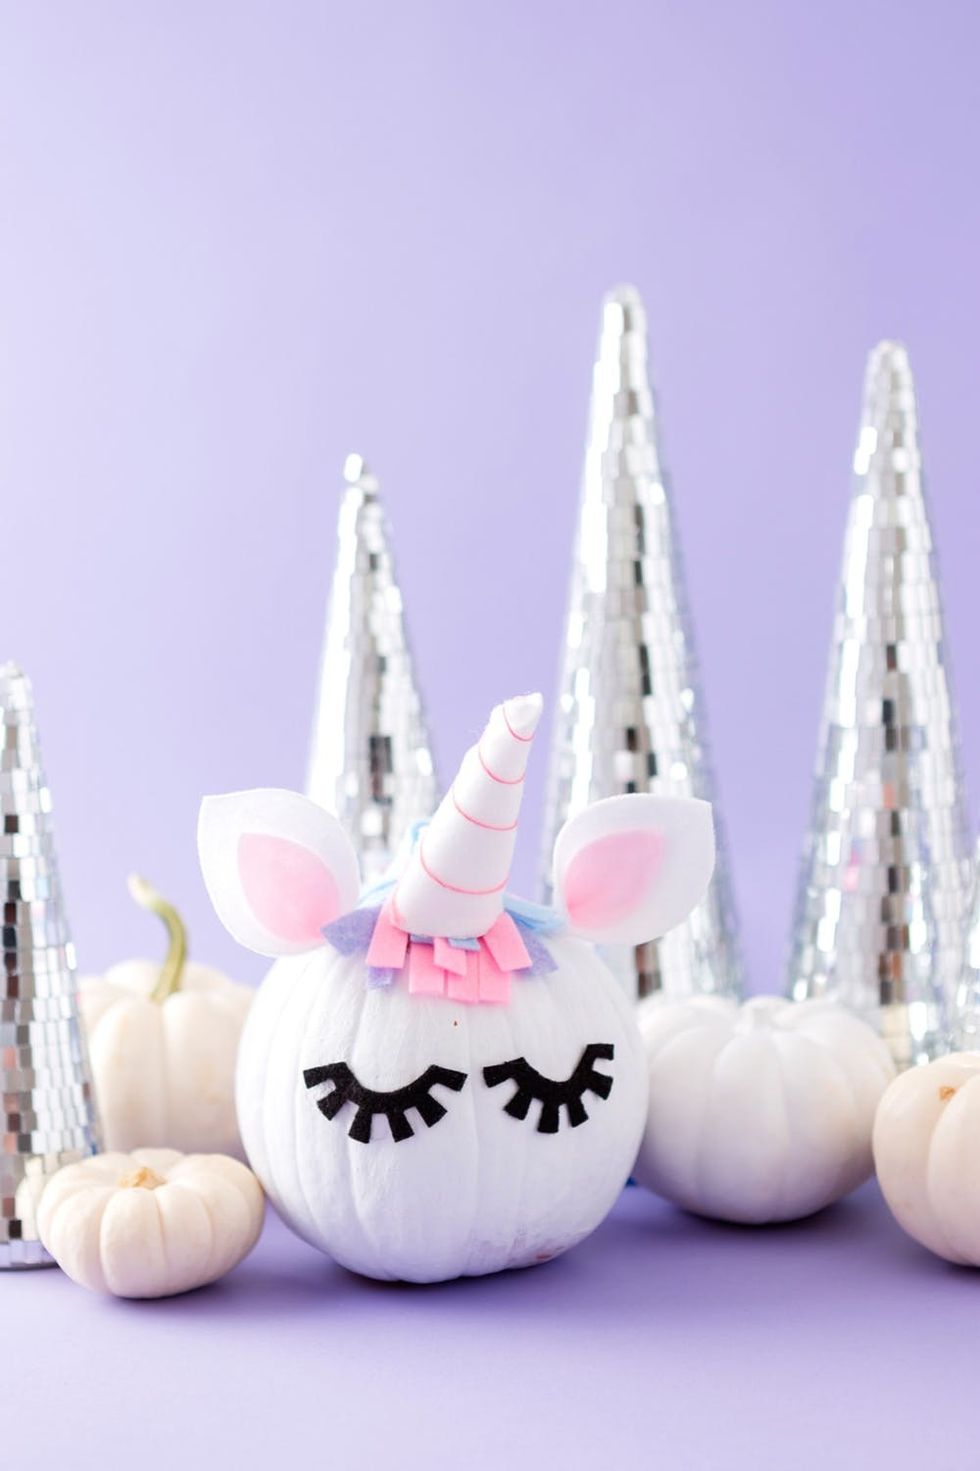
Unicorn Pumpkin
The cutest little uni you ever did see.
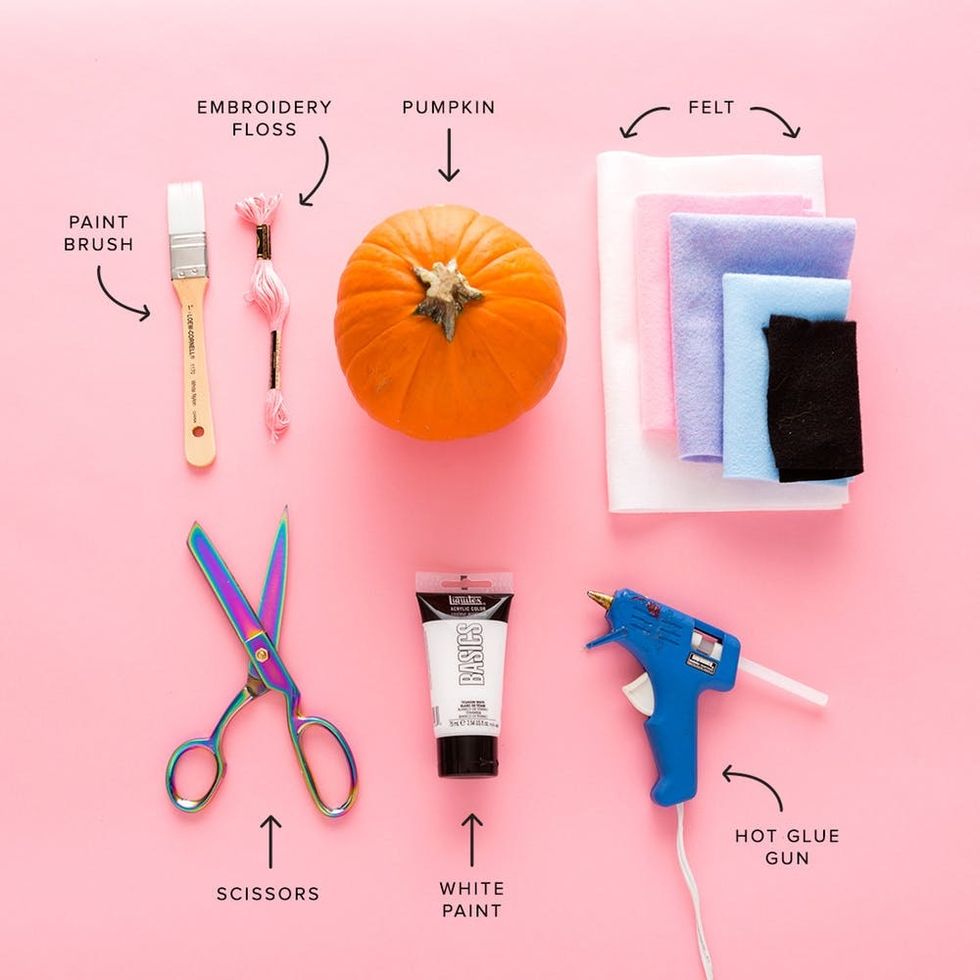
Materials:
- pumpkin
- white, pink, purple, blue, and black felt
- embroidery floss
- scissors
- hot glue gun
- white paint
- paint brush
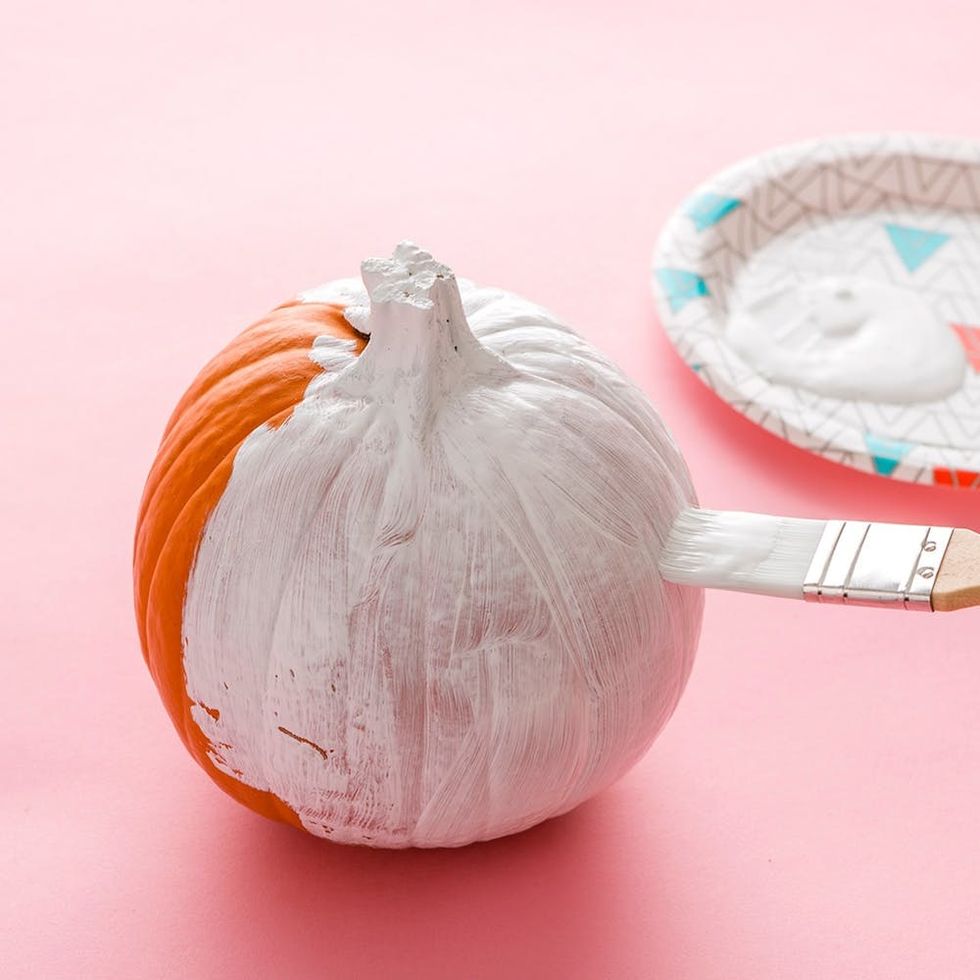
Paint two coats of white paint over your pumpkin, letting the paint dry between coats.

Cut out felt shapes like the photo above. You'll want two quarter-circle shapes, two eyelash shapes, two white ear shapes, and two pink inside ear shapes.
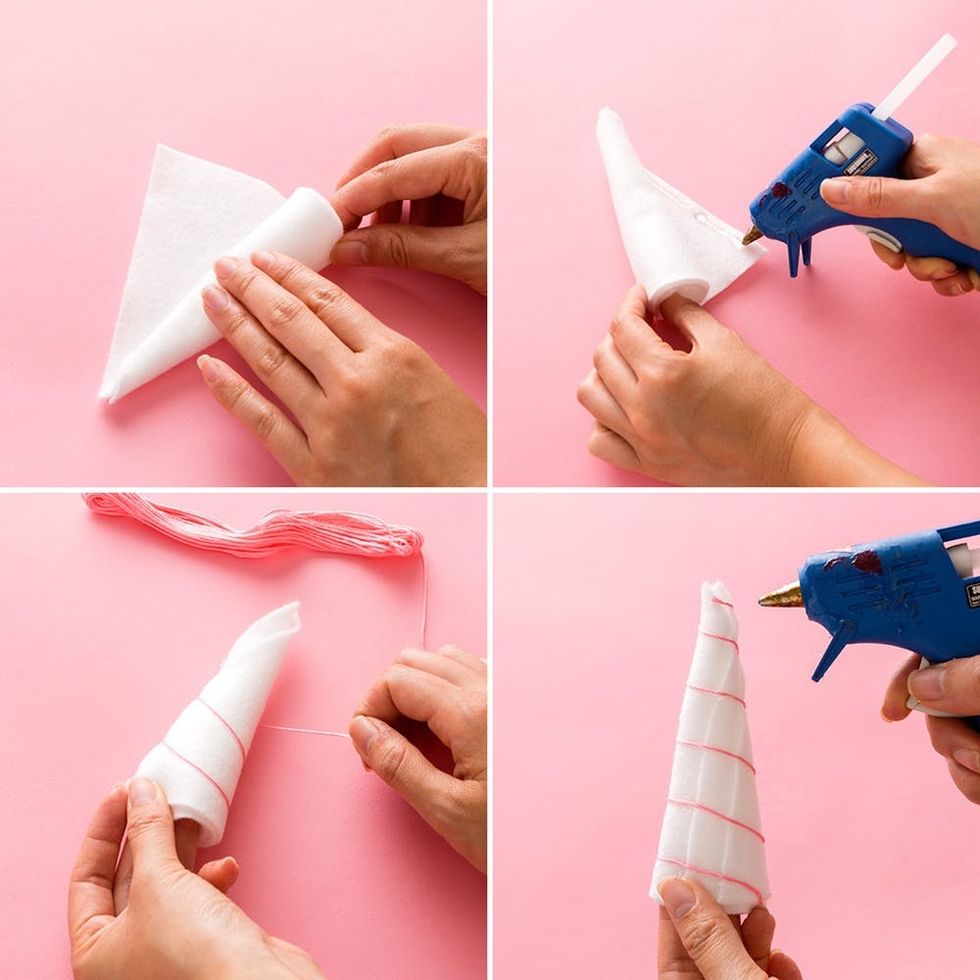
To make the horn, layer the two quarter circle shapes on top of each other and roll into a horn shape. Secure with glue. Wrap embroidery floss around the horn and secure with glue.
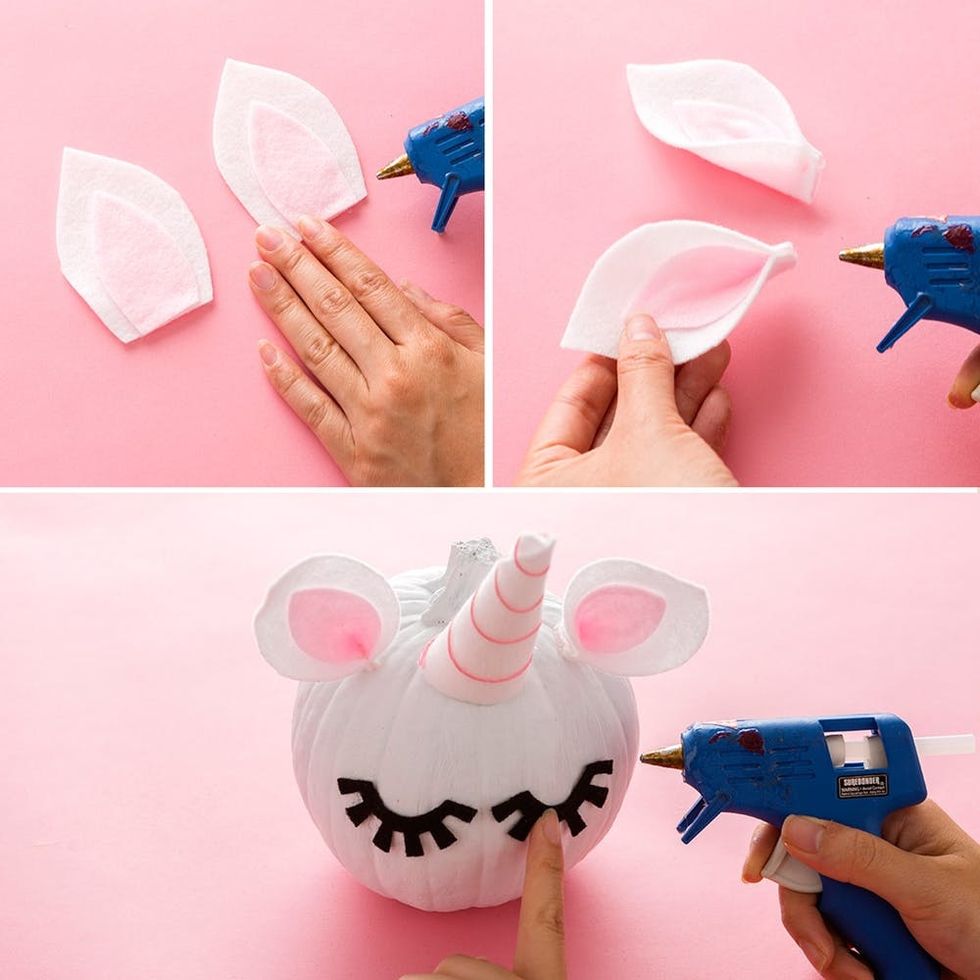
To make the ears, glue the pink ear shapes on the white ear shapes. Then, glue the bottom corners of the ears together. Glue the eyelashes, the ears, and the horn to your pumpkin.
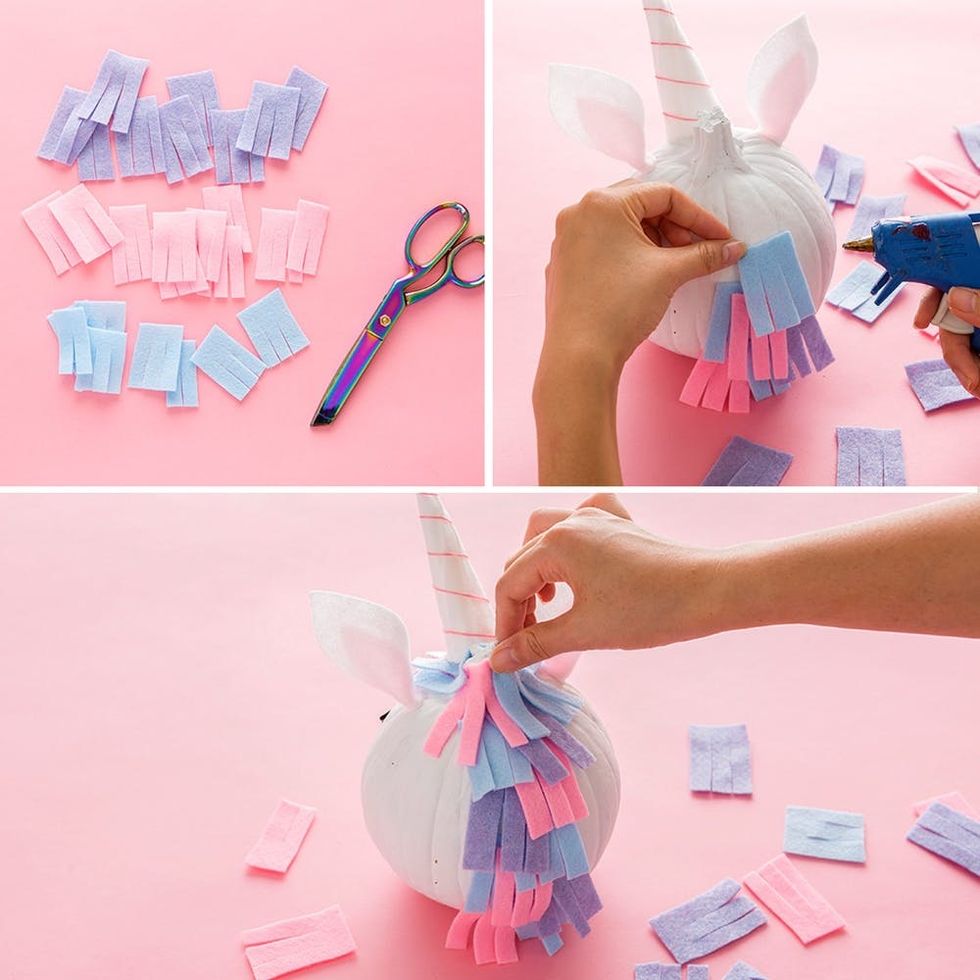
For the mane, cut fringed pieces from your pink, purple, and blue felt. Starting from the bottom back of your pumpkin, glue them in a line to form the mane. If you want to add bangs on your uni, glue the fringe between the uni's ears before gluing on the horn.
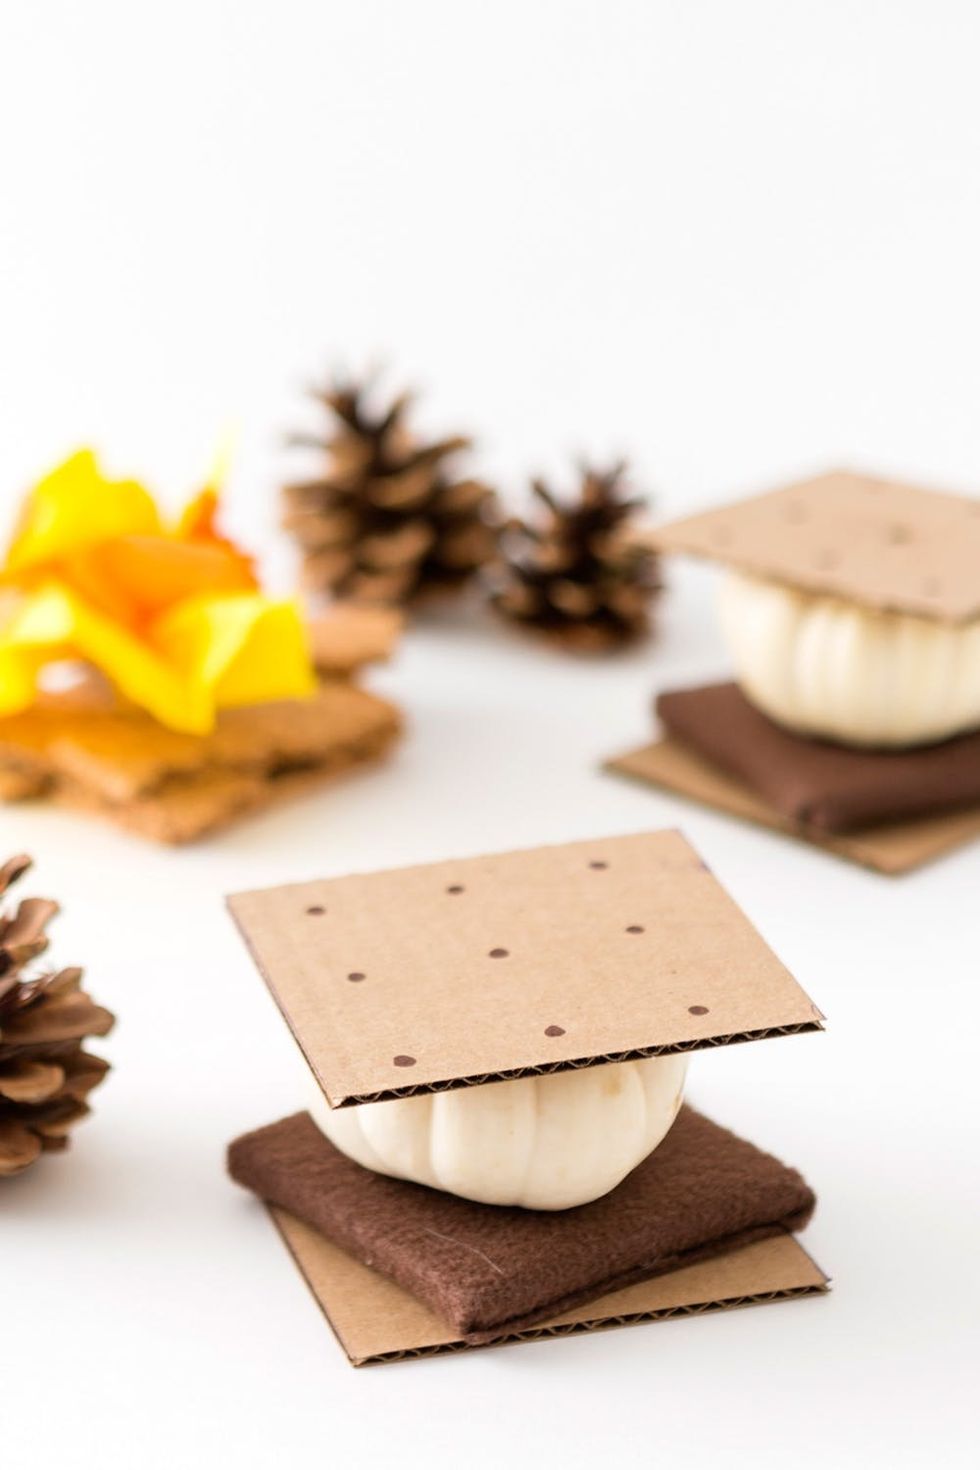
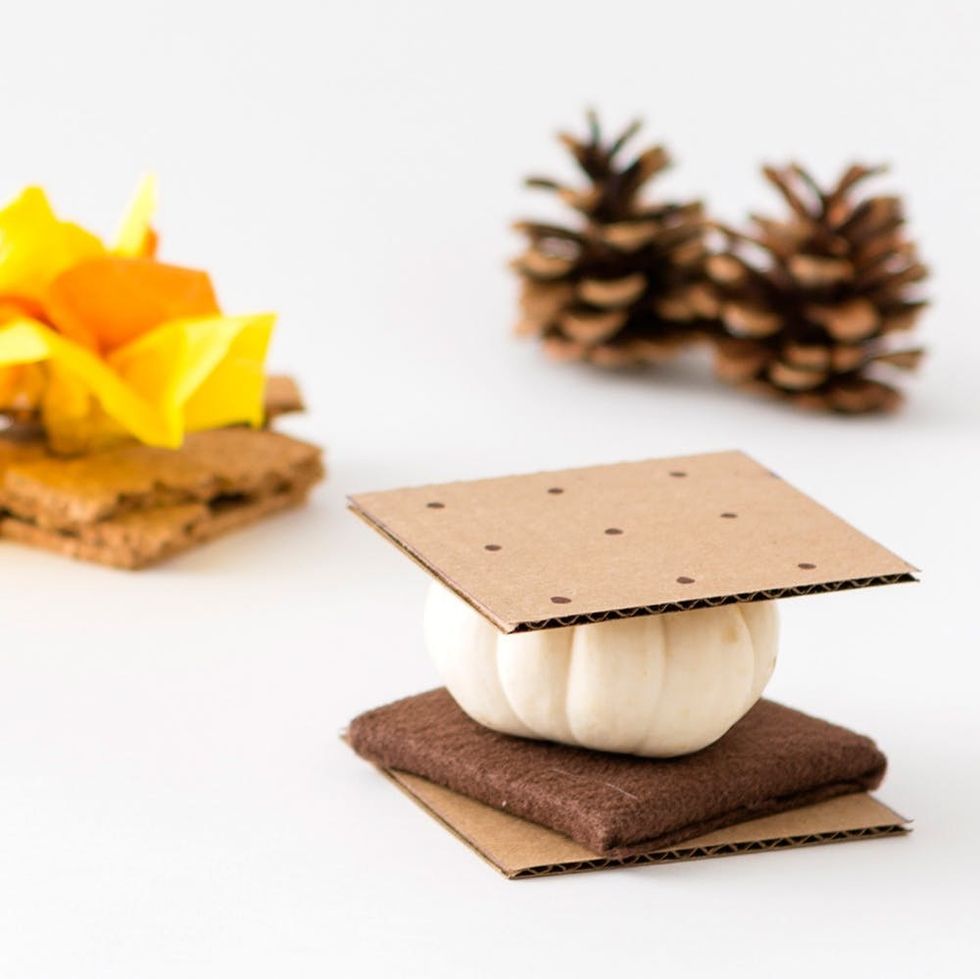
S'mores Pumpkin
Cute as a button… just remember to not eat them!
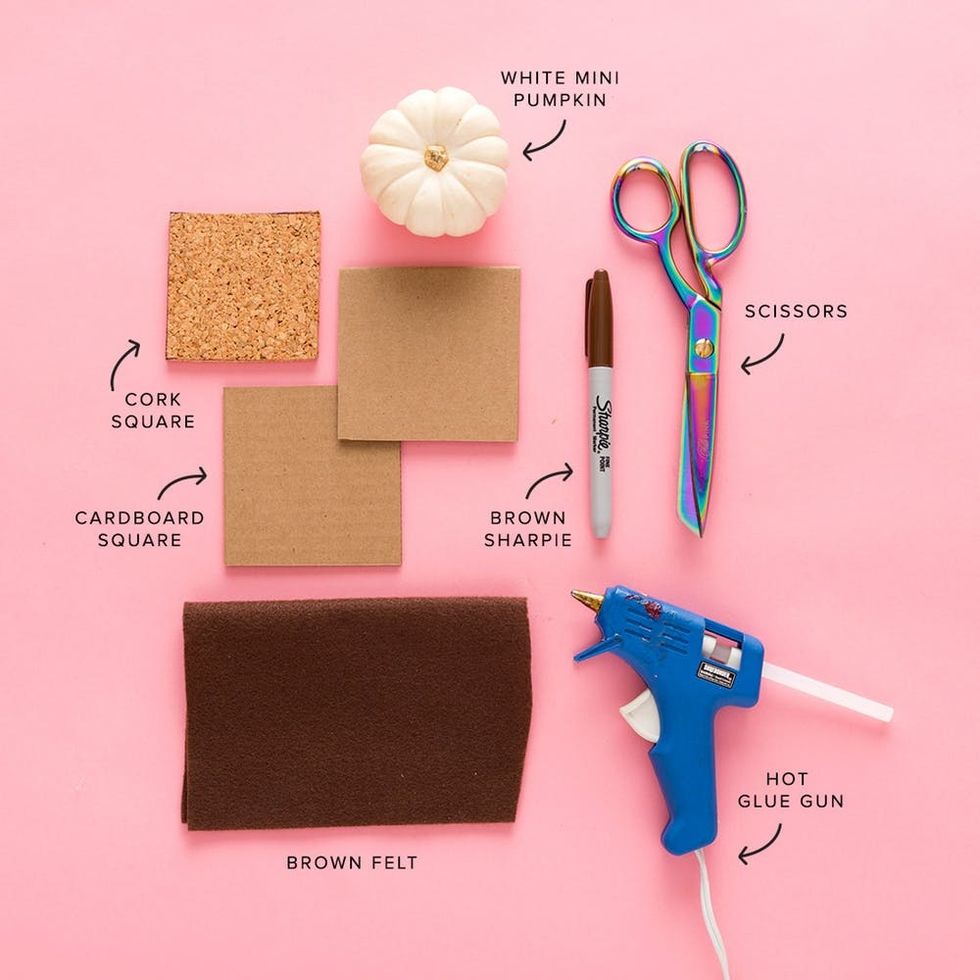
Materials:
- white mini pumpkin
- brown pen
- cardboard cut into a 3 ½ x 3 ½ inch square (this size may depend on the size of your pumpkin)
- cork cut into a 3 x 3 inch square (this size may depend on the size of your pumpkin)
- brown felt
- scissors
- hot glue gun
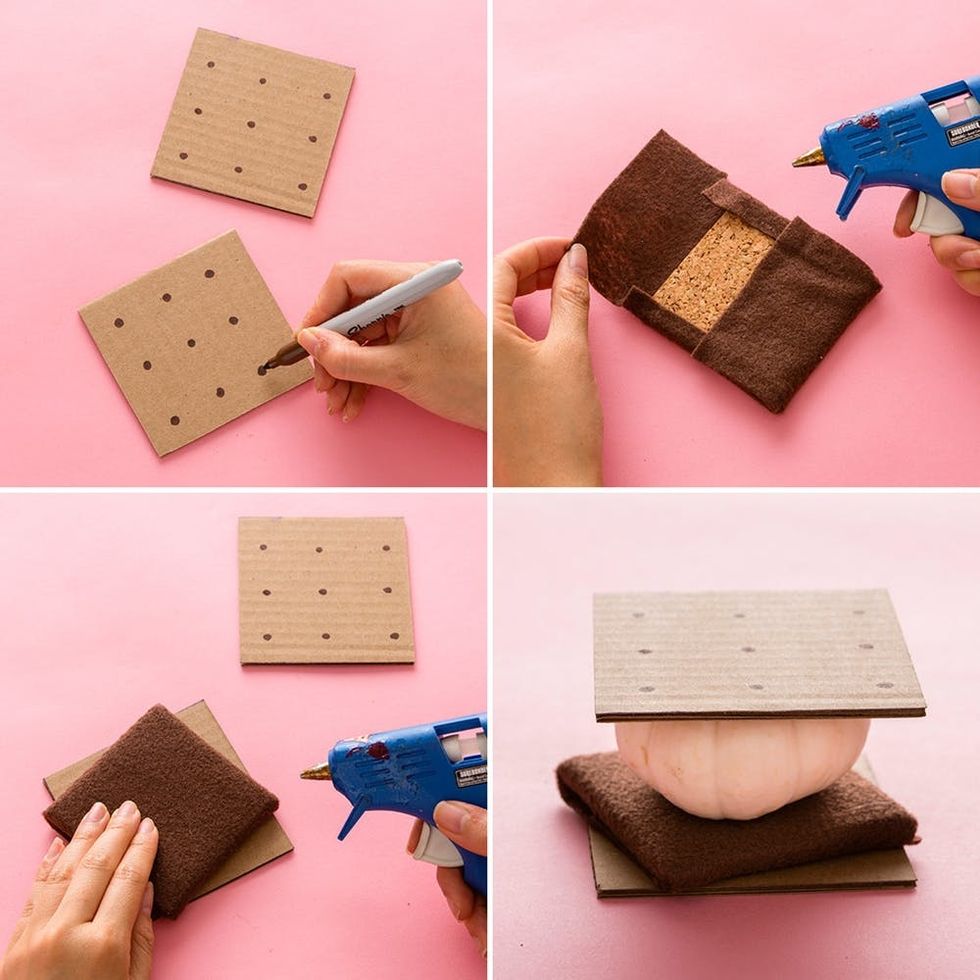
Draw nine dots on your cardboard squares in an even grid to create the graham crackers. Wrap brown felt around your cork square like you would wrap a present. If you don't have cork, just layer two cardboard square together. This will be your chocolate.
Glue the “chocolate" on one “graham cracker." Glue the pumpkin to the chocolate and then glue another “graham" on top of the pumpkin.
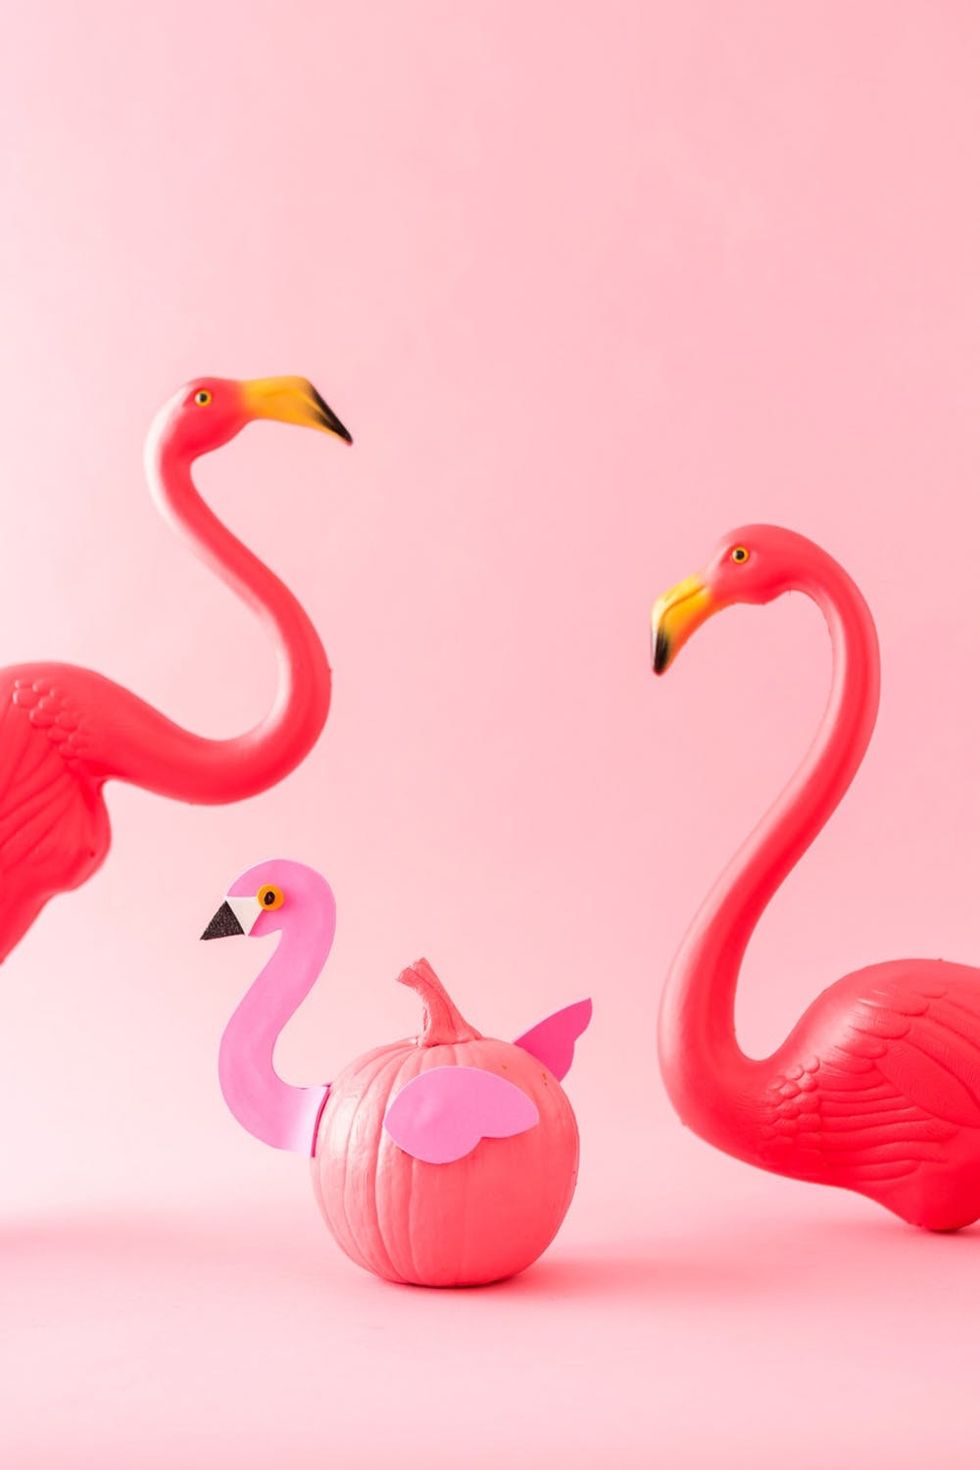
Flamingo Pumpkin
Let's Flamingle.
Materials:
- pumpkin
- pink paint
- paint brush
- hot glue gun
- pink, yellow, black, and orange foam (or construction paper)
- scissors

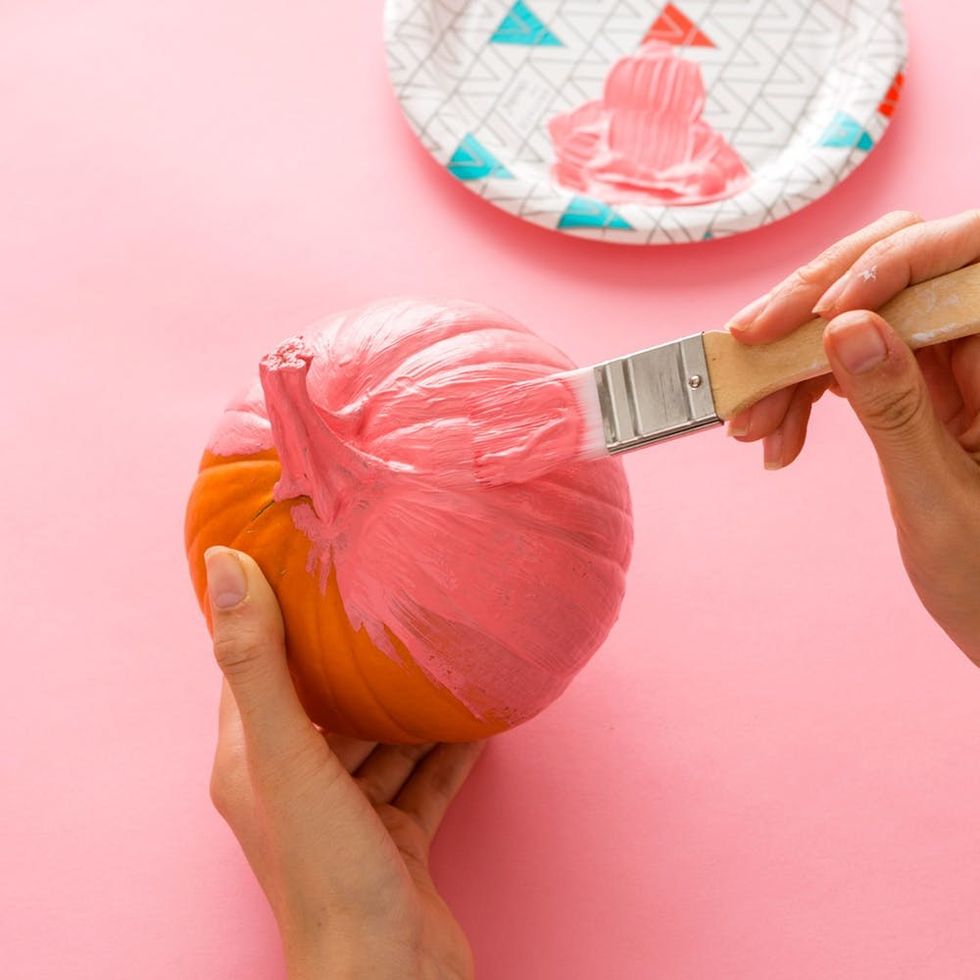
Paint two coats of pink paint over your pumpkin, letting it dry between coats.
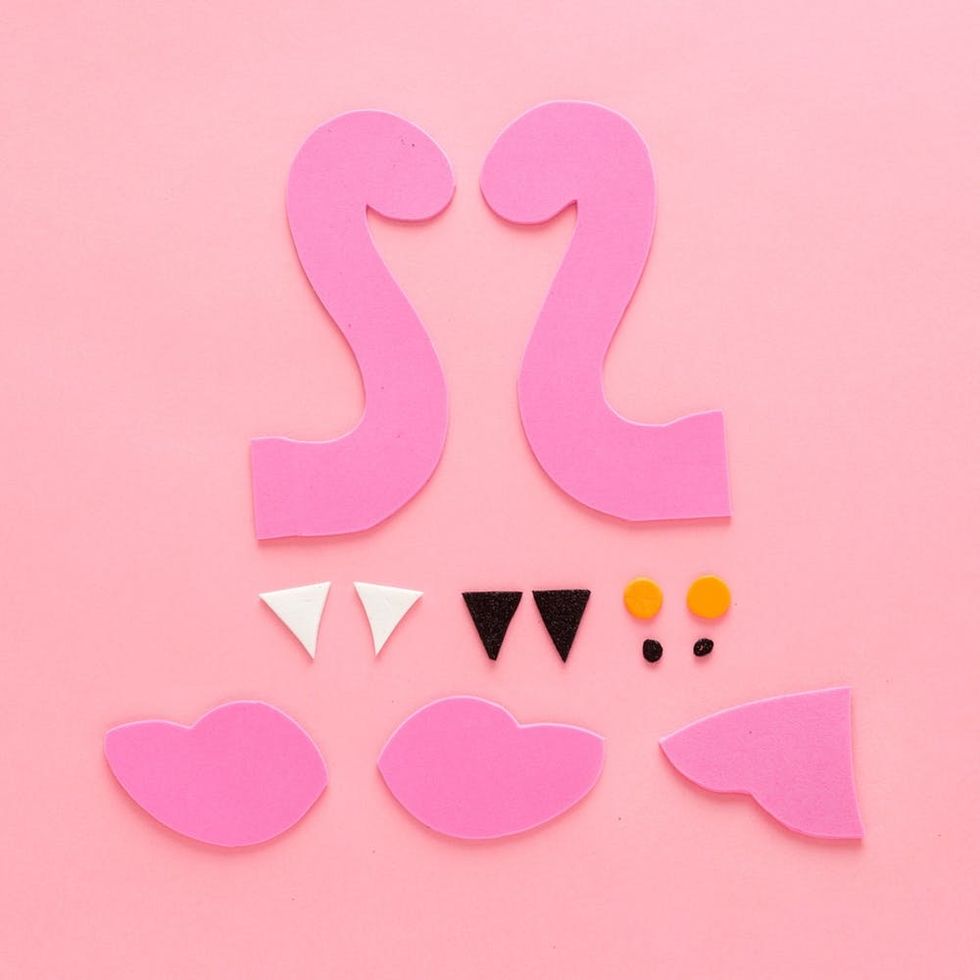
Cut out foam shapes like the photo above. You'll want two flamingo necks, two beaks, two white face pieces, two orange circles, two black circles, two pink wings, and one pink tail.
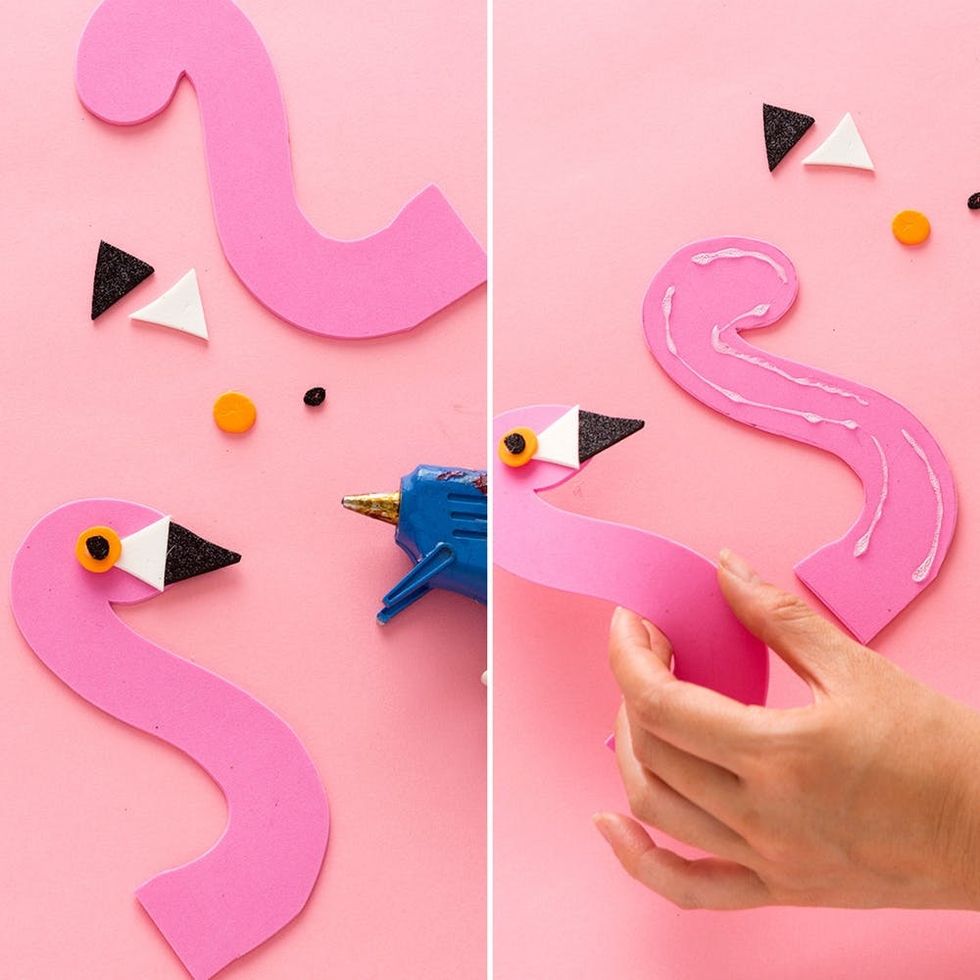
Assemble the face by gluing a black beak, a white face, and an orange and black eye on one pink flamingo neck. Glue on the other pink flamingo neck, and assemble the foam pieces on the back side of the neck.
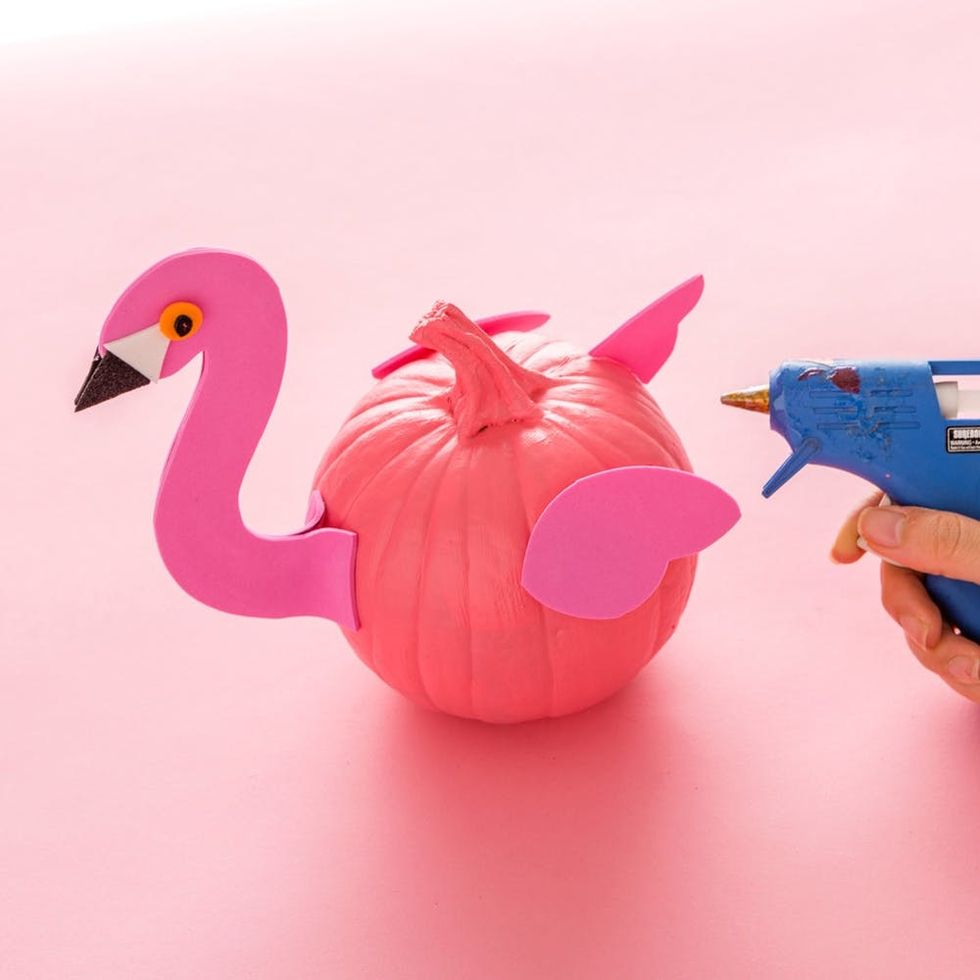
Glue the neck, the wings, and the tail onto the pumpkin. Foam is a little harder to stick on a pumpkin, so be sure to use plenty of glue.
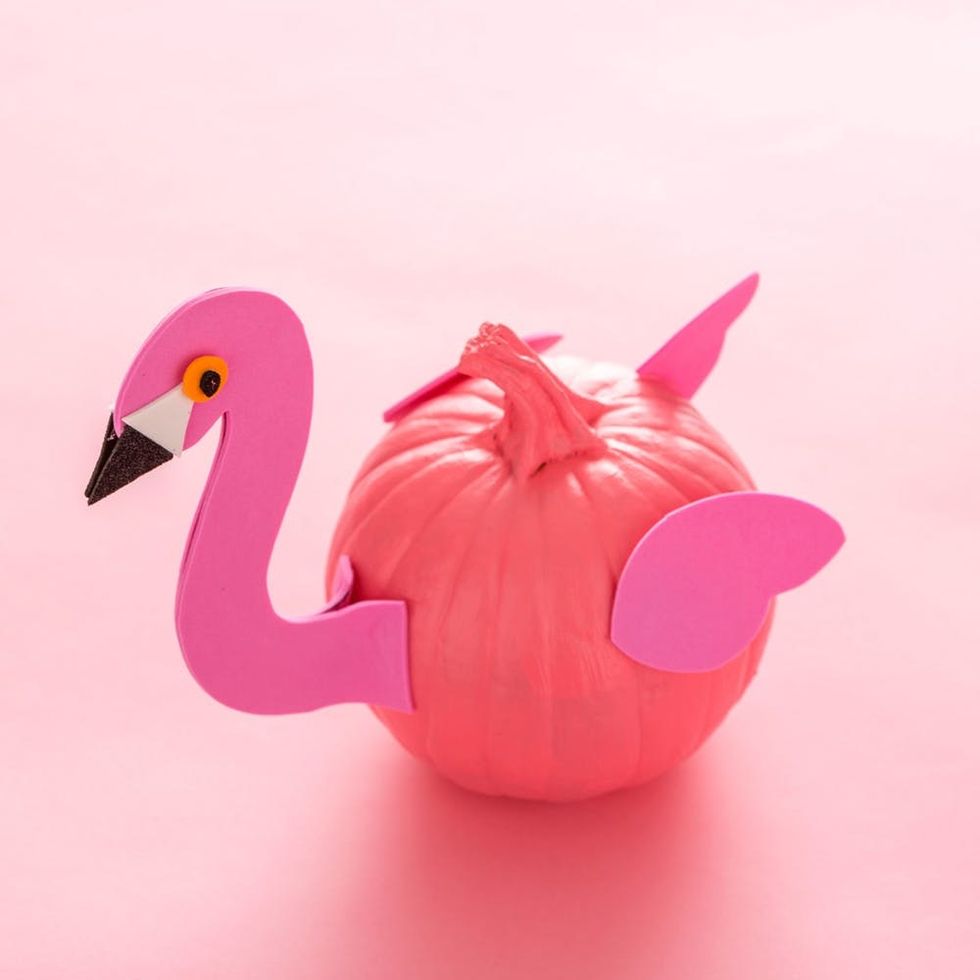
Pink looks good on you :)
Which pumpkin will you make? Share your photos on Instagram using #britstagram.
DIY Production and Styling: Irene Lee
Photography: Kurt Andre


0 Commentaires