
If you know me, you know how much I love Taylor Swift. Something about hearing music written by someone while they experience the same life stages feels so personal, and there's a good chance that almost every emotion I feel can be summed up by a Taylor Swift song. In short: I just love her.
Taylor frequently drops merchandise when a holiday rolls around and for Valentine's Day, she released a collection inspired by her 2019 album Lover. I fell in love with a pair of fuzzy dice inspired by her hit song "Cruel Summer," and apparently so did everyone else because the next time I visited the website, they were sold out! So, I decided to make a simplified version of them with my sewing machine. Check out our online sewing class to brush up on your skills and keep reading for a tutorial on how to make your own!
Supplies + Tools:
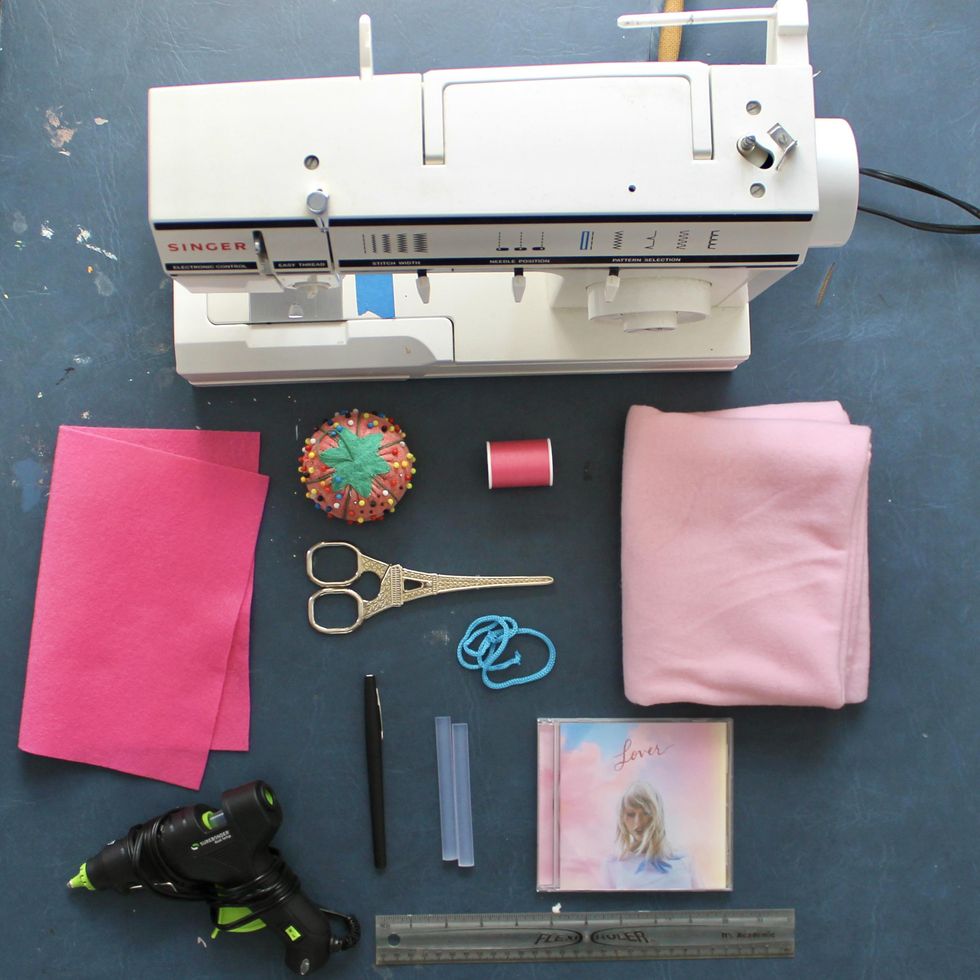
- Sewing machine
- Pink fleece fabric
- Pink thread
- Pink felt
- Scissors
- Blue rope/cord (I took mine off a loofah)
- Needle + pins
- A copy of Lover to listen to while you sew ;)
- Stuffing (not pictured)
- Ruler (optional)
- Glue gun + glue gun sticks (optional, use it to touch up your seams if you need)
Instructions:
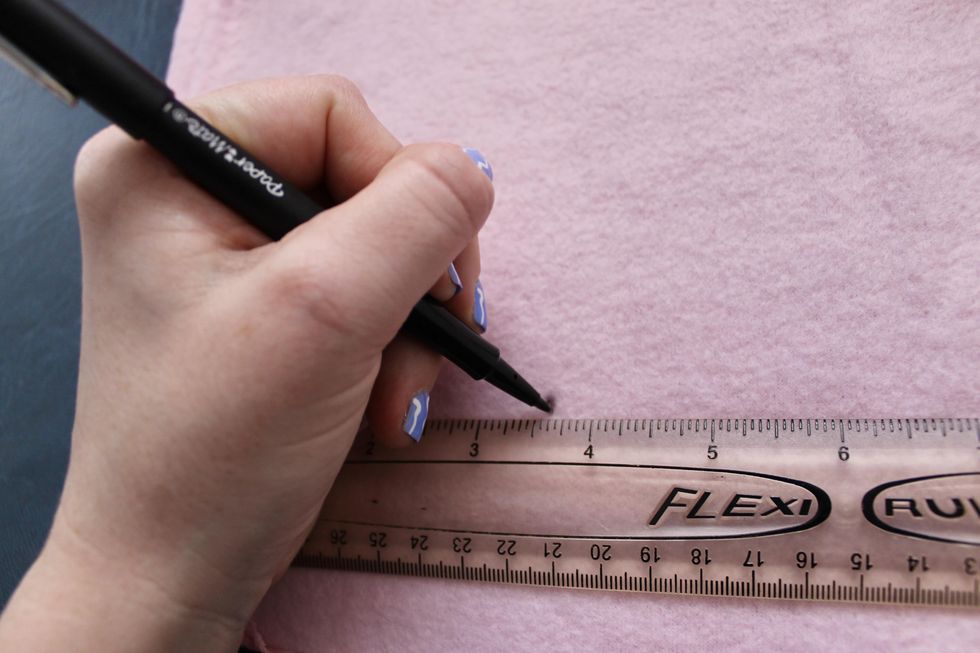
Start by marking your fleece with the measurements for your squares. Since the size of the dice on Taylor's official website was listed as 3.5", I marked them just above 3.5" so I could leave room for a hem. You'll need 12 squares total.
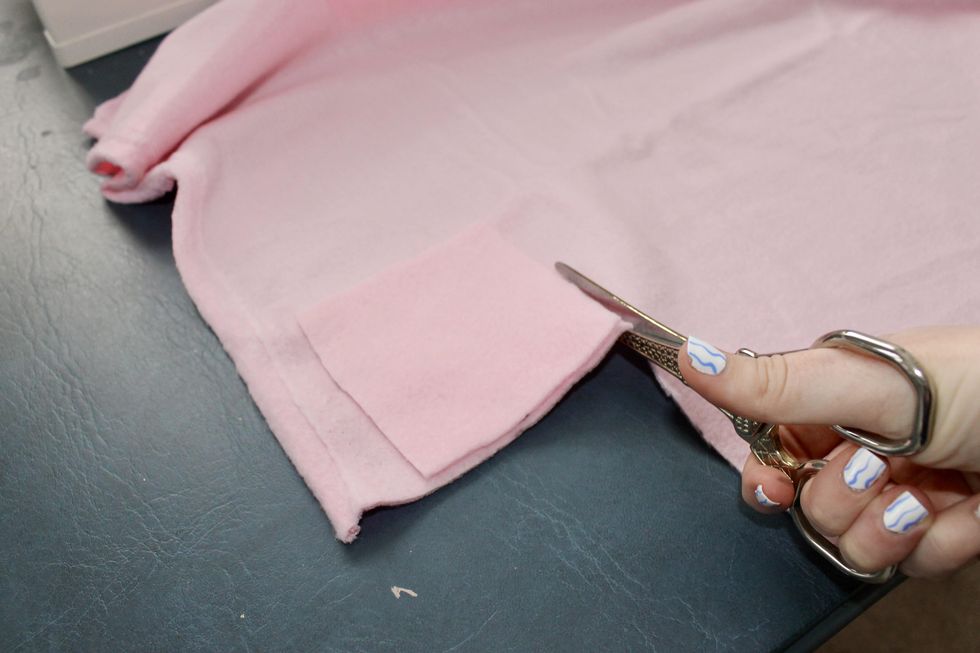
Next, cut out your squares. I used the first square as a template for the others, then went back in and cleaned up the edges where necessary.
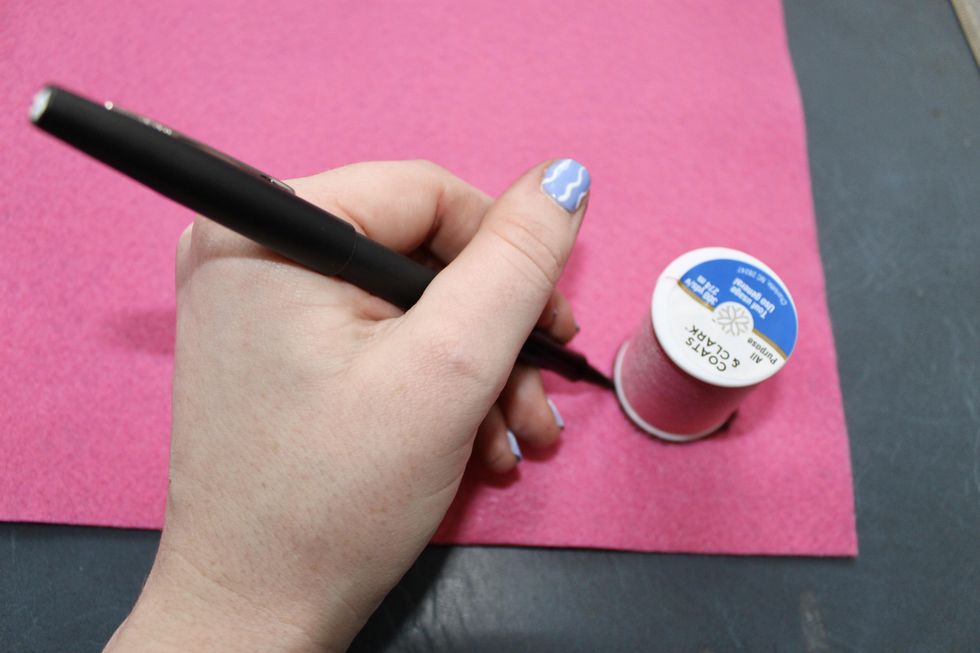
The first image I made was a sun, and I started by drawing a circle on my felt. I used the rim of my thread spool to make sure I had a perfect circle but you can also free hand if you want the circle to be a different size.
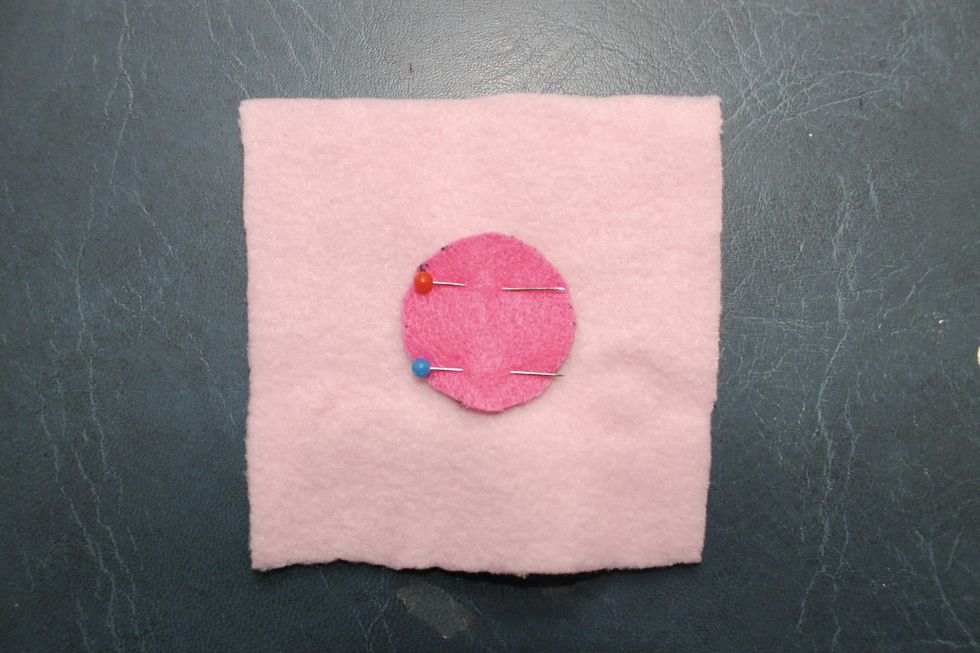
Pin your felt to the center of a fleece square.
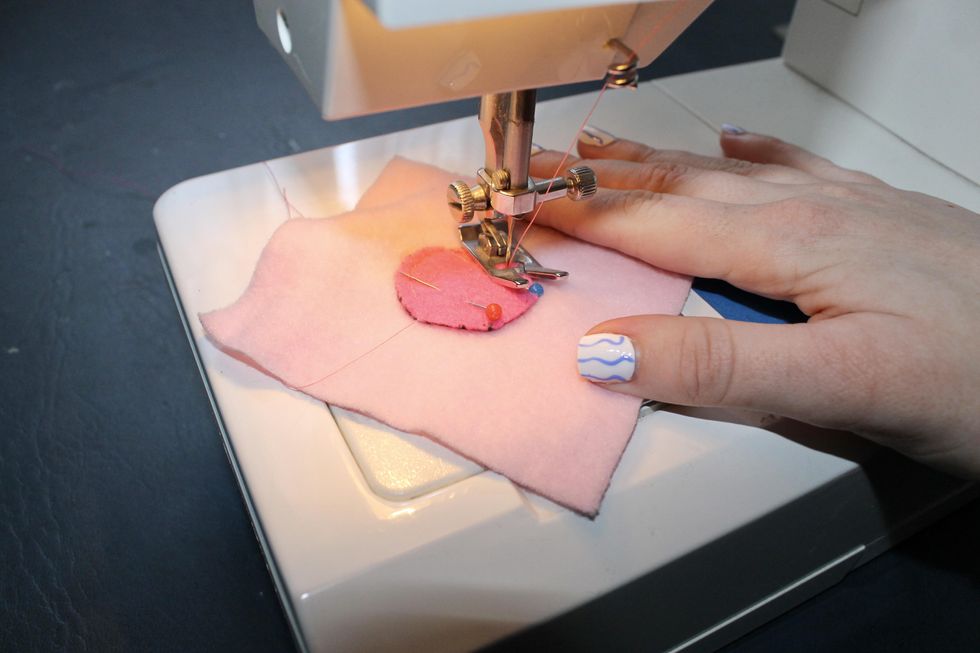
Sew the circle to the fleece using a regular straight stitch.
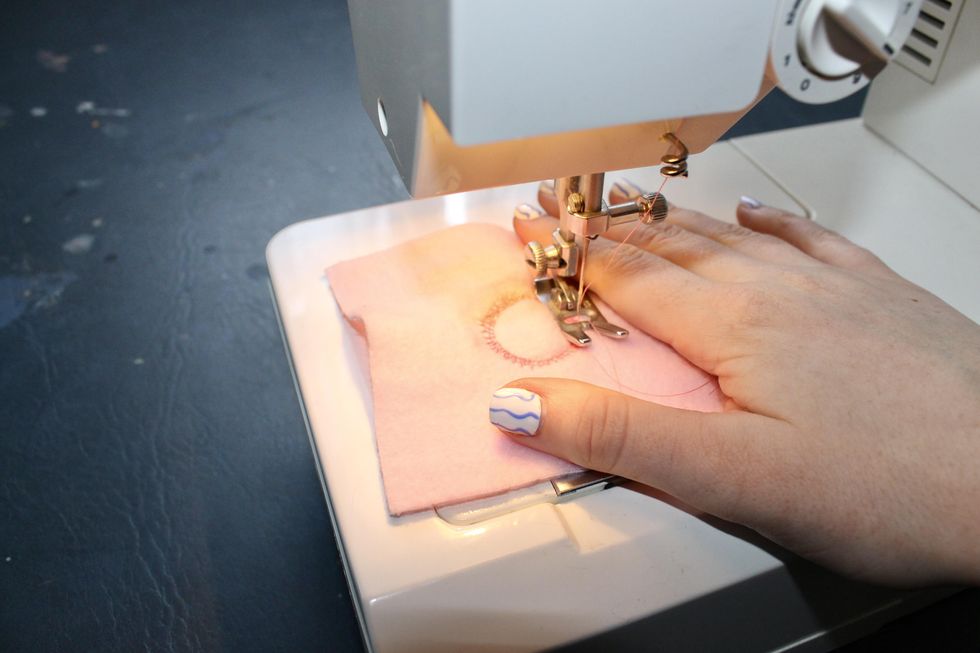
Next, move your sewing machine from a straight stitch to a zigzag stitch and decrease your stitch length to a lower number like 0 or 1. This will allow your art to have more of a filled-in border, instead of a messier, chevron finish.
Go back over the rim of your circle with the zigzag stitch to give it that embroidered look. I did this with the fabric right side up, then I did it again with the fabric flipped upside down just to be extra thorough.
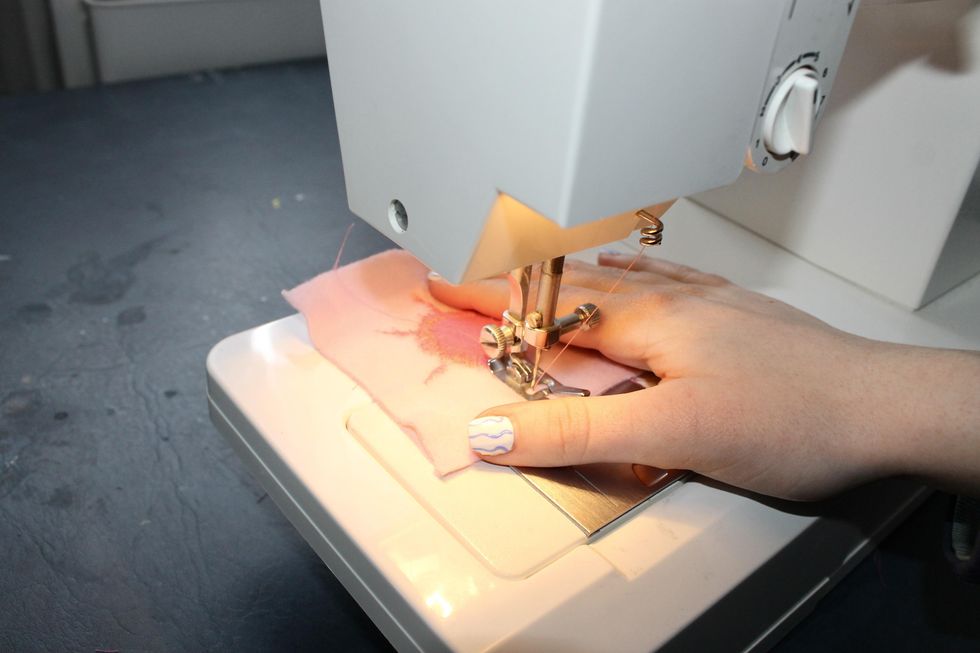
After your circle is complete, it's time for the sun rays! Use the same zigzag stitch and 0 stitch length to move from the circle outward. This is where you'll want to add another element: stitch width.
To give the sun rays their triangular shape, adjust your stitch width as you move out from the heart of the sun. While the stitch length ensures your sewing won't have empty spaces, the width will let you move from a wider sunbeam base to a thinner point. I just decreased the width every few stitches as I went along.
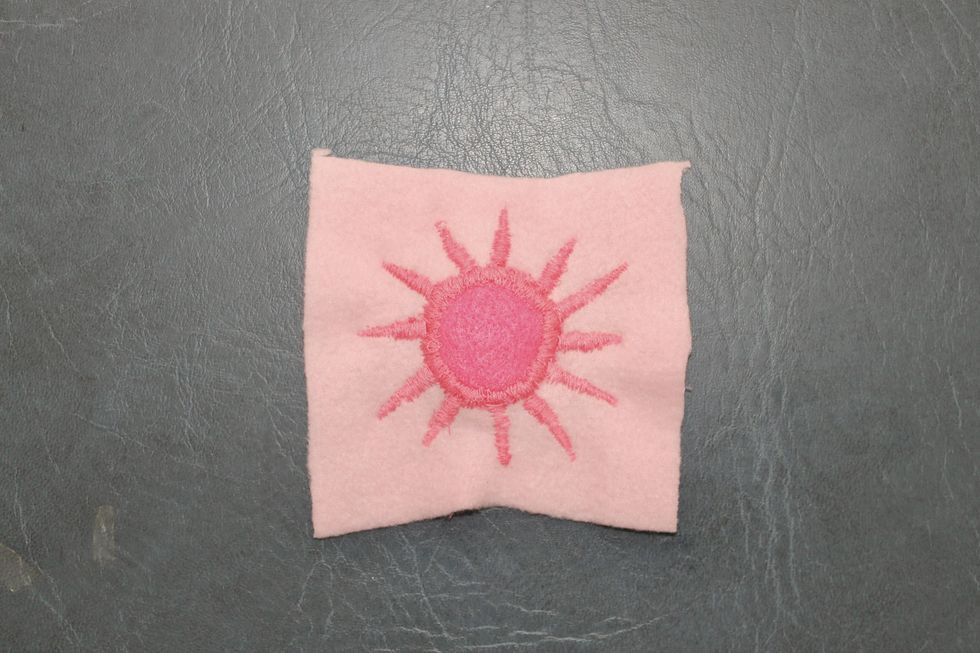
Your finished sun will look something like this! I went back in with a needle to clean up loose threads by hand. I waited to trim them until I had threaded them to the back so that the front image had a more polished look.
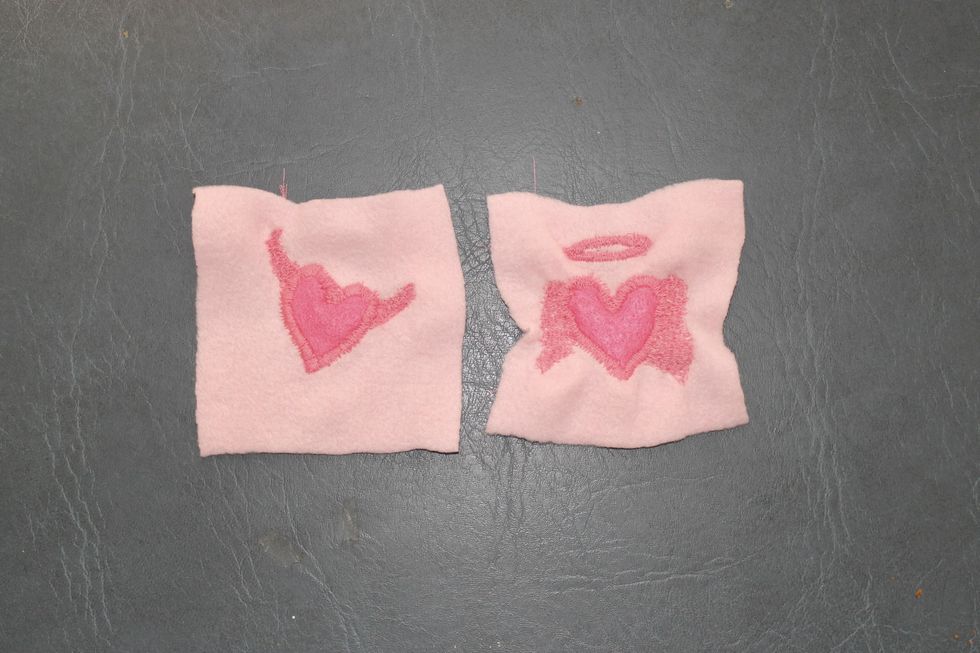
Repeat the above steps for your devil and angel hearts. There are only a few differences between these and the sun; you'll cut the felt into hearts instead of circles, and to fill in the horns and the wings, I used a straight stitch to give it a colored-in look, reserving the zigzag stitching for the borders.
I know the original dice had "Cruel Summer" lyrics stitched onto these squares, but I ended up leaving them off. It makes the design more minimal and easier to work with.
One thing to note about this step: beware of bunched fabric! Filling in the angel wings brought the edges of the squares in a bit, but I wasn't too upset about it. I think flaws give a craft some personality!
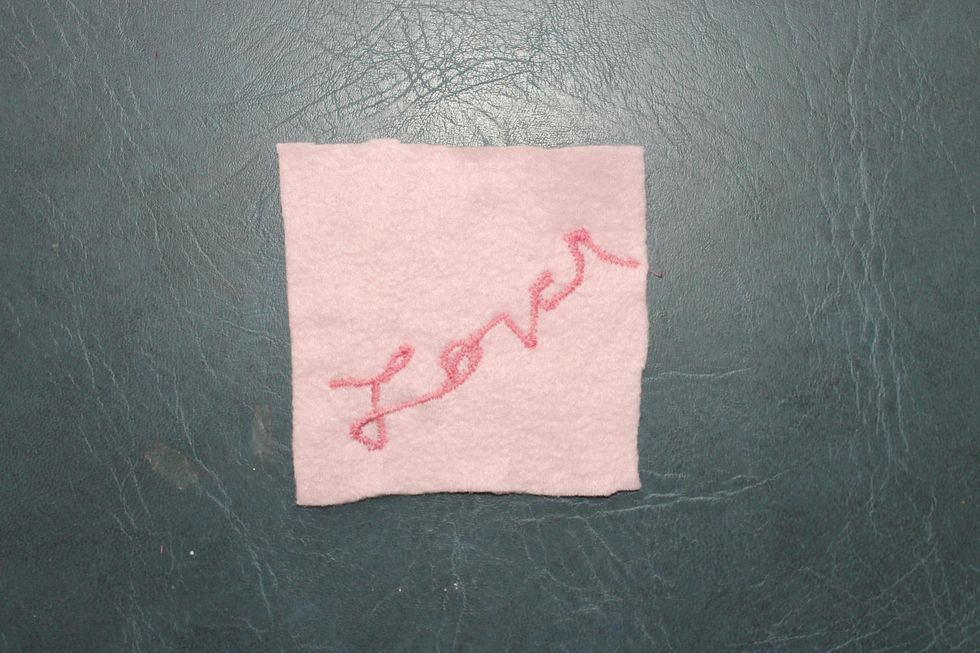
The "Lover" stitching get a little more complicated than the images. I first traced the word with my pen so that I would have some guide as to what the word should look like. Move the stitch width back down to one of the lower settings.
Then instead of just moving the fabric in a circle like I did for the sun, I moved it all around to follow the word I had written in marker. Repeat this a few times until you're satisfied with the thickness. I definitely tried this step a couple different times so don't worry if you don't get it on the first go!
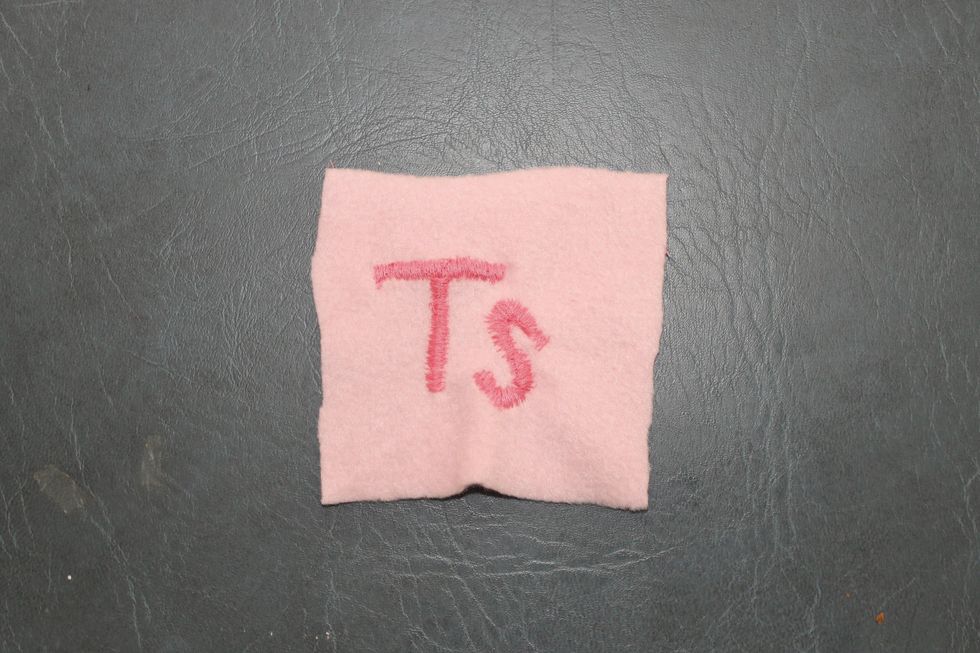
For my final embroidered square, I did a simple "TS," which of course stands for "Taylor Swift."
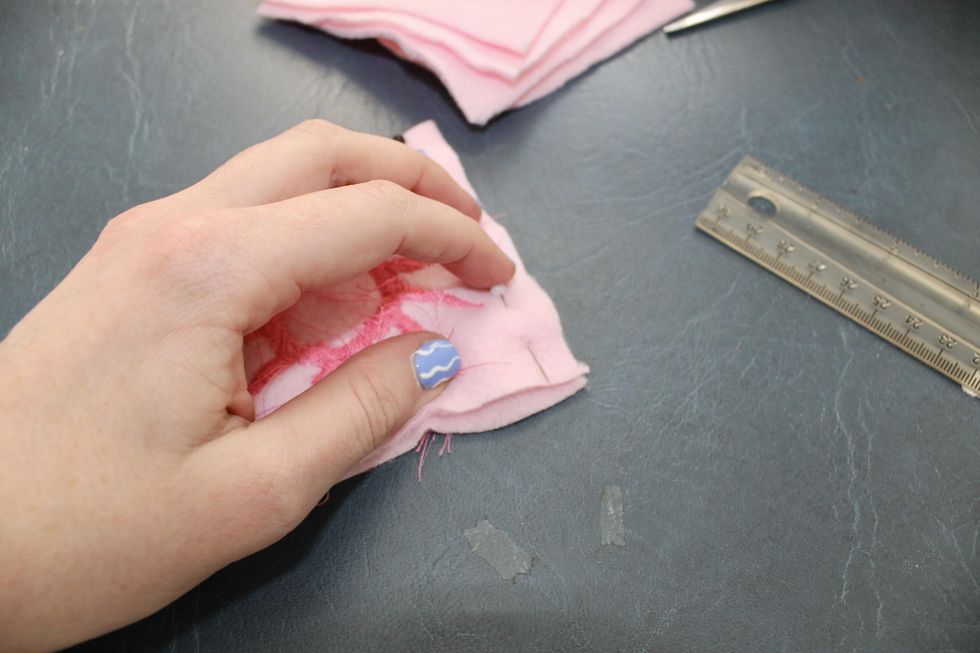
Before you can sew your squares together, line the edges up and pin them. I used my ruler to mark how far I wanted my hem to go (I did 1/4" at every edge) for a sewing guideline.
I pinned the squares one at a time, checking at each step that they were pinned the right way (especially after I sewed two together incorrectly and had to pick out the stitches. Oops.)
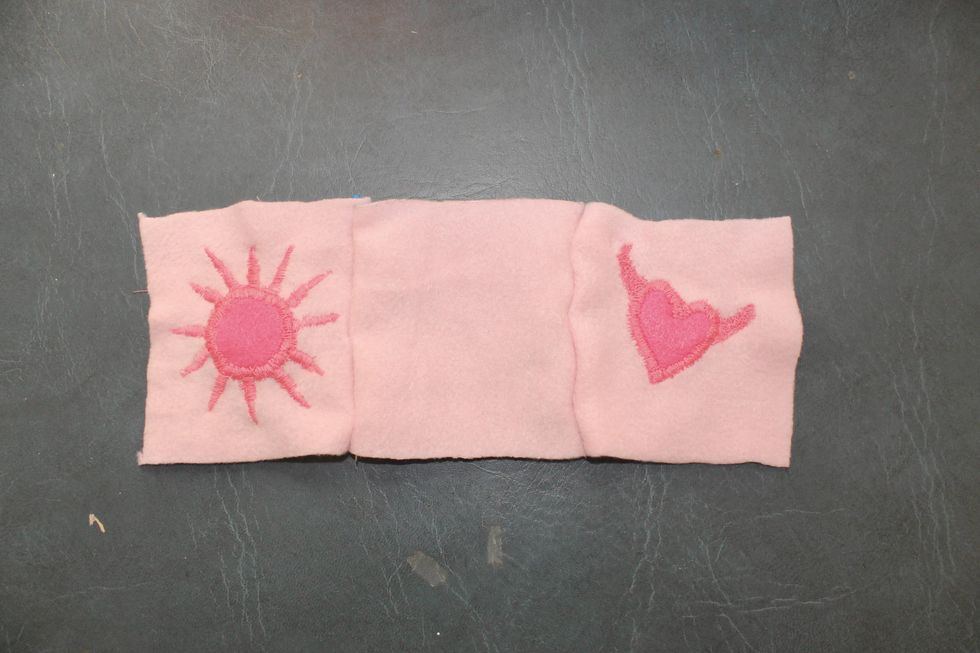
Arrange the images in a similar way to the official dice, or change it up however you'd like! I chose to arrange the squares so that there was a blank in between the images.
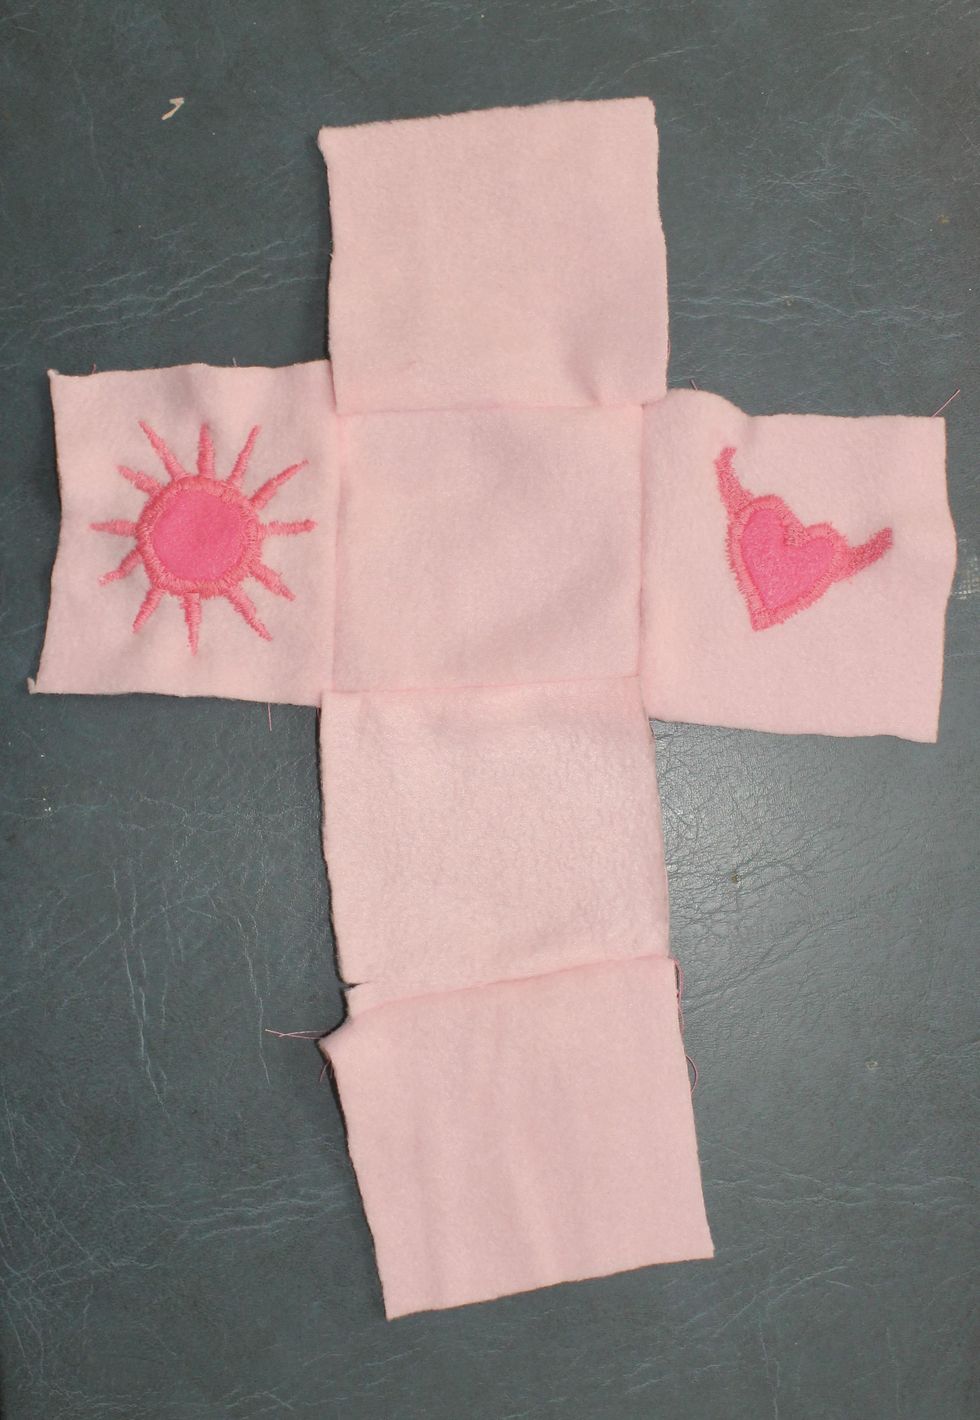
Pin and sew your remaining three squares around the middle square so that you end up with a cross.
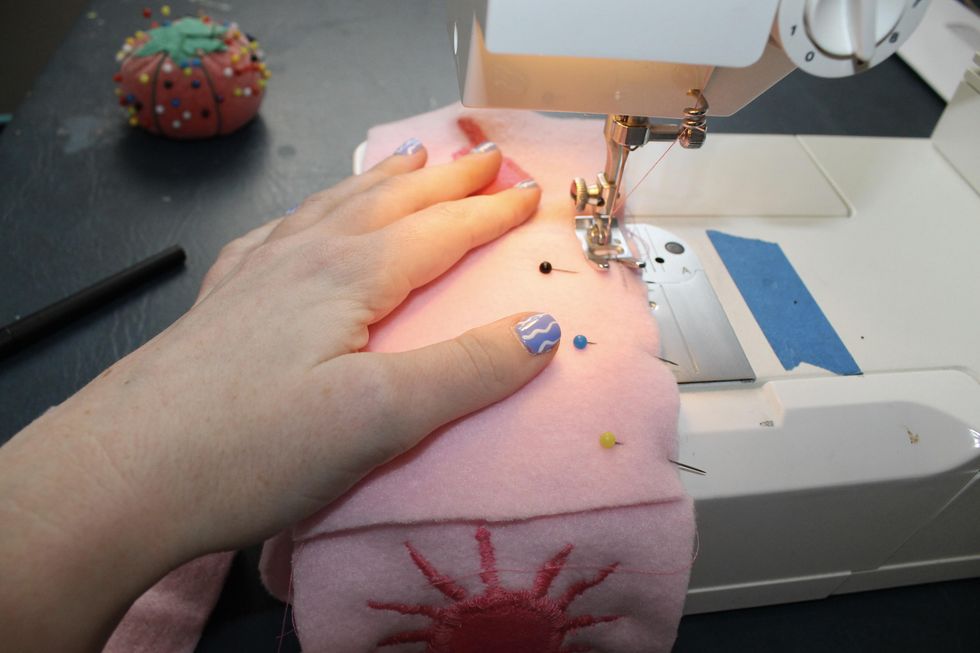
I continued pinning and sewing the edges to one another until I had an inside-out cube. Here's a tutorial to help you better understand which edges should be sewn together.
I did one square at a time, making sure to focus on the corners and going back in to tighten them up once I was done. You only want one gap, which is where you'll flip the cube inside out and then stuff it.
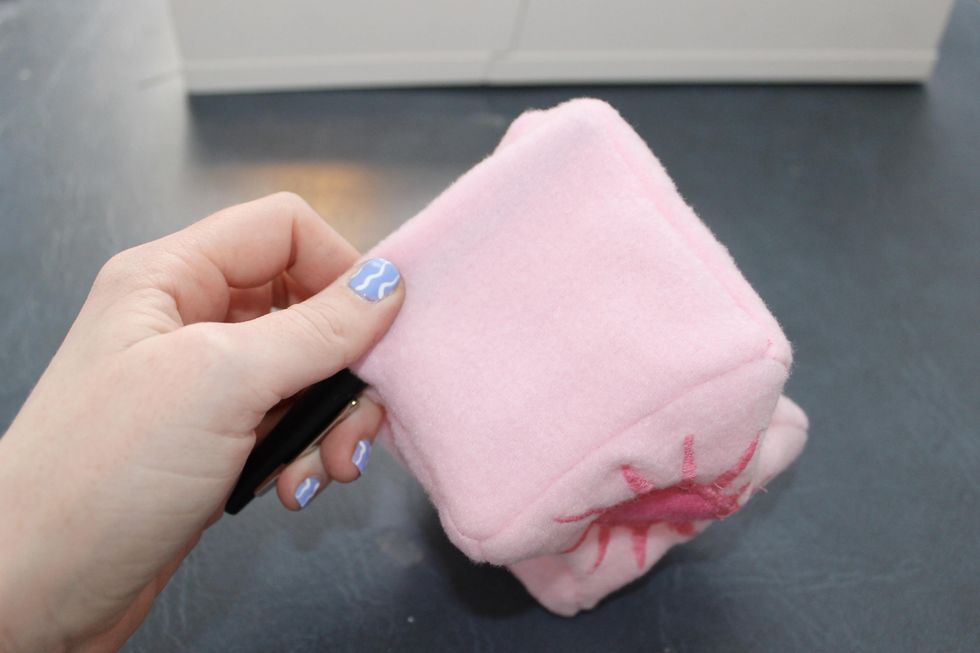
Once you have a cube, flip the fabric inside out. I used my pen to make sure all the corners and edges were good to go.
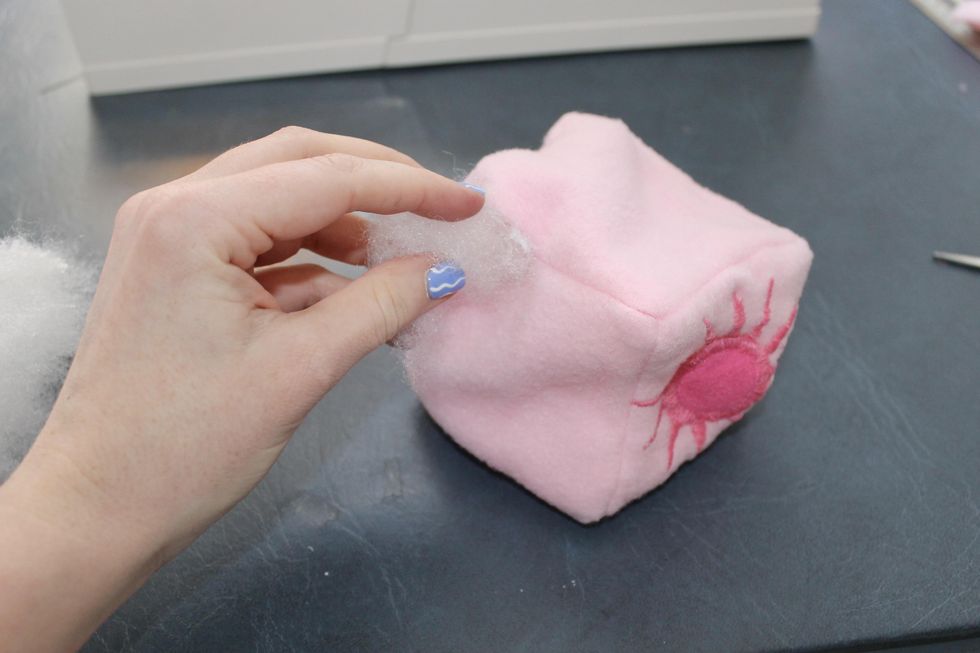
Next, stuff your cube with whatever filling you prefer. I didn't stuff it super full because I didn't want it to have a rounded look when I was done.
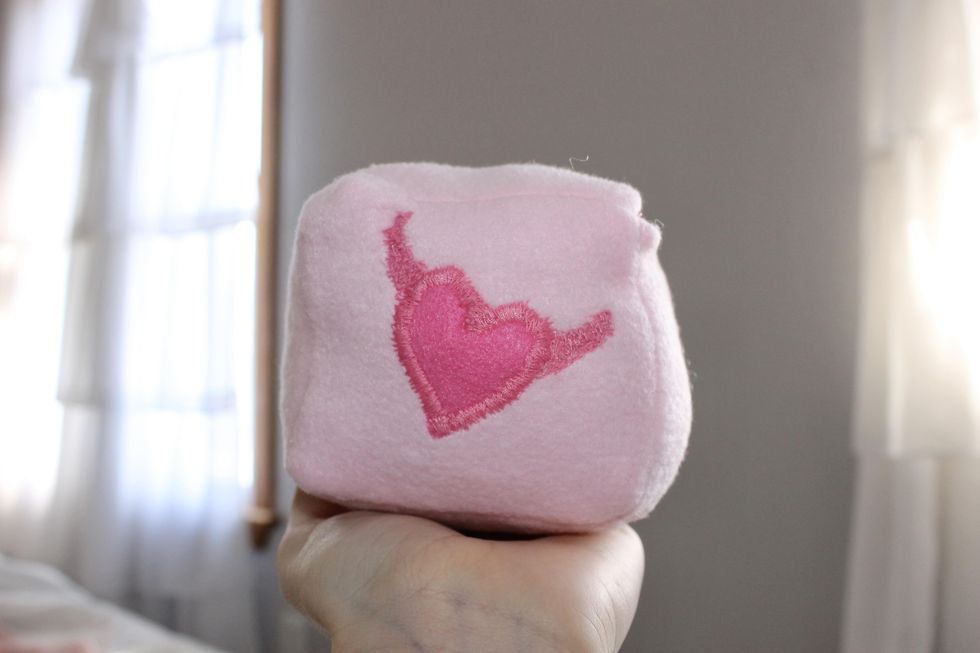
Ta-da! A little wonky but very cute :)
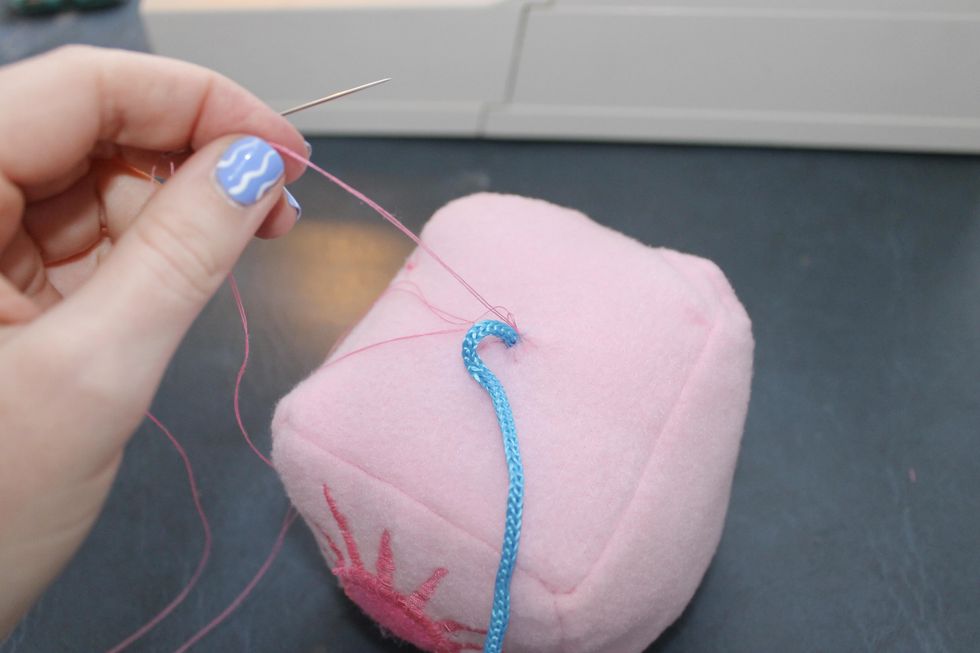
When you have both dice, cut a small hole in the top for your cord. Knot the ends and stuff them into the holes, then use your needle and thread to attach the cord and the fleece together.
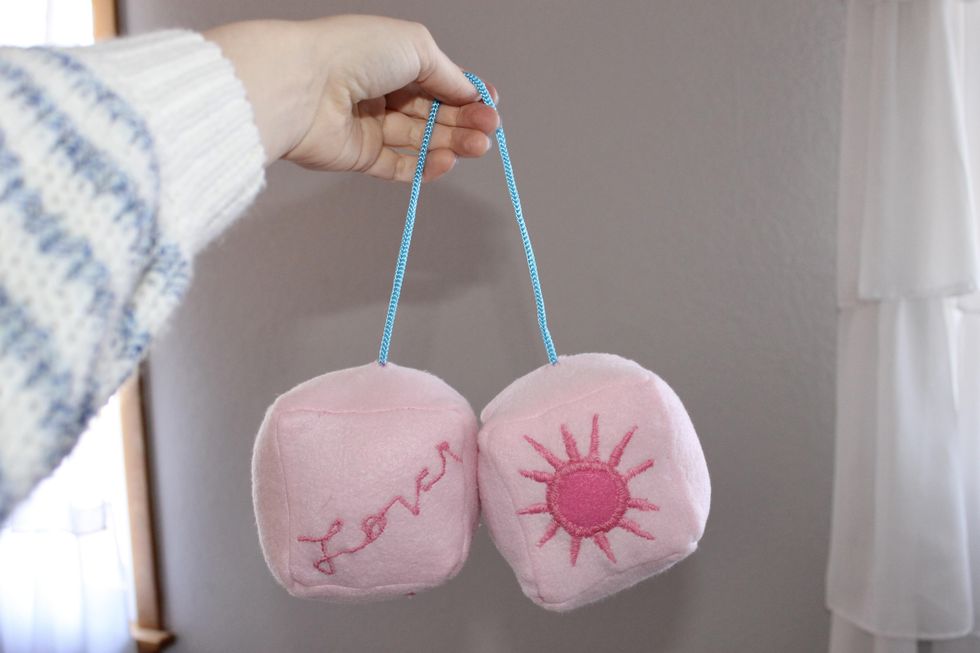
Voilà!
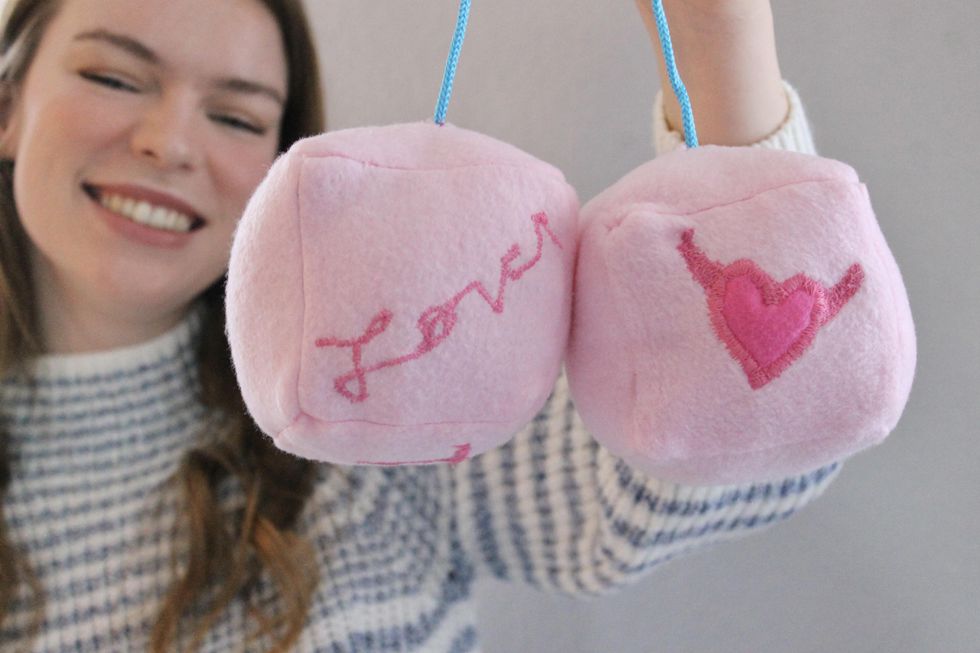
They're soft, fuzzy, and pink. What could be better than that?!
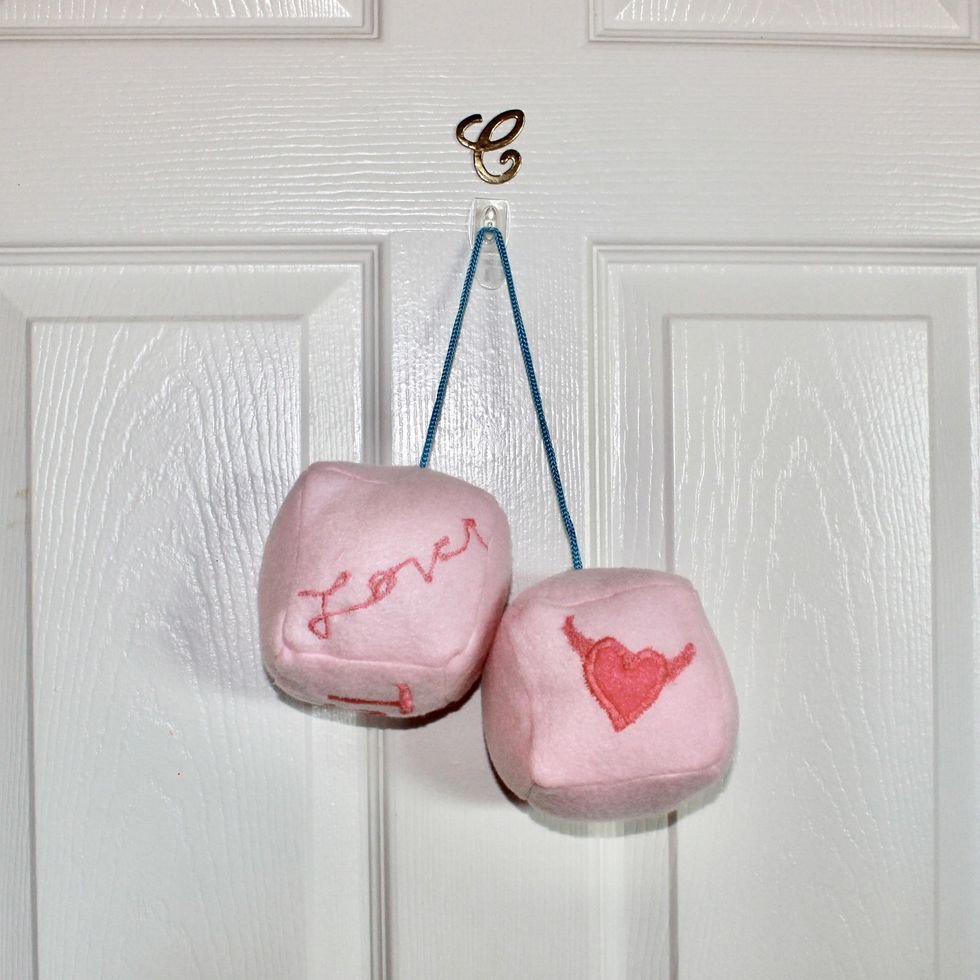
If you don't want to hang these in your car, they also make excellent Valentine's decor.
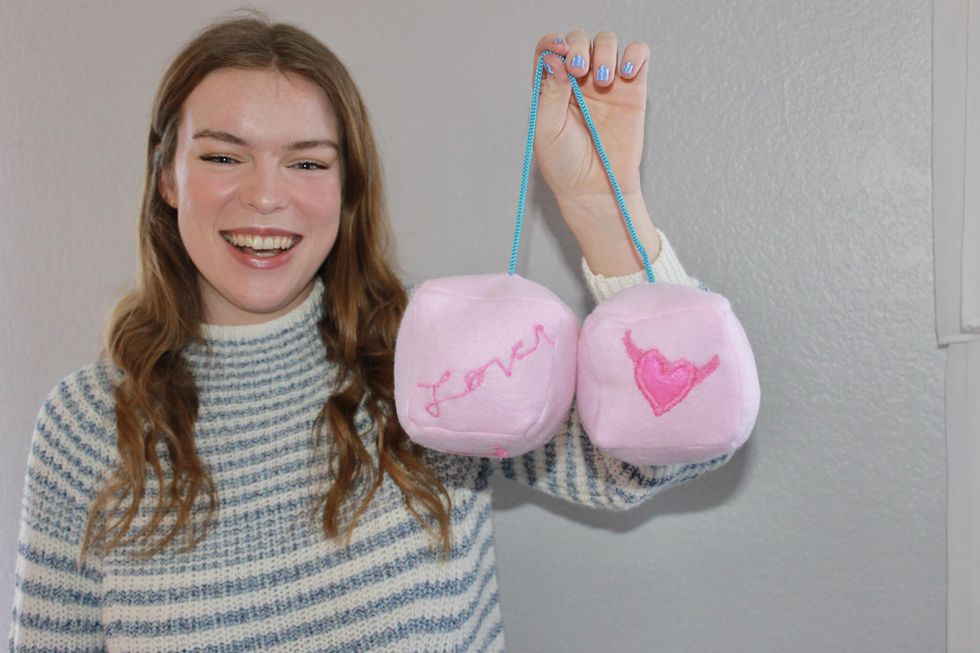
If you need me, I'll be blasting "Cruel Summer" for the rest of the month.
Follow us on Pinterest and subscribe to our email newsletter for more Taylor Swift and DIY content, and check out our online sewing class for more inspo!
Brit + Co may at times use affiliate links to promote products sold by others, but always offers genuine editorial recommendations.
0 Commentaires