
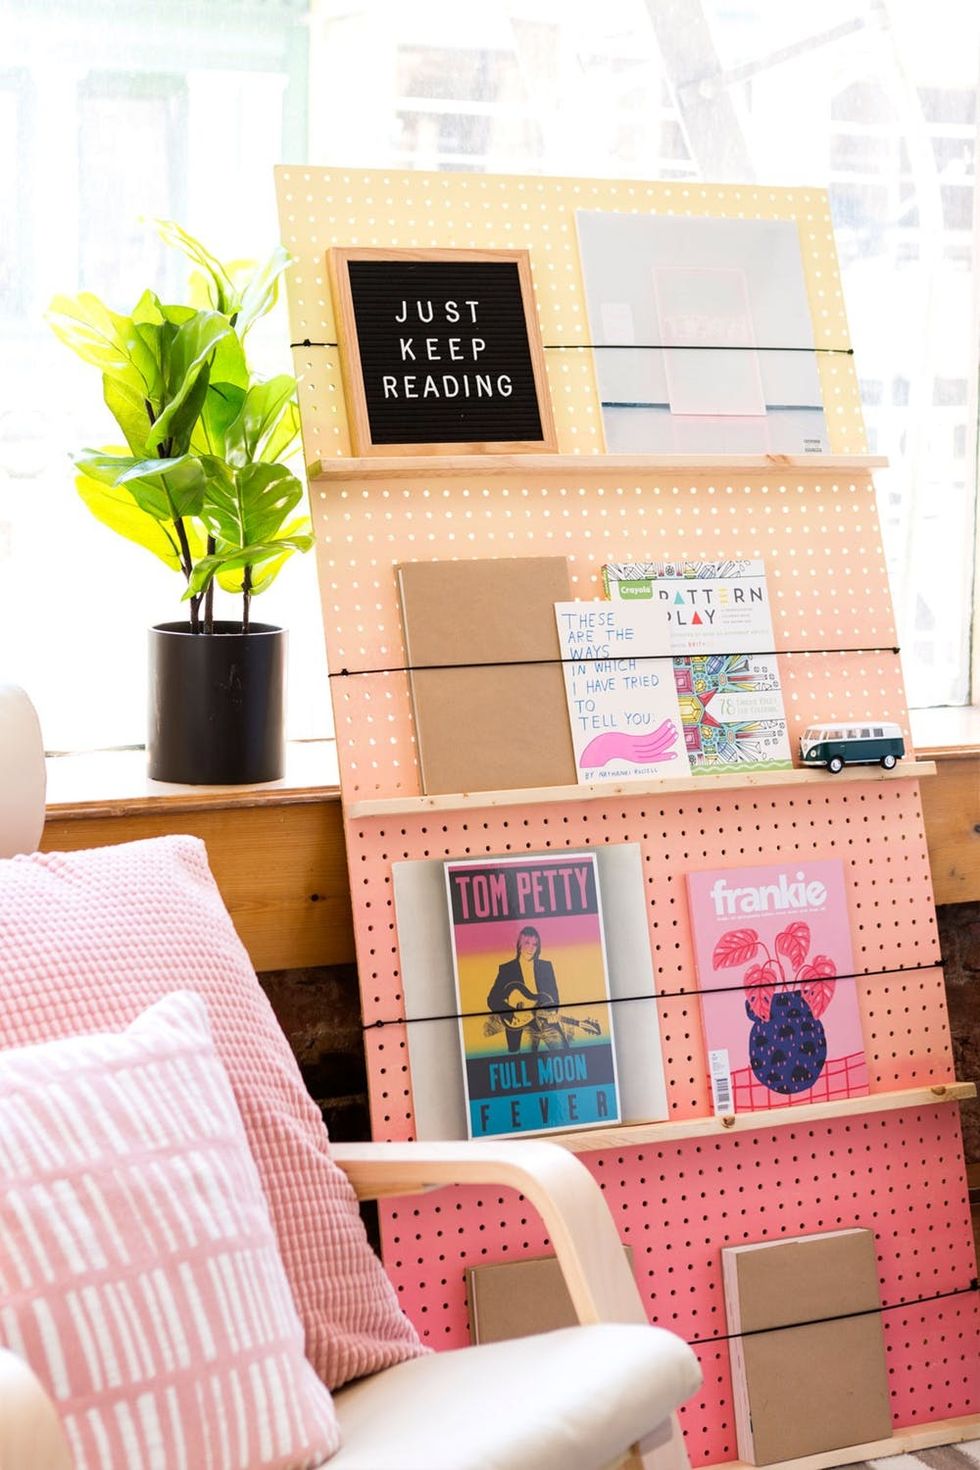
As a big-city renter pressed for space, I’m constantly on the lookout for low-profile shelving solutions that won’t damage my walls. I also happen to collect art and design magazines with amazing covers worthy of displaying, and I want to share the love! After scouring the internet, I realized my favorite shelving solutions are all variations of simple magazine shop displays: shallow shelves with cord to keep books and magazines in place. Not wanting to shell out the cost of a designer shelf, I decided to make my own DIY bookshelf. Pegboard serves as a built-in measurement tool and is perfect for easy assembly, and an ombre paint job makes it a statement piece in both minimalist and maximalist homes.
Let’s do this.
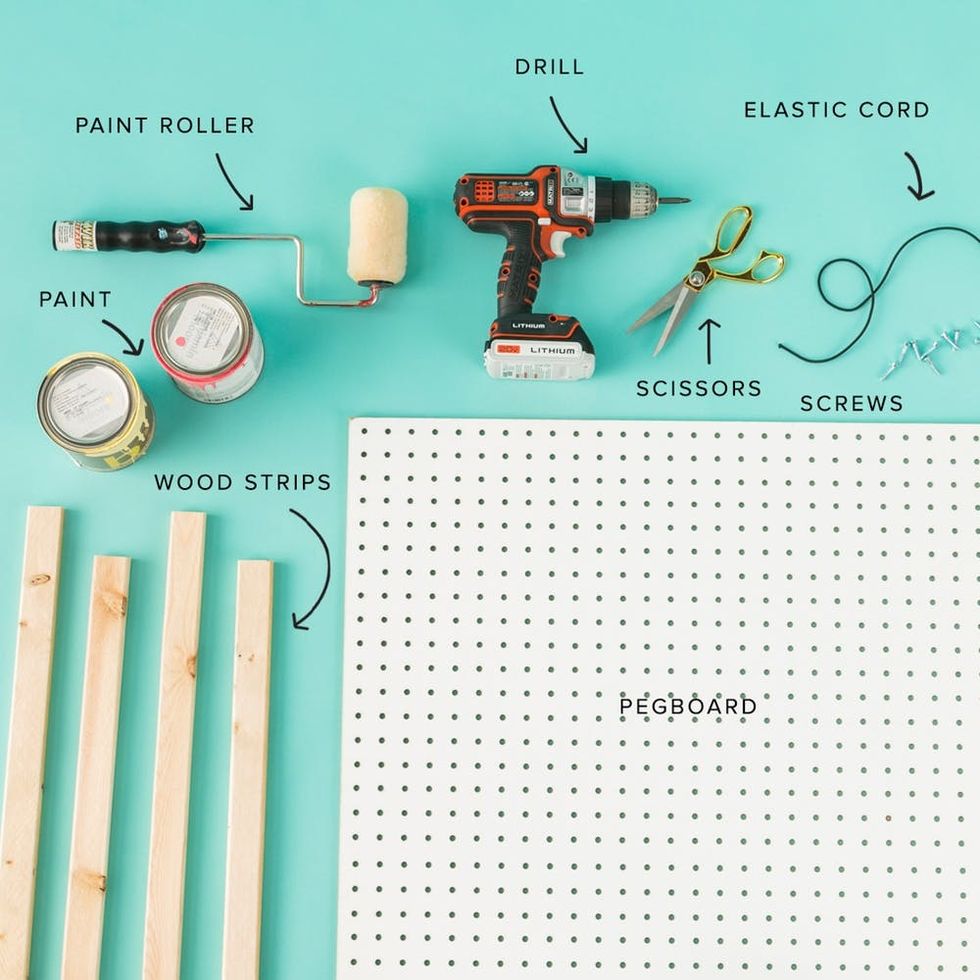
Materials and Tools:
- pegboard: 30 x 60 inches
- 4 wood strips: 1.5 x 30 inches (you’ll want to use a light wood, like knotty pine or poplar, to keep the total weight down)
- paint (two different colors)
- paint roller
- drill
- elastic cord
- screws (make sure the screw heads are larger than the pegboard holes)
- scissors
- iron
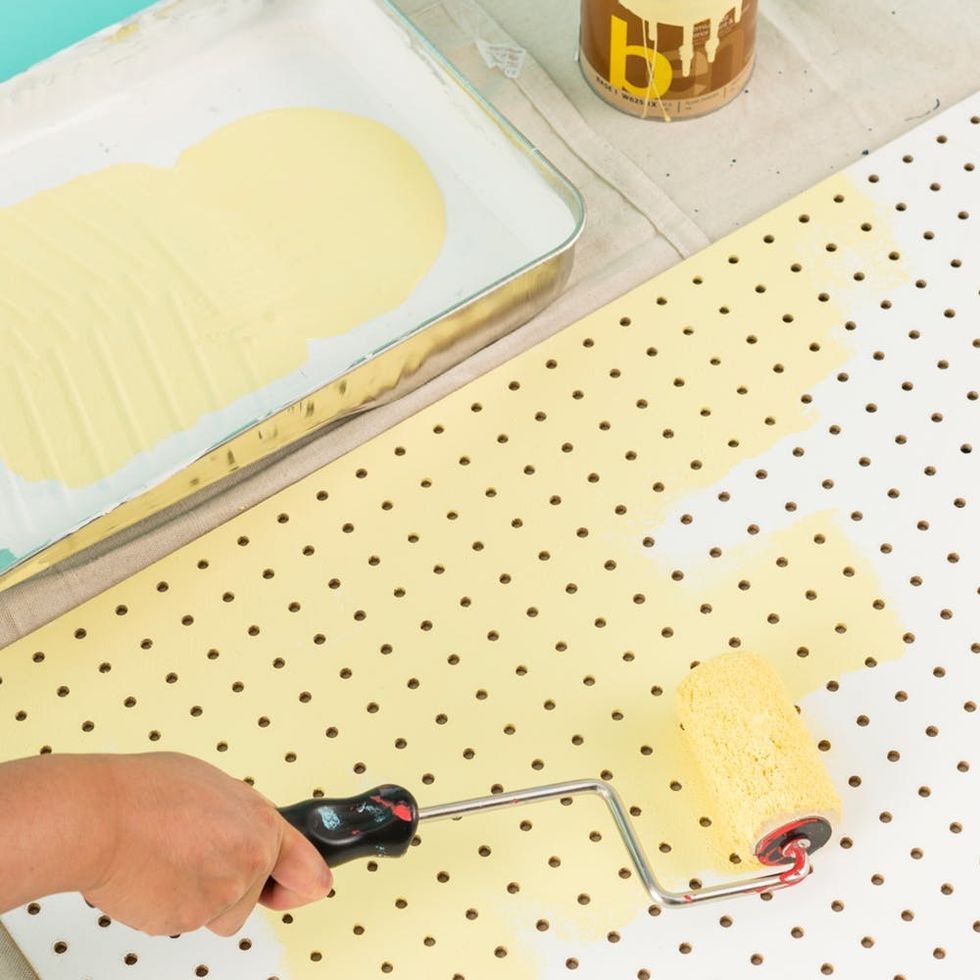
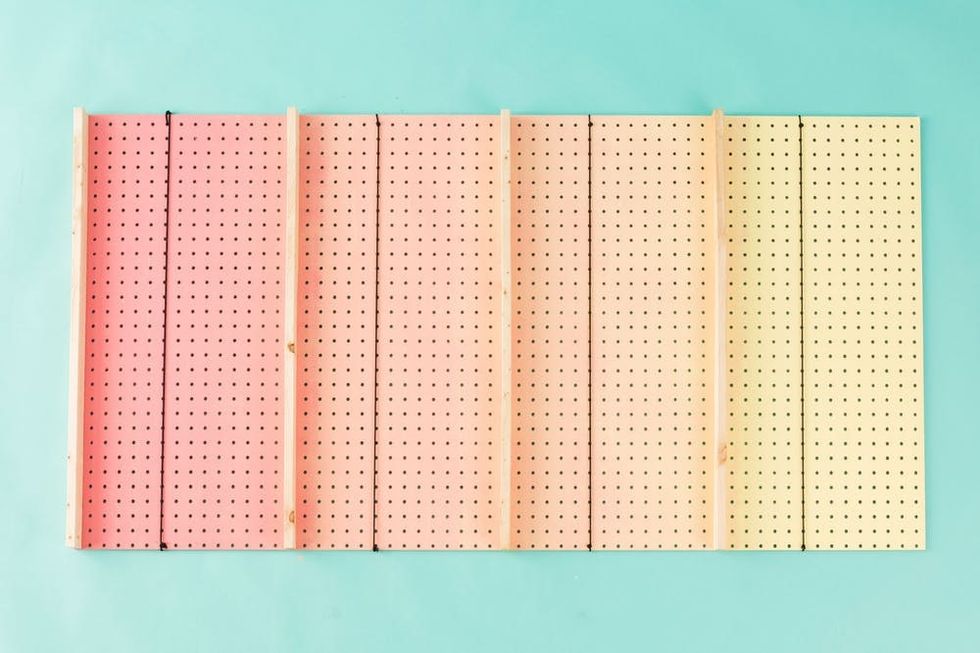
To achieve an ombre effect, start with one color on one end of the pegboard — this will be the base for the rest of the colors. Pour more paint into your tray than you anticipate using; I painted about 14 inches for each block of color.
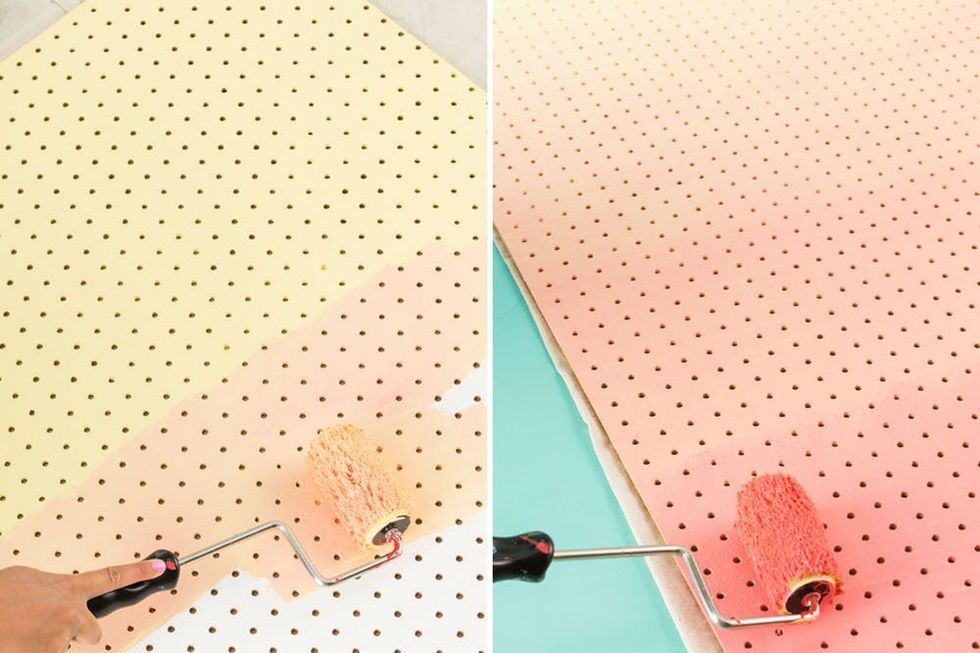
Add about 1/2 cup of the second paint into the tray to mix your next color. Repeat this until you’ve finished painting the entire pegboard.

If you have any abrupt color changes, you can always strategically place one of your shelves on top of it to hide it. Arrange your shelves onto the pegboard once the paint has dried. Mark the location of the shelves in pencil.
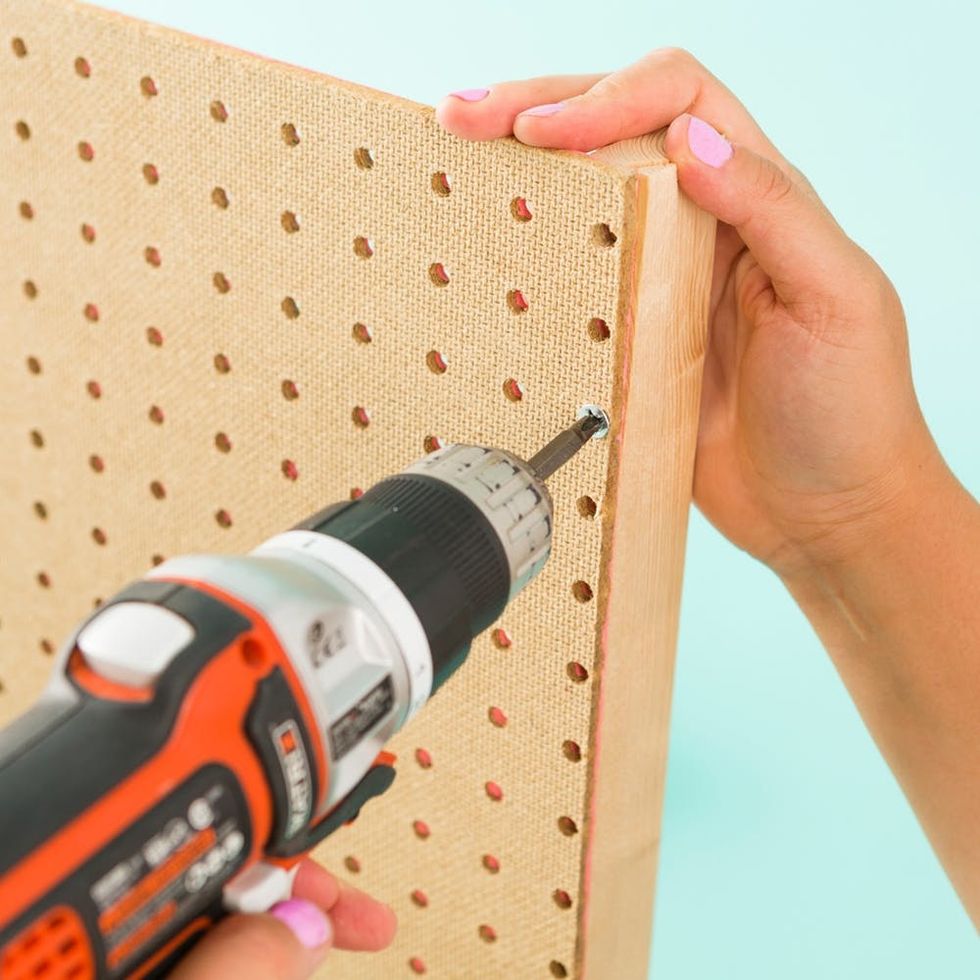
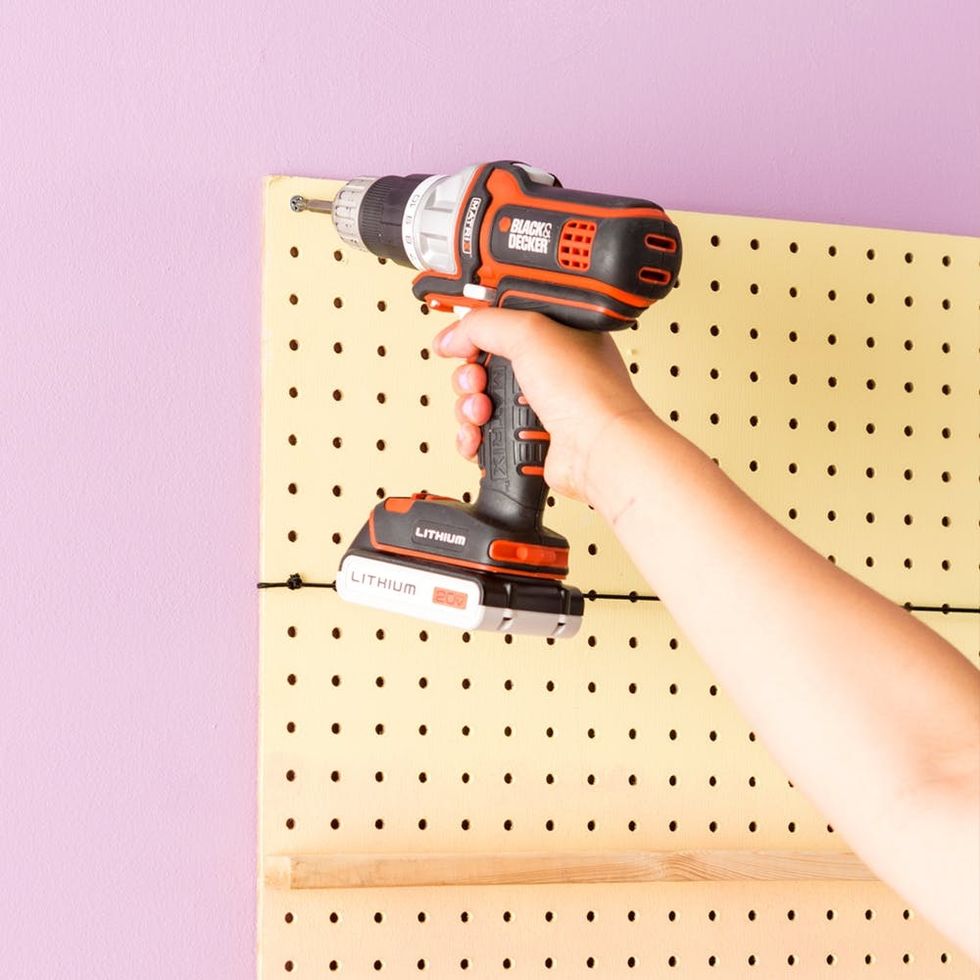
You might want to recruit a friend for this step. Starting from the bottom, carefully screw the wood strip to the pegboard. I used about four screws to hold each wood strip in place.
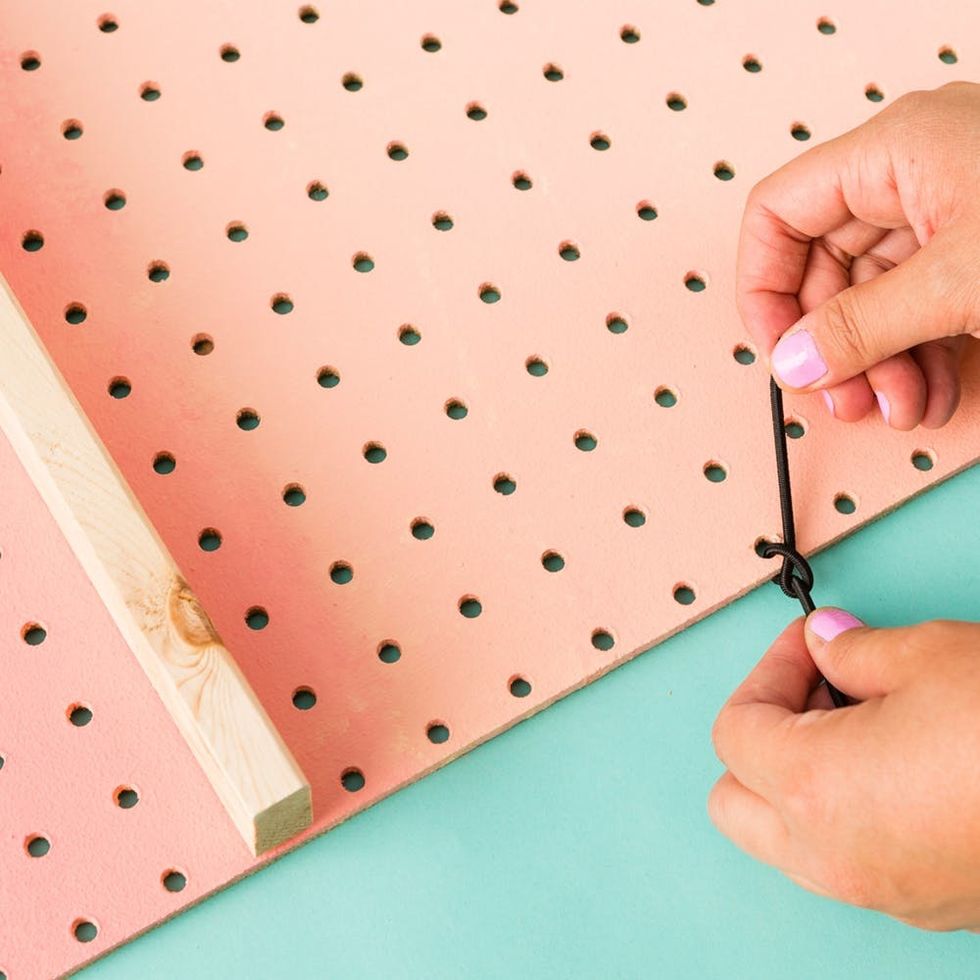
Cut a 24-inch piece of elastic cord and knot it around one end of the pegboard.
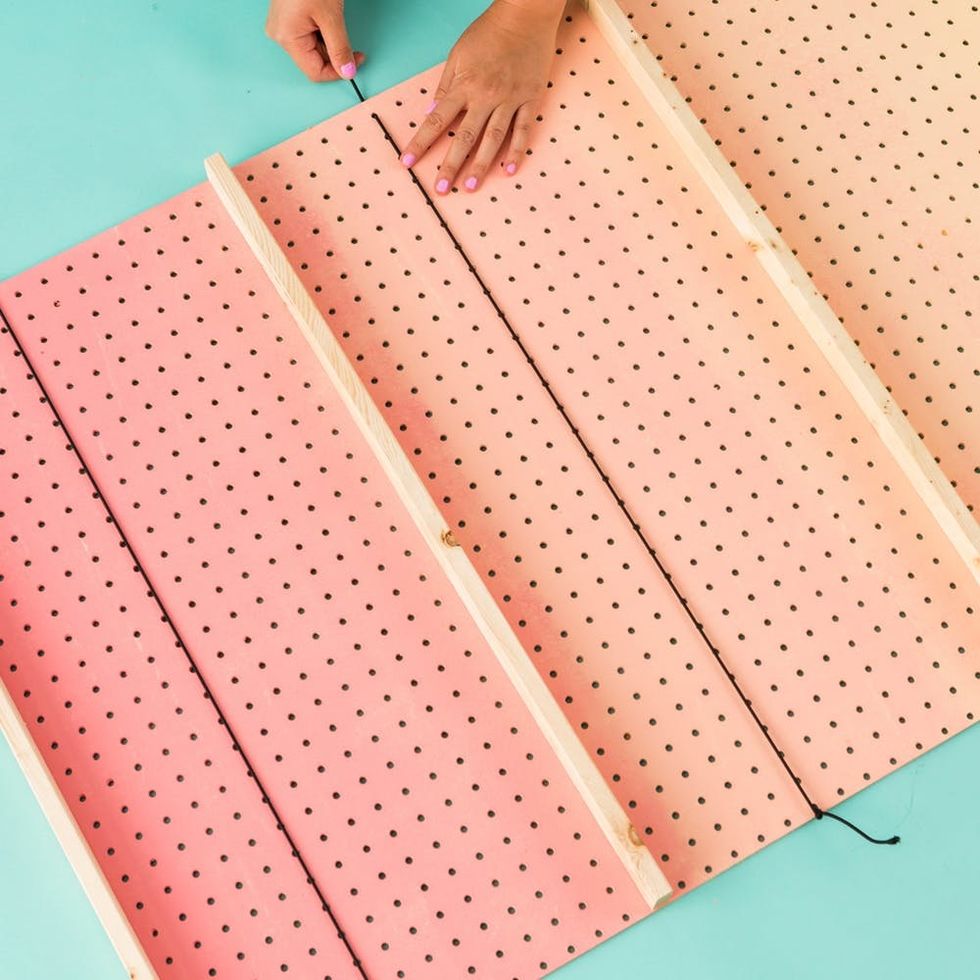
Pull the elastic across the pegboard and tie it onto the other end of the row of holes. You’ll want to pull the cord taut so you have good resistance for holding heavier books in place.
Trim any excess cord to finish!

Lean this shelf against a wall in an apartment space.
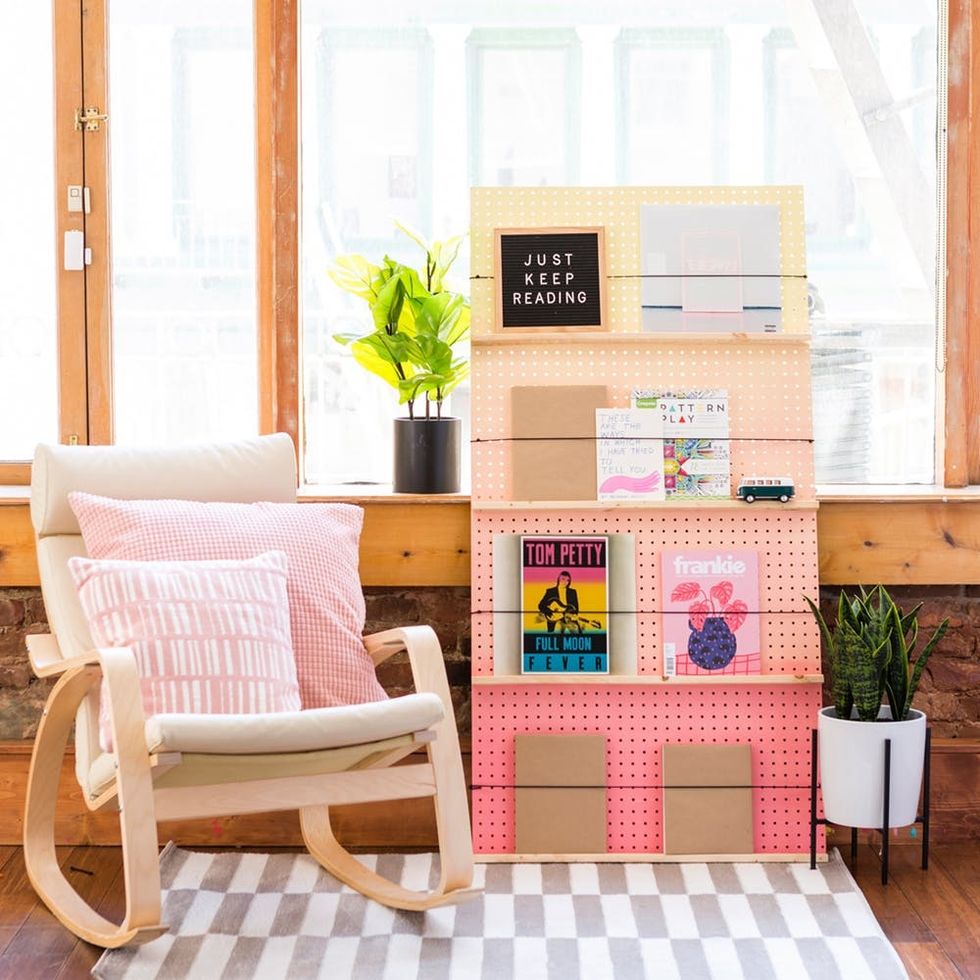
Load ‘er up to make a cozy reading nook.
If you’re living in a place with limited floor real estate, like a dorm, you can drill this shelf onto a wall.
With the low profile of this shelf, you won’t have to worry about knocking into sharp corners.

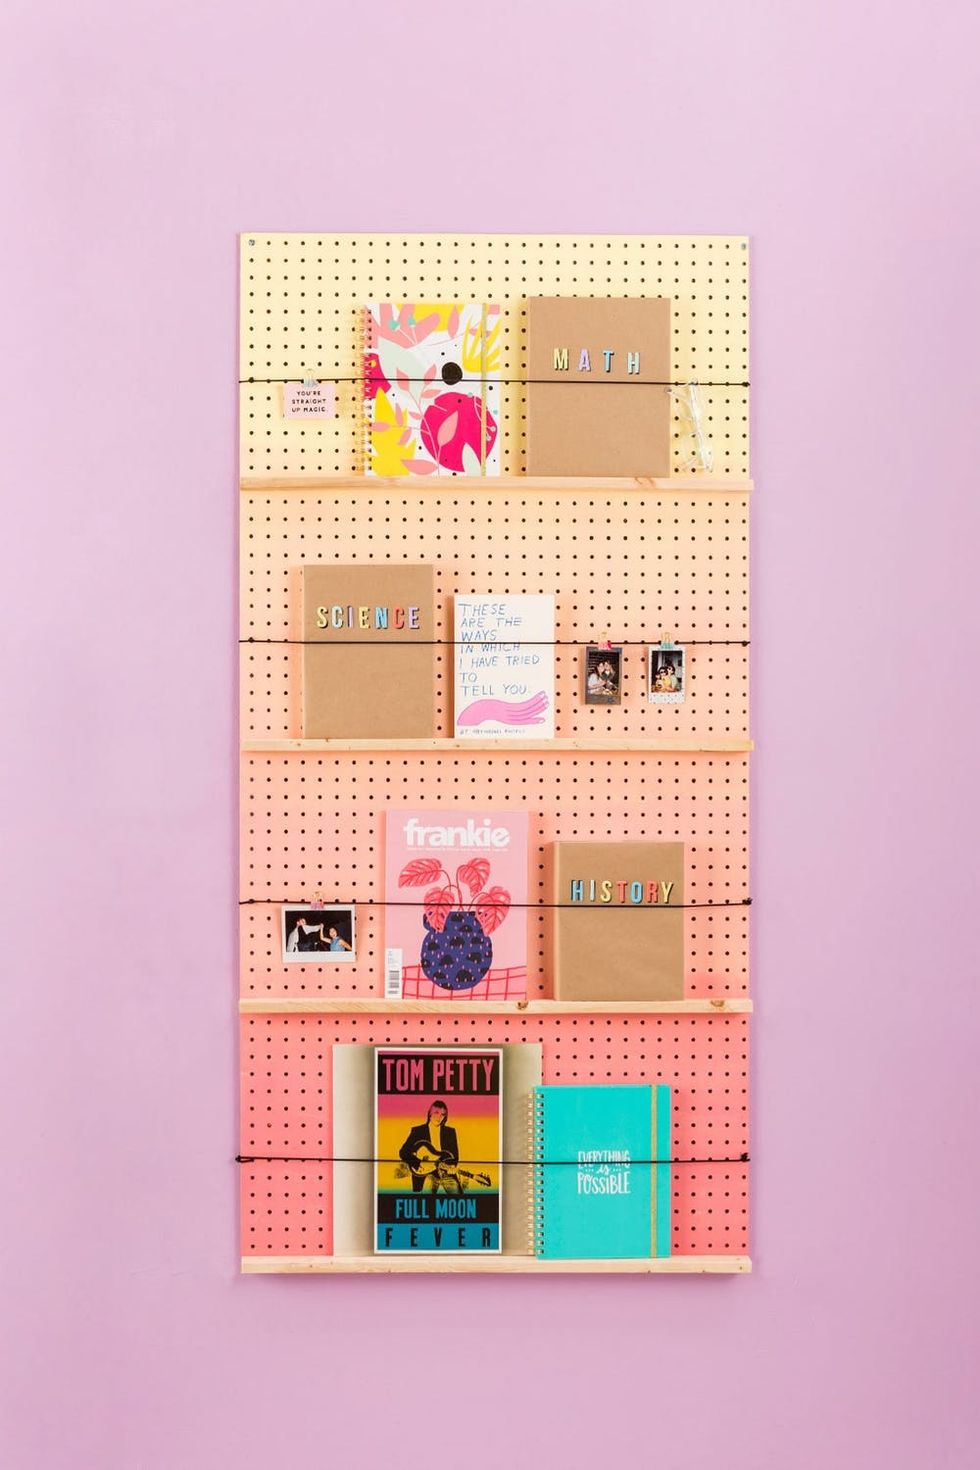
Slip in your favorite quarterly magazines…
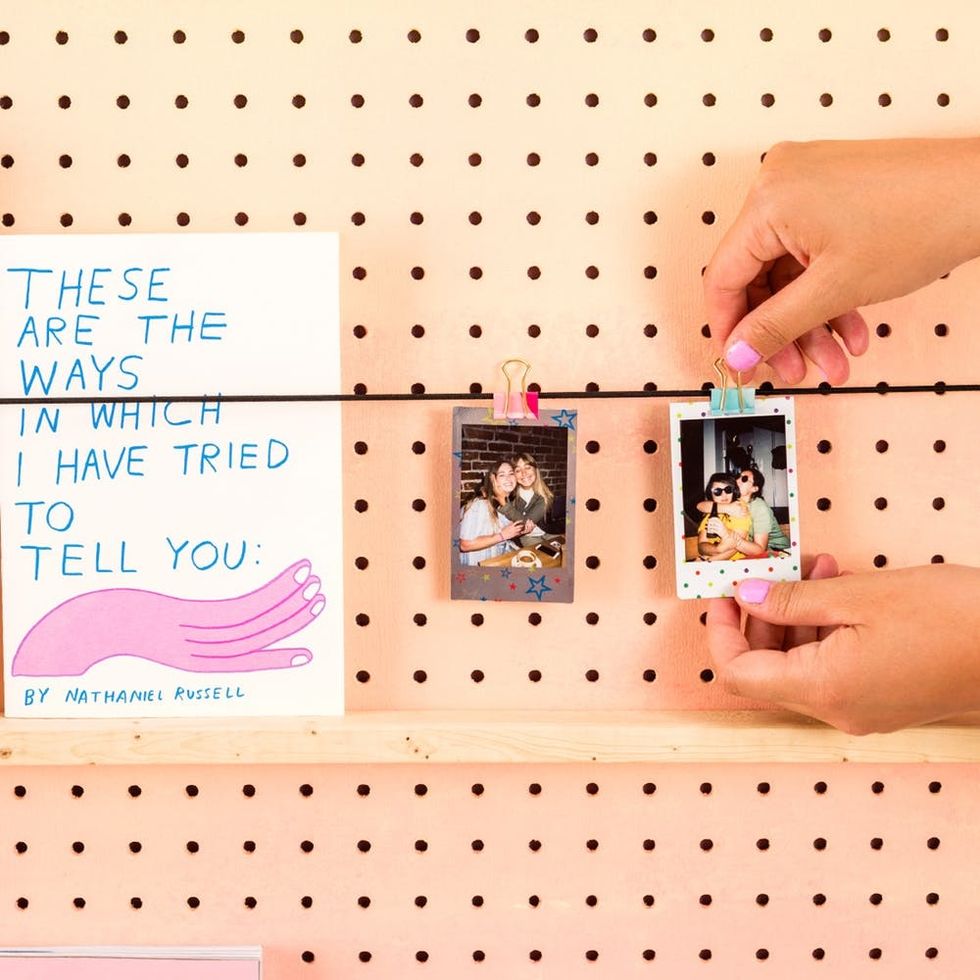
Display your favorite photos.

You even have a new home for your reading glasses! :) What a versatile new sidekick.
Let us take a look at your DIY bookshelf! Share your photos on Instagram and subscribe to our newsletter for more DIY inspo!
Brit + Co may at times use affiliate links to promote products sold by others, but always offers genuine editorial recommendations.
DIY Production and Styling: Marianne Koo
Photography: Brittany Griffin


0 Commentaires