
Every day we spend ample time soaping, soaking, tooth brushing, and engaging in our all-important night routines in our bathrooms. So what better way to upgrade our oasis than with a cedar bath mat. Scroll on to learn how to DIY your own simple, sweet-smelling, and mess-free mat in no time at all!
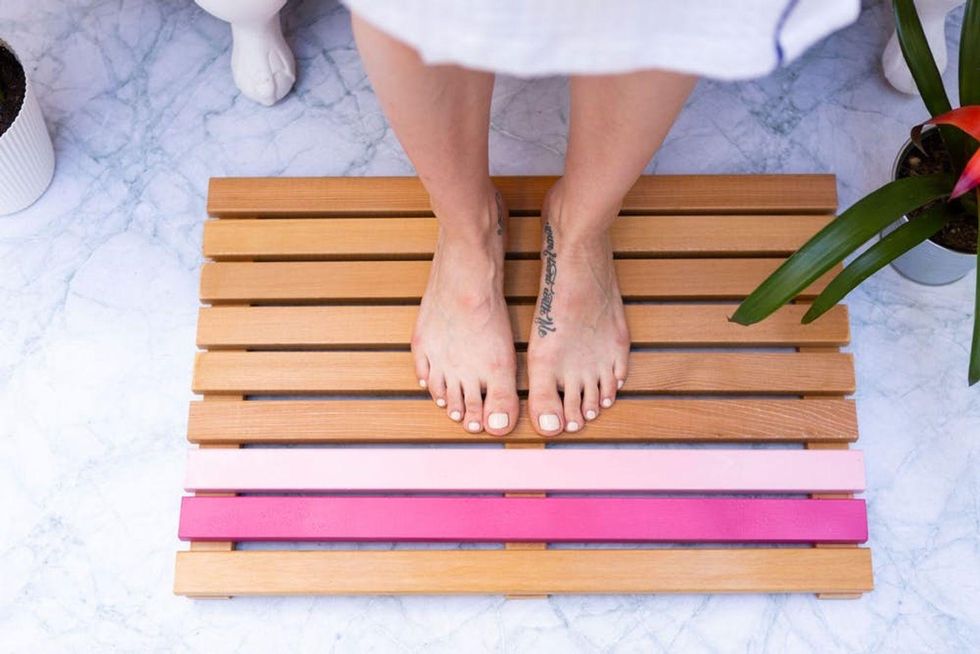
Let's get into it!
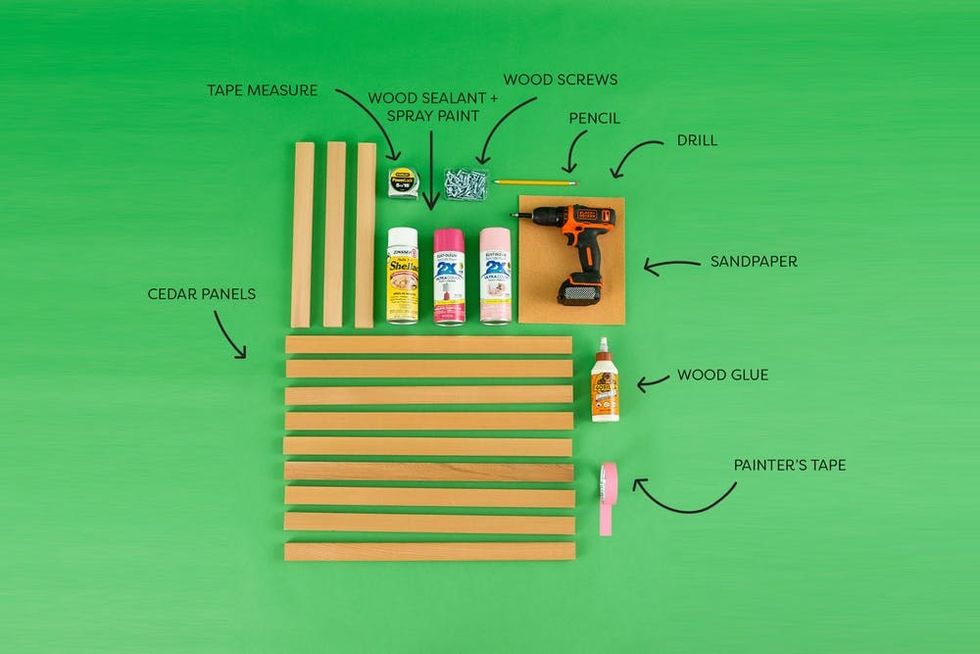
Materials + Tools
- (9) 1.5” x 24” Cedar wood panels
- (3) 1.5” x 16” Cedar wood panels
- Pencil
- Wood Glue
- 27 Wood screws
- Drill
- 2 Shades of pink paint
- Water-based sealant
- Sandpaper
- Tape measure
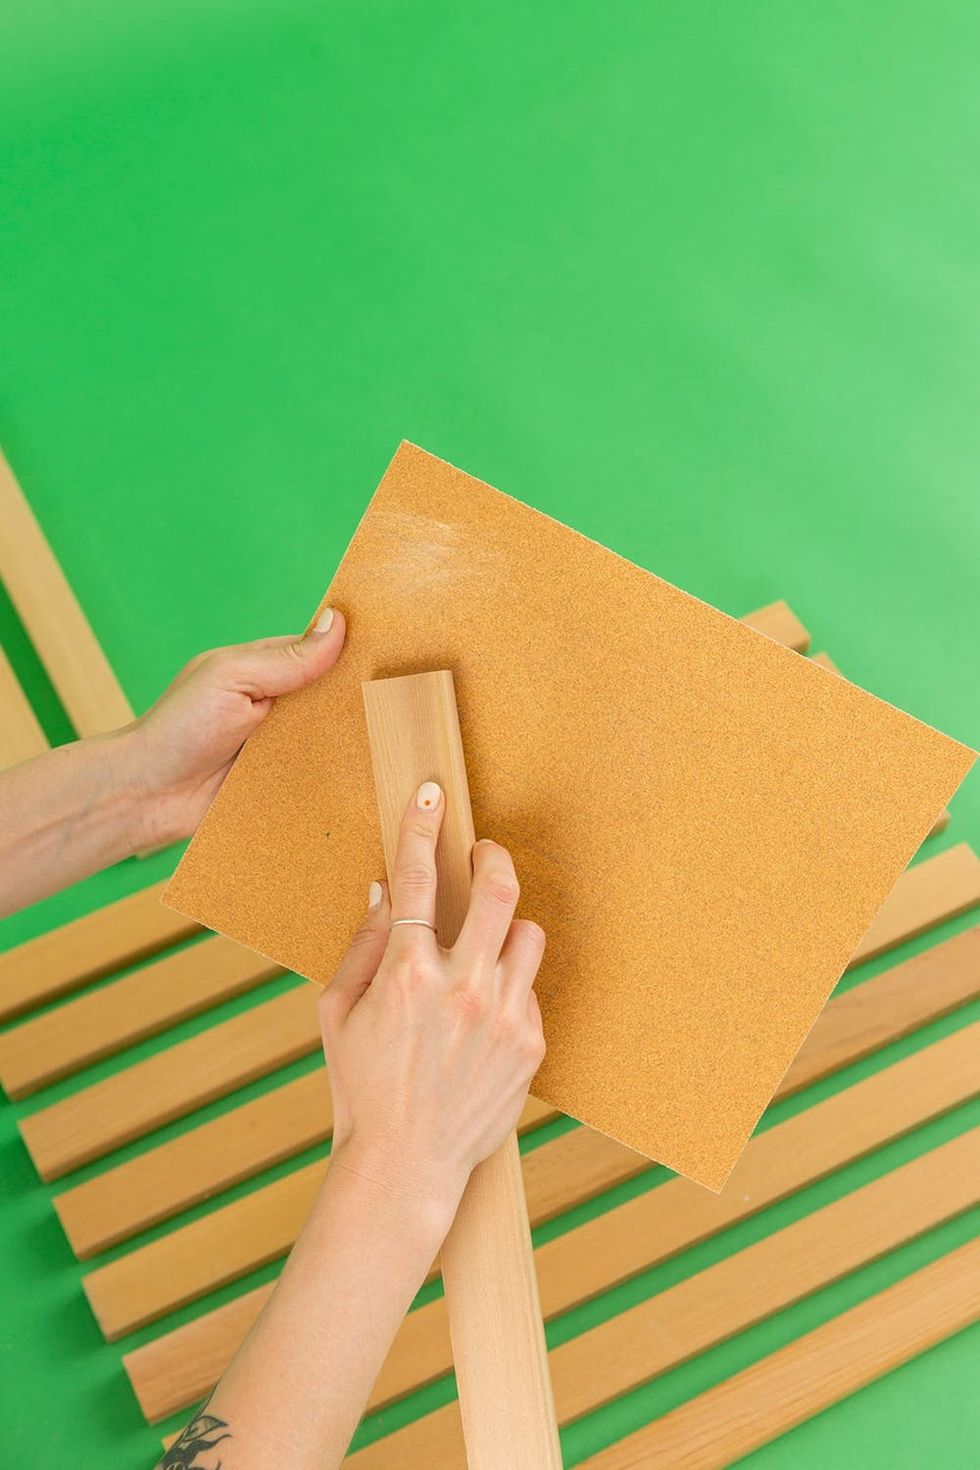
Sand cedar wood panels until smooth.
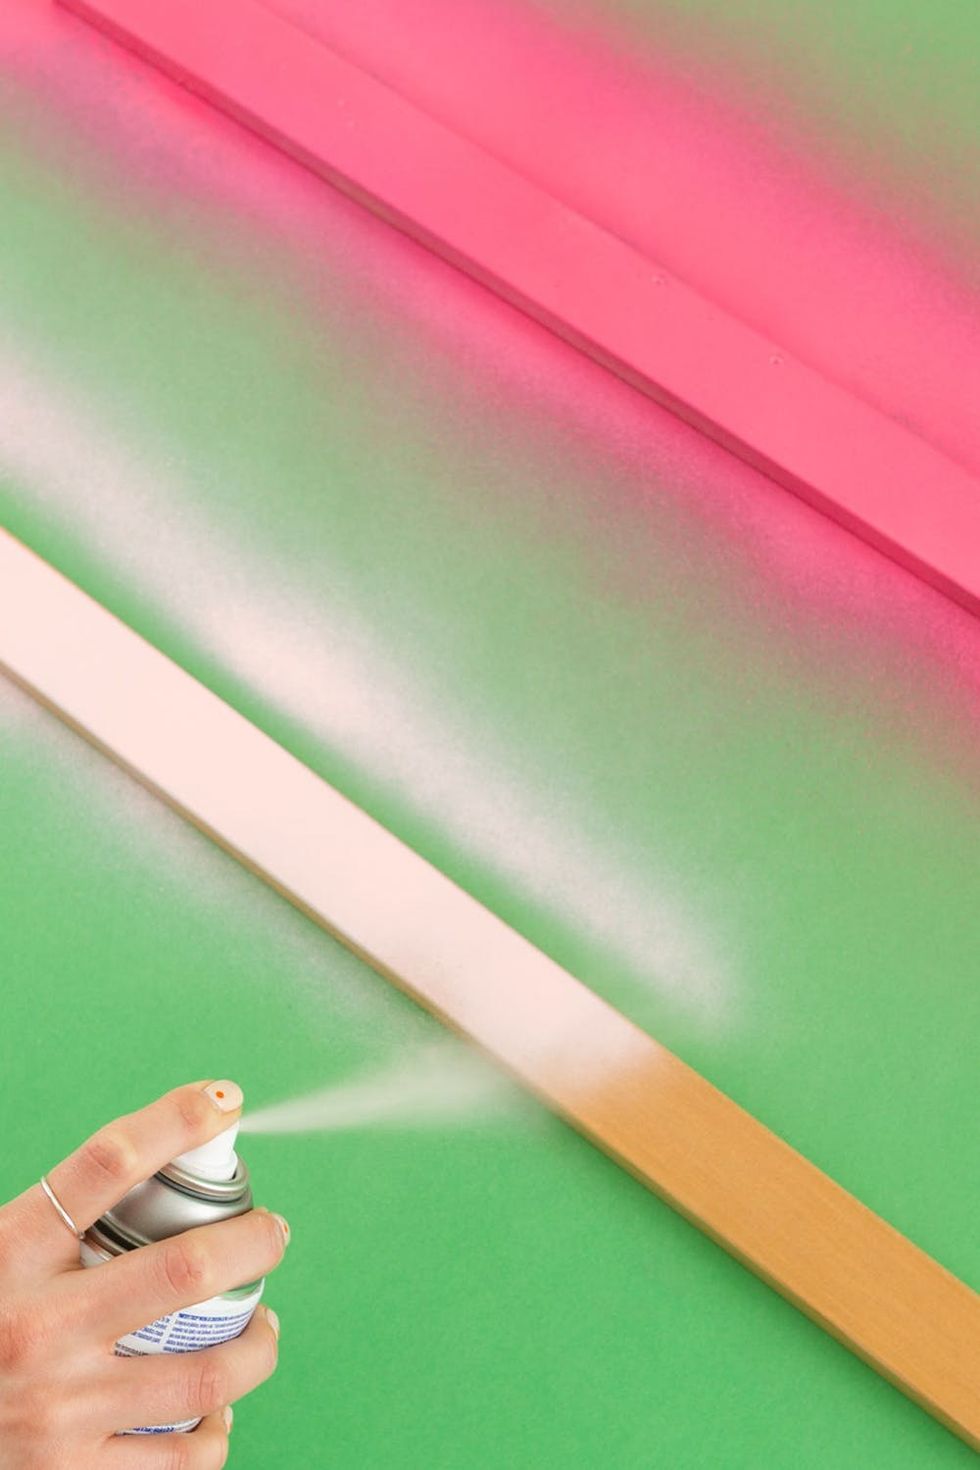
Spray paint two of the panels with paint colors and then let dry. Apply a second coat as needed.
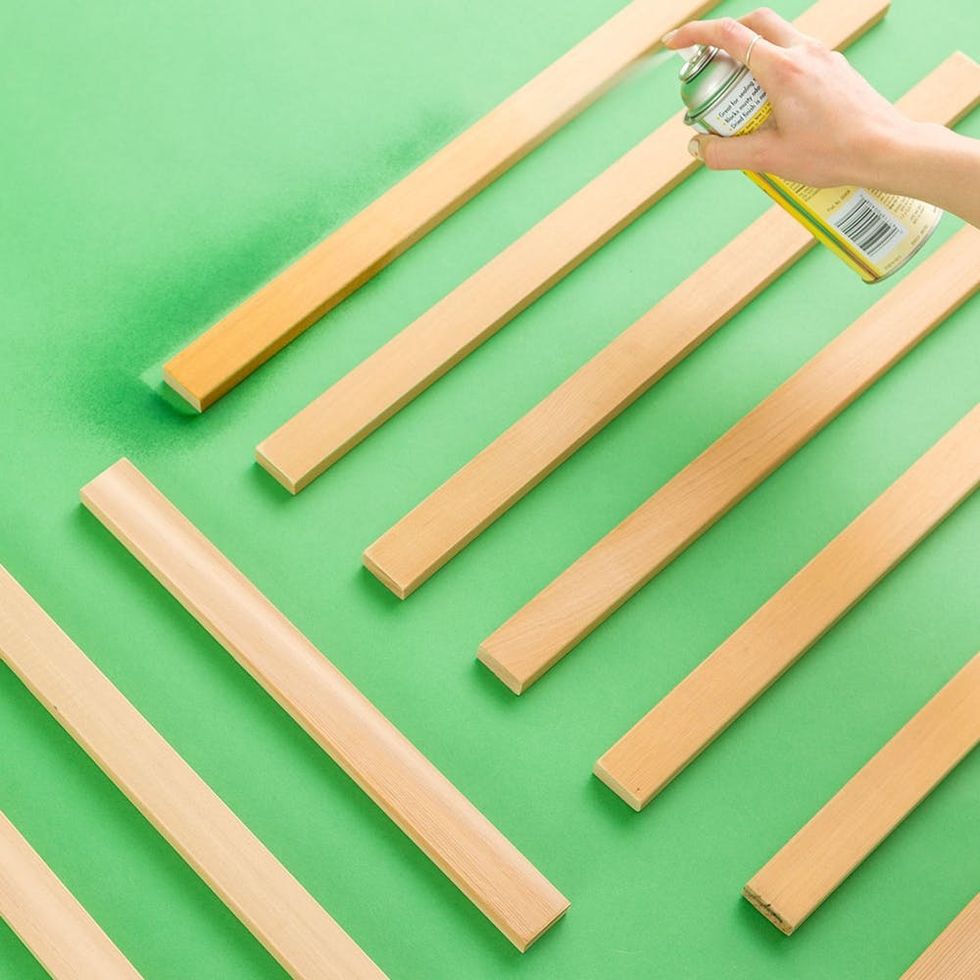
Once the paint is completely dry, spray each panel with sealant.
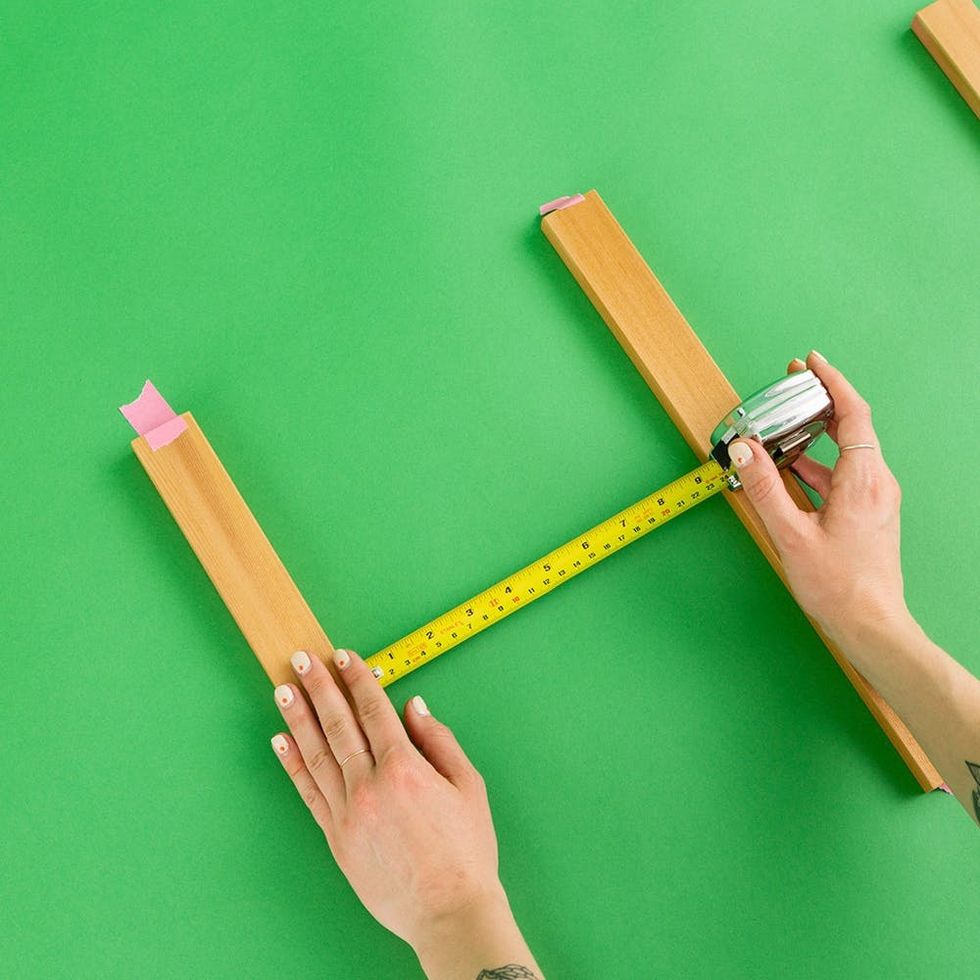
Measure 9 ½” between the center support panel and the two outer support panels. Tape the panels in place so the measured space doesn't shift. Measure the top panels, support panels, and two outer support panels.
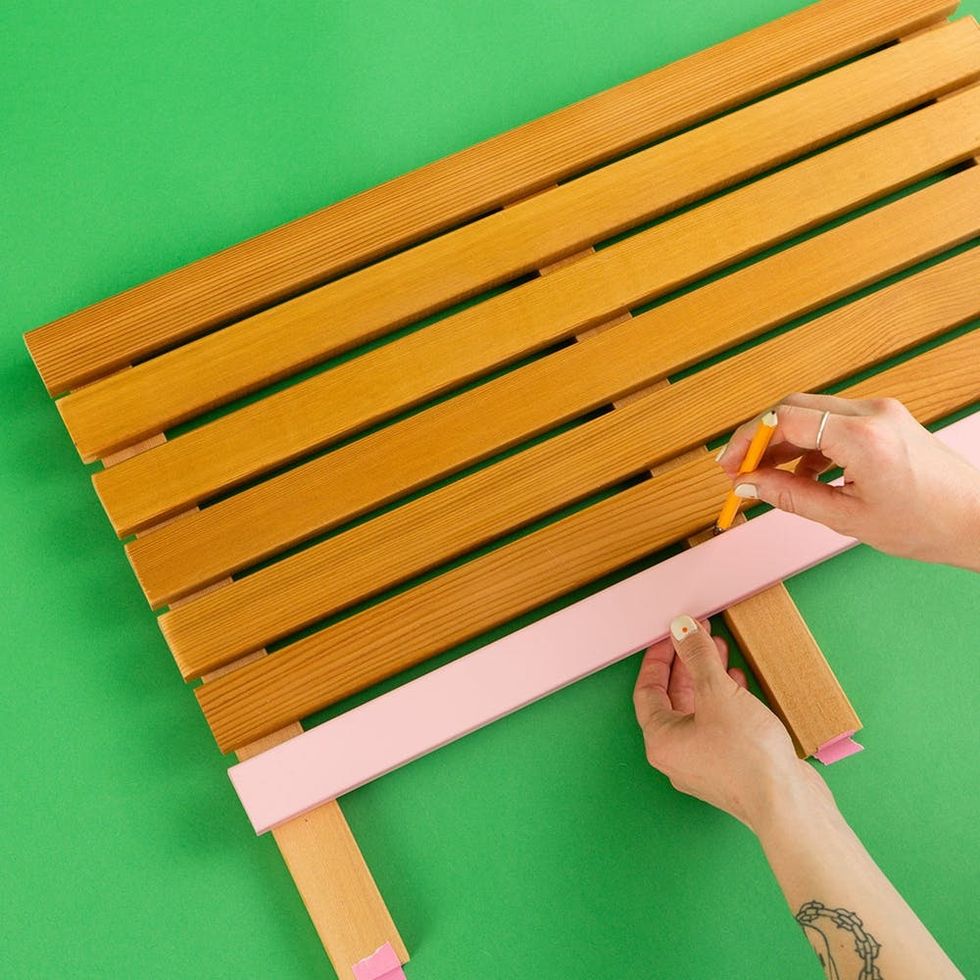
Evenly space out top panels on the support panels, approximately ½” apart, or eyeball using the width of a pencil. Secure with wood glue and let dry (time may vary depending on product).
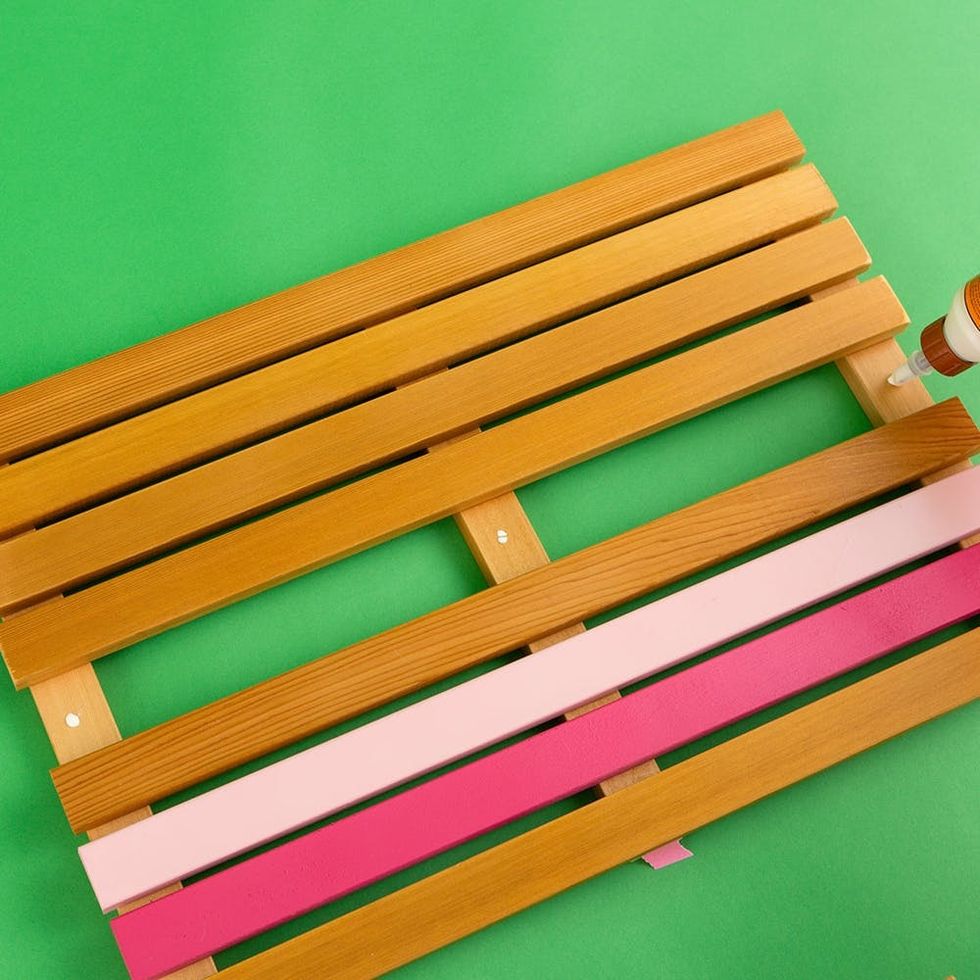
Once dry, use a drill bit to make a pilot hole at each cross-section of the panels, totaling 27 holes. Note: Screwing in the top panel first can help keep things in place as you make the rest of your pilot holes.
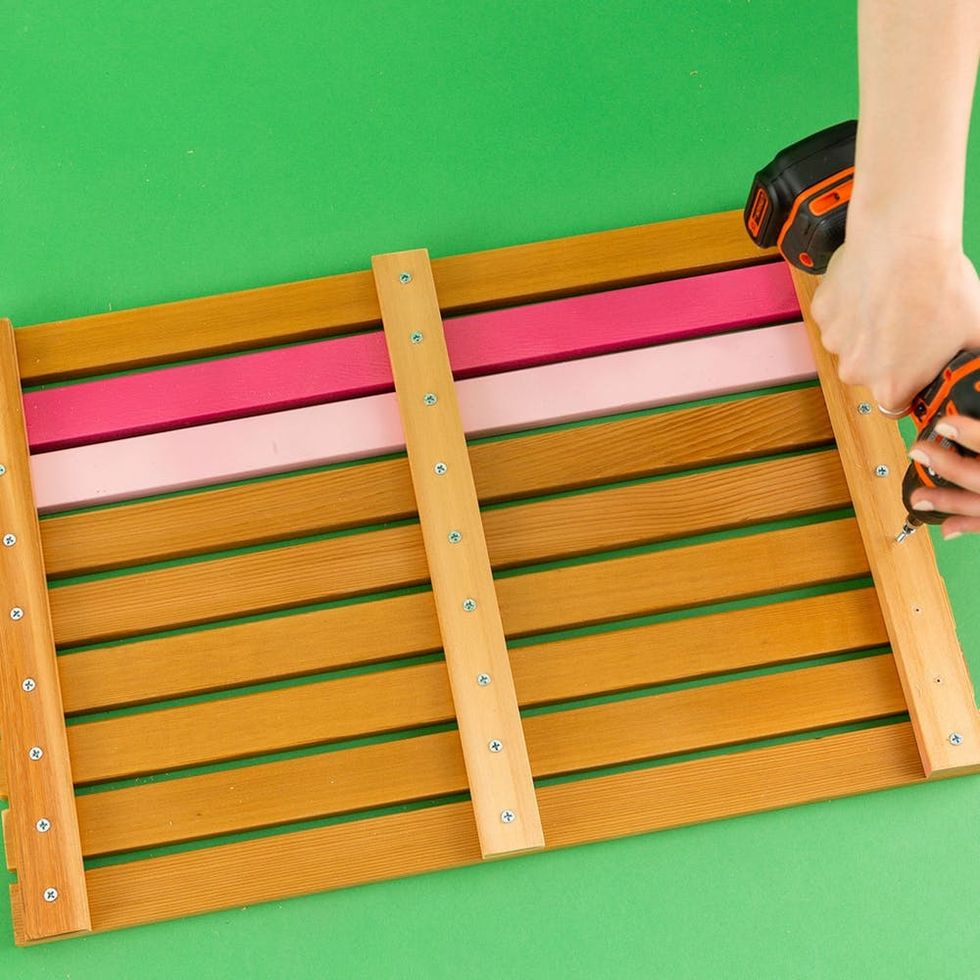
Screw each top panel to the support panel by drilling wood screws into the pilot holes.

Brush off any lingering cedar dust and incorporate into your bathtime routine!
Tag in your DIY bath mats on Instagram and subscribe to our email newsletter for more!
(Photos via Brittany Griffin / Brit + Co)
This post has been updated.
0 Commentaires