
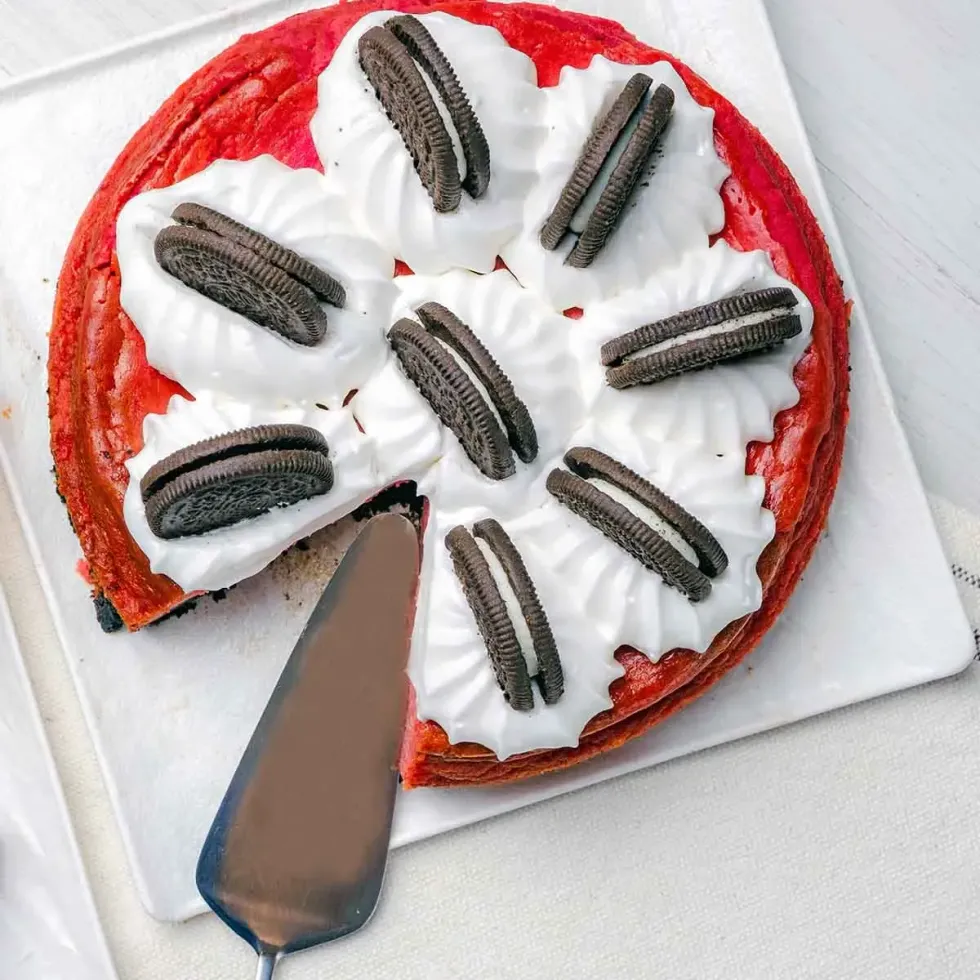
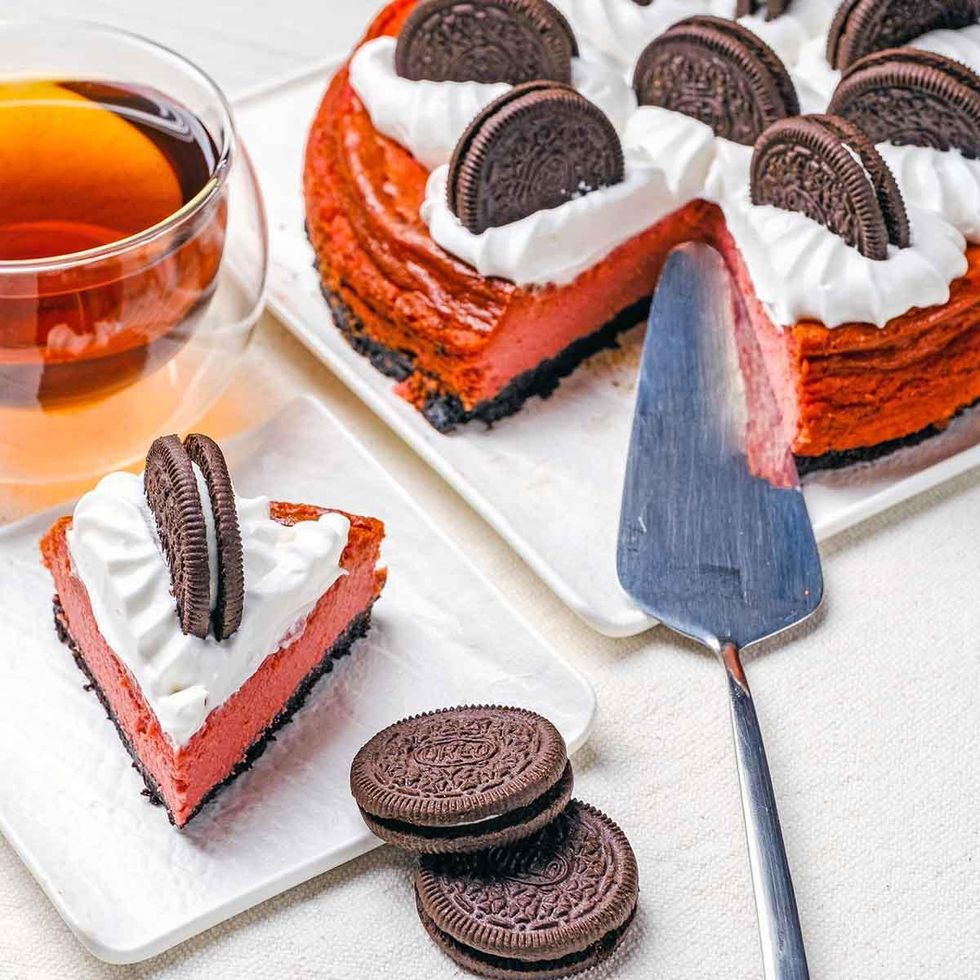
There are two things we love more than pretty much anything else in the world: color and dessert. This indulgent and delicious red velvet cheesecake recipe satisfies both of our perpetual cravings. Topped with Oreos and just as pretty as it is yummy, this concoction from Ruth over at Sinful Kitchen is on our to-serve list for this party season. We'll let Ruth take it from here!
Oreo red velvet cheesecake has long been a favorite in my family. From the subtle chocolate flavor to the perfect crunch of the Oreo crust, this dessert is perfection!
Let's not forget a generous dollop of whipped cream to finish every bite with a touch of coolness. While you might think red velvet is limited to Christmas and Valentine's day, red velvet is perfect for any occasion!
I make this cheesecake using a slow, cool-down method instead of a water bath (bain marine). I find this slow cool-down method is the only way to achieve a crack-free cake.
If you are looking to make mini cheesecakes, you can find the directions below.
What Is Red Velvet?
In a nutshell, red velvet is a vanilla cake with a little bit of cocoa powder. Or another way to think of it as a cake with a very mild chocolate flavor. Red velvet cake is traditionally made with buttermilk to give it a slight tart finish.
It is generally believed that red velvet cake originated during Victorian times. The red color resulted from vinegar combined with non-Dutch processed cocoa powder. This interaction caused the cake to turn a reddish brown hue.
During WWI, the ingredients changed, but consumers still wanted the classic red color. To keep the red color, beet juice was added. Nowadays, red coloring typically comes from gel red food coloring.
How to Bake a Perfect Oreo Red Velvet Cheesecake

Ingredients:
For the Crust:
- 36 Oreos +10 - 12 for decoration
- 4 tablespoons (57g) butter, melted
- 2 tablespoons (24g) granulated white sugar
For the Cheesecake:
- 24 ounces (680 grams) full-fat bricks of cream cheese (3 bricks) softened to room temperature.
- 1 and ⅓ cups (270g) granulated white sugar
- 1 cup (249g) sour cream, room temperature
- 3 tablespoons (16g) cocoa powder, sifted
- 1 pinch salt
- 1 teaspoon (4g) vanilla extract
- 3-6 drops red gel food coloring (add more for a darker color)
- 4 large eggs, room temperature
For the Whipped Cream:
- 2 cups (476g) heavy cream
- 1 teaspoon (4g) vanilla
- ½ cup (60g) confectioners sugar
Directions:
Time needed: 2 hours and 15 minutes.
- Preheat the oven to 325F/160C. Line the bottom of a springform pan with aluminum foil. Place the Oreos in a food processor with the filling, and pulse until the cookies are fine crumbs. Add the melted butter and sugar. Pulse until thoroughly combined.
- Evenly distribute the cookie crumbs to the bottom of the springform pan. Firmly press the crumbs into place. Bake for 10 minutes. Remove from the oven and fully cool before filling with the cream cheese mixture.
- Preheat the oven to 325F/160C. Bring the cream cheese, sour cream, and eggs to room temperature.
- Start with a large bowl and a mixer, either a hand mixer or a stand mixer fitted with the paddle attachment. Starting the mixer on a low speed, eventually working up to a medium speed, beat the cream cheese and sugar until thoroughly combined, about 3 - 5 minutes. Add in the sour cream and mix for 2 minutes. Add the cocoa powder and vanilla, and mix for 2 minutes. Add the red food coloring until you achieve the desired color, and mix until the color is homogenous. *Throughout the mixing process, scrape down the sides of the bowl as needed to ensure all ingredients are thoroughly combined.
- In a separate bowl, gently beat the eggs together using a whisk or a fork. Then add the eggs to the cream cheese mixture and mix on low until the eggs are barely incorporated about 1 minute. *Note: Just barely whisk the eggs into and mix. Over-whisking brings too much air into the eggs and results in cracks.
- Pour the batter into the pre-baked Oreo crust. Gently tap the pan on the counter to release any air bubbles. Place the cheesecake on a baking sheet. Then place the baking sheet on the middle rack of the oven and bake at 325F/160C for 30 minutes.
- Without opening the door, lower the temperature to 250F/120C and bake for an additional 45 minutes.
- Without opening the door, turn off the oven and keep the cheesecake inside for 30 minutes. After 30 minutes have passed, barely crack the oven door and keep it open with a wooden spoon. Leave the cheesecake like this for 1 hour. After an hour, remove the from the oven and sit it on the counter for 3 - 4 hours. After 3-4 hours, your cheesecake has set.
- Cover the with plastic wrap and place in the refrigerator for at least 6 hours before serving.
- In a medium-sized bowl, beat the heavy cream until you can see traces in the cream. Add vanilla and confectioners sugar.
- Fill a piping bag with whipped cream and fit it with a large drop flower tip. Place large drop flowers around the edge and place an Oreo in each dropped flower.
Substitutions and Alternatives
As with most recipes, you can tweak the recipe to meet your dietary needs, preferences, or what is in your panty. Here are just a few suggestions.
- Oreo Cookie Crust: Oreo cookies might not appeal to everyone. In that case, you can swap out the Oreo cookies using the same measurements for graham crackers, vanilla wafers, or even animal crackers.
- Gluten-Free Crust: If you prefer a gluten-free crust, substitute using the same measurements as the Oreo cookie crust. Gluten-free crust options include gingersnaps, sandwich cookies, biscotti, or brownies!
- Red Velvet: If you would like a regular cheesecake without the red velvet, omit the cocoa powder and food coloring.
- Vegan: Vegan bakers are amazing! They make the most delicious desserts using so many creative ingredients. Someday I might bake a vegan version, but until then, I feel more comfortable referring you to another blogger with a tried and true recipe than guessing the ingredients. Try using this recipe from Nora Bakes or this recipe from Chocolate Covered Katie.
Expert Tips to Achieve The Perfect Cheesecake
Crust: Let’s start with the foundation. Use a food processor to grind the cookies into a fine crumb. There should be no chunks left. Add the butter and any other flavoring the recipe calls for. Then spread the crumbs evenly at the bottom of your pan. Pack the crumbs down tightly. I usually use the bottom of a measuring cup, but a glass or coffee cup works too. The key here is to pack the crust tightly, so it does not crumble when you cut it.
Ingredients: Always use full fat. Lower-fat cream cheese has a grainy texture. Second, all dairy products should be at room temperature. This allows all the ingredients to be blended together smoothly and avoids lumps!
Ingredient Timing: I use a stand mixer and mix the cream cheese and sour cream until the two are perfectly blended. Lightly whip the eggs together by hand in a separate bowl. Then add the eggs to the cream cheese mixture and just barely mix. This is key to having a cheesecake that does not crack!
Let me explain... When the eggs are over-mixed into the batter; the over-mixing introduces air. The air expands and contracts in the baking process, resulting in cracks.
Long Slow Bake: Over the years, I have tried just about every method to bake a cheesecake, including the water bath method. Every time resulted in cracks, except when I made the cake using a long slow bake method. Here is the method I swear by. Preheat your oven to 325F and bake for 30 minutes. Without opening the door, lower the temperature to 250 and bake for an additional 45 minutes. Without opening the door, turn off the oven and keep the cheesecake inside for 30 minutes. Then barely crack the oven door and keep it open with a wooden spoon. Leave it like this for 1 hour. After an hour, remove from the oven and sit it on the counter for 3 - 4 hours.
How To Make The Mini Cupcake Version

Using the ingredients above, you can make 24 mini Oreo red velvet cheesecakes. Cut the recipe in half to make 12.
Start by placing cupcake liners in your muffing pan/s. Follow the instructions to make the crust, but cut the baking time down by 1 - 2 minutes. Once the crust has cooled, evenly distribute the batter between the muffin tins. Bake at 350f for 15-17 minutes.
When the edges are set and the center is a little wobbly, the cheesecake is finished baking. At this point, remove it from the oven and cool it to room temperature.
Storage
Refrigerator: For best results, store without the whipped cream in an airtight container. About 30 minutes before you plan on eating, place it on your counter and allow them to come to room temperature.
Freezer: Cool and bring to room temperature. Then wrap it tightly in plastic wrap. When you are ready to eat cheesecake, move it to the refrigerator the day before. About 30 minutes before eating, place it on your counter and let it come to room temperature.
Thanks Ruth!
Love this red velvet cheesecake recipe? Subscribe to our newsletter for more dessert ideas!


0 Commentaires