I'm a self-proclaimed nostalgia addict. I mean, I'm obsessed with looking back at old memories and reliving them, whether they're my own or someone else's. And I know I'm not alone: just look up the hashtag #tbt if you need proof! So when it came time to brainstorm gift ideas for a friend who's as nostalgic as I am, I knew I wanted to do something that would allow us to reminisce about all our favorite moments together.
If you're anything like me, you're always on the lookout for thoughtful and unique gift ideas. And what could be more thoughtful than a homemade present? Especially one that captures all of your best memories together. After some brainstorming, I decided to create a Canva presentation that captured the intricacies of her identity through the eyes of the people who know her best.

Belen, the receiver of this presentation, and I both share the same birthday, and in 2020, I decided to make my first memory deck to DIY a slides-centered approach to commemorating her 30th. When I set out to make the deck, I had one mission in mind: to hug her with words and to craft a love letter of sorts that highlights all the things that make her her, told through the perspectives of loved ones.

If you want to create a custom presentation for someone special in your life this holiday season, follow these steps to make something truly meaningful:
How To Create Your Own Memory Deck
Step One: Design a Survey
Get started by crafting a survey questionnaire about your loved one's life. You can include questions about their childhood, favorite memories, hobbies, and anything else you think would be interesting to know.
Once you've determined the questions you want to ask, program them in a tool like Google Forms or Typeform. Then, send the survey to friends and family members who know your loved one well. Ask them to fill out the questionnaire and return it to you by a specific date so you can get all of the information you need in a timely manner.
Step Two: Pick a Format
Once you've collected all of the responses to your survey, it's time to start putting together the presentation. I recommend using a platform like Canva because their beautiful templates make it easy to drag and drop elements and add text.

Step Three: Create Your Deck
Start by creating a title slide with your loved one's name and photo. Then, begin adding slides for each question you asked in the survey. Include quotes from loved ones, photos, videos, or anything else that brings the memories to life.
Don't worry if you don't have enough content for every single question. The important thing is to focus on quality over quantity. The goal is to create a presentation that your loved one will cherish for years to come, not something that's rushed and sloppy.
Step Four: Export and Print
When you're finished putting together the presentation, export it as a PDF file. Then, print it out and bind it together to create a physical book of memories. Alternatively, you can send your friend the digital version so they can view it on their phone, tablet, or computer.

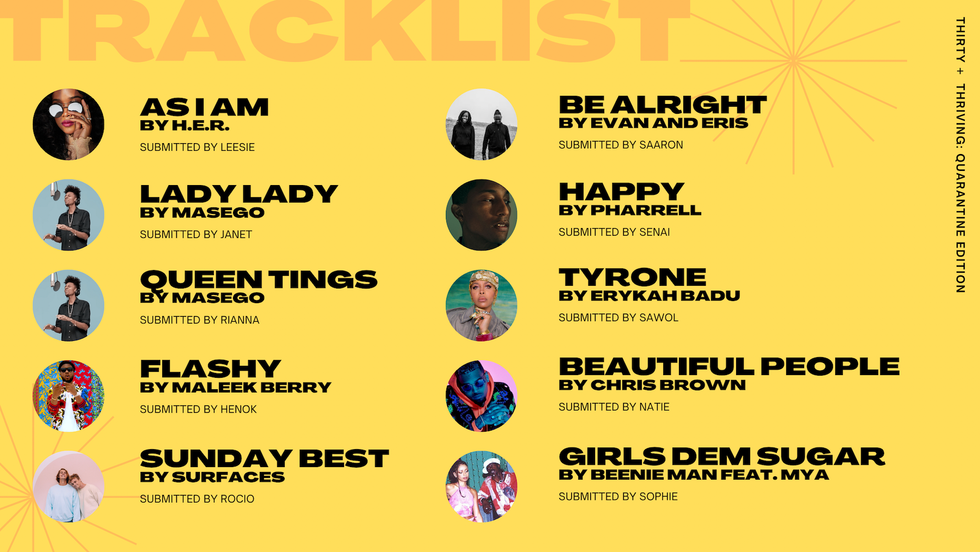
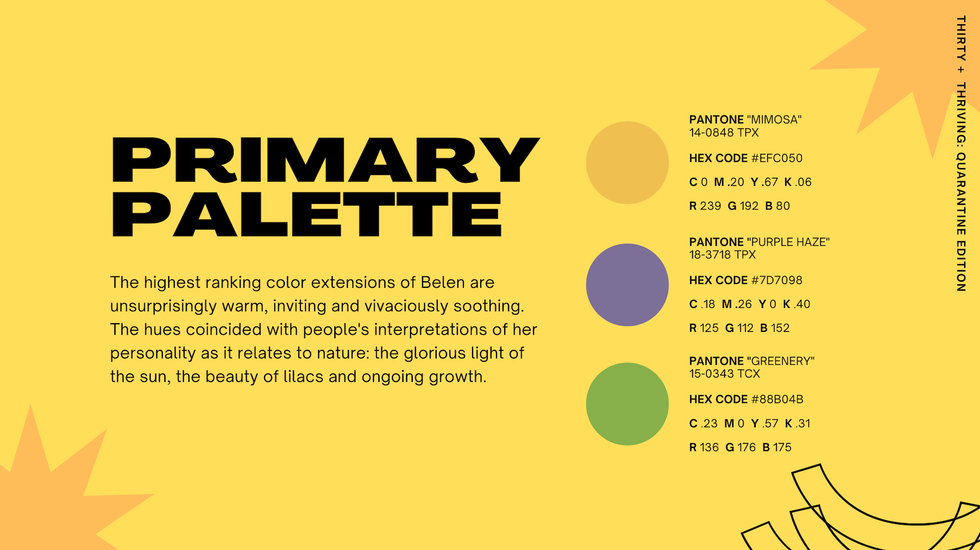
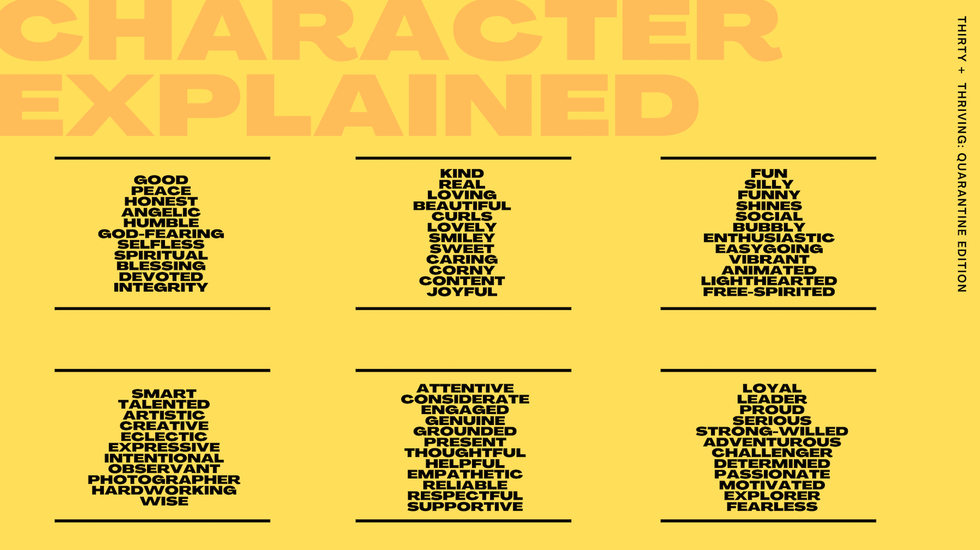
The process is *so* satisfying. For Belen, the ideation, design, and concept of her memory deck (which I titled "Belen Voyage") culminated in a well-meaning presentation injected with lots of PDA. The end result? A whopping 100-page presentation loaded with words of affirmation, quotes, anthems, mood boards, and syrupy proclamations of the specificity of the extent of our love for her.
I am so grateful to have landed on this format as opposed to another. The process of making it was intimate and reflective, providing much-needed reminiscing, laughter, and happy tears.
If you're feeling inspired, check out the Canva I made for Belen. Then make one of your own! This thoughtful gift is sure to be a hit with any nostalgia lover in your life. So go ahead and start crowdsourcing memories from your loved ones—you might just end up making some of your own in the process.
For more content on nostalgia and connection, subscribe to Permission To Be Human. And if you have a personal experience or memory deck you'd like to share, DM me or email me at sophie@brit.co.
0 Commentaires