
As the girlies know, sundress season is finally upon us. It’s time to don a cute little mini and let those legs out! We may be more reluctant to show more skin, courtesy of the dreary, overcast days of winter. Fear not – there are plenty of solutions for even the fairest of complexions. Enter: self tanning. It’s the easiest way to get a sunkissed look without frying in the sun like a little fishstick.
Though the idea of doing your own tan can be daunting, we’ve made it really simple with this how-to guide. Think of this as your personal copy of Self-Tanning For Dummies – we’ve got all the best tips and tricks for looking bronzed all spring and summer. Read on, and glow get ‘em!The Do's And Don'ts of Self-Tanning
The Do's:
- First timers, start with a lighter shade. You’ll avoid the embarrassment of looking too dark from your first go-around, plus starting with a gentler hue can help you become more comfortable with the application process.
- Use gentle cleansers and body washes – they won’t disrupt the self-tan color.
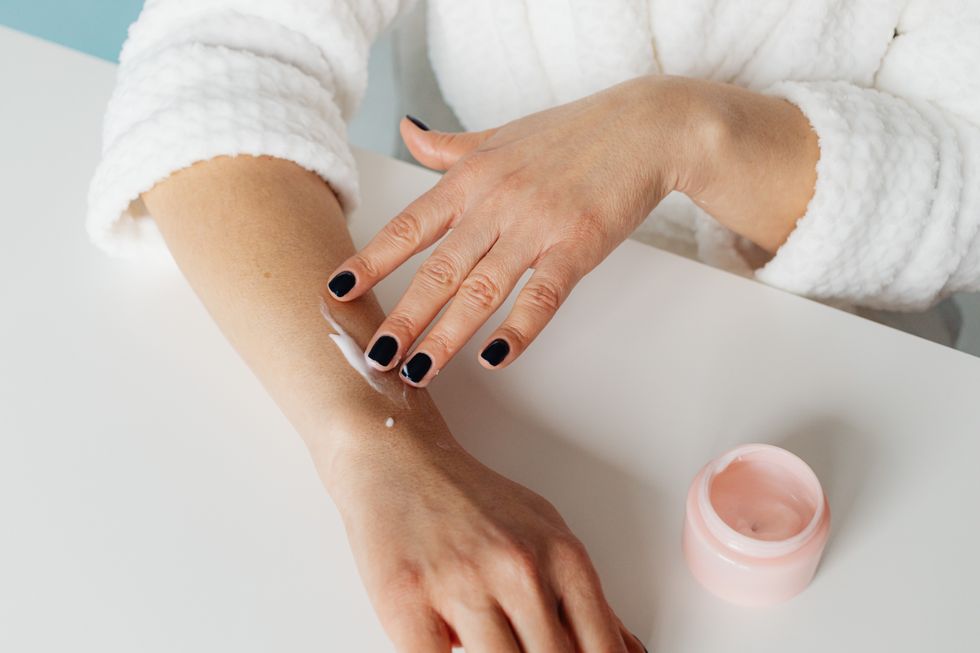
- You’ll need around-the-clock moisturization, mama. Keeping your self-tanned skin keeps it from cracking and flaking off and creating noticeable gaps or dark patches in your tan.
- Avoid using retinols and acne treatments – they can fade the tan.
- Exfoliate. You don’t necessarily have to opt for a physical exfoliant, though. Cleansers with glycolic or salicylic acids are just as effective in buffing away dry, dead skin.
The Don'ts:
- Don’t pop off on a self-care day while wearing a self tanner. Haircuts, manicures, waxes, and shaving are the main culprits in stripping tanner off of your body.
- Don’t tan your body before your face. It’s easier to apply tanner correctly (all over the face – yes, even the under eyes and eyelids) to your face with clean hands, to avoid patching. Apply to your face first, wash off those hands, then get to the rest of your hot (and soon to be glowing) bod.
- Don’t shower the same day you apply self tanner. You’ll erase all the hard work you put into your goddess-like glow. When you do go to shower, don’t crank the temperature up too high. Cooler water helps sustain your tan. While we’re at it, avoid sweating after self tanning – for the sake of smooth-looking skin!
- Don’t reach for the deodorant or perfume any time soon. These products can further disrupt the tanning color, so if you can steer away from them, the more seamless your tan will be.
How To Pick The Right Self-Tanning Product
There are endless products in the self-tanning universe, and it can be hard to know exactly what to reach for. The process is especially daunting for new self-tanners, considering the one you choose considerably alters the skin. We’re giving you the full rundown on the types of products available with helpful insights on how to use them.
Mousses

Mousses with a bronzing effect are great for beginner tanners, so you can see where exactly you’re applying the product on your body. This pick from Coco & Eve is the best way to start because of its tint. Plus, it feels like you're coating yourself in a beachy-sweet, summery mango and guava scent – score.
After applying tanning mousse with a tanning mitt and following the necessary steps, follow the label directions on your product for drying and rinsing. Some formulas can be left on overnight, while rapid solutions call for a full-body rinse after just a few hours.
As long as you’re prioritizing exfoliation and moisture after tanning, you should have a smooth experience.
Lotions
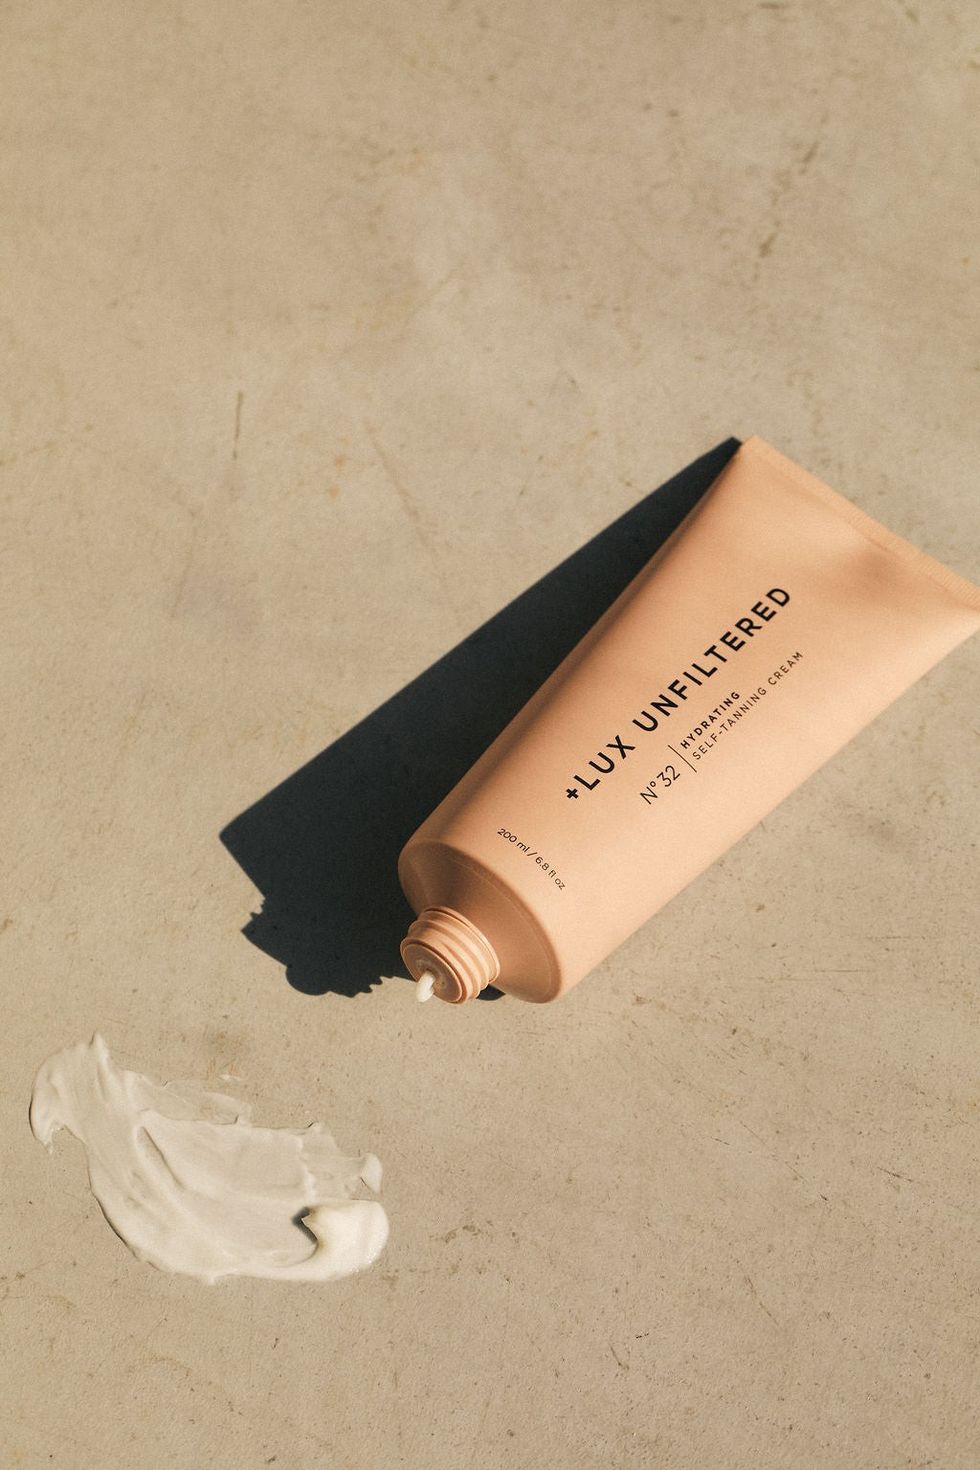
Tanning lotions are fairly straightforward to use, just like mousses are. Take note of the concentration of dihydroxyacetone (DHA) in your tanning product – this is the ingredient that actually causes the tan to develop, and how dark it’ll turn out on your skin. Acronymic terms like that can sound alarming, but all-natural choices like this cream from Lux Unfiltered are kind to the skin. Apply tanning lotions in a cool, dry area to avoid sweaty streaks in your tan.
Tanning Drops
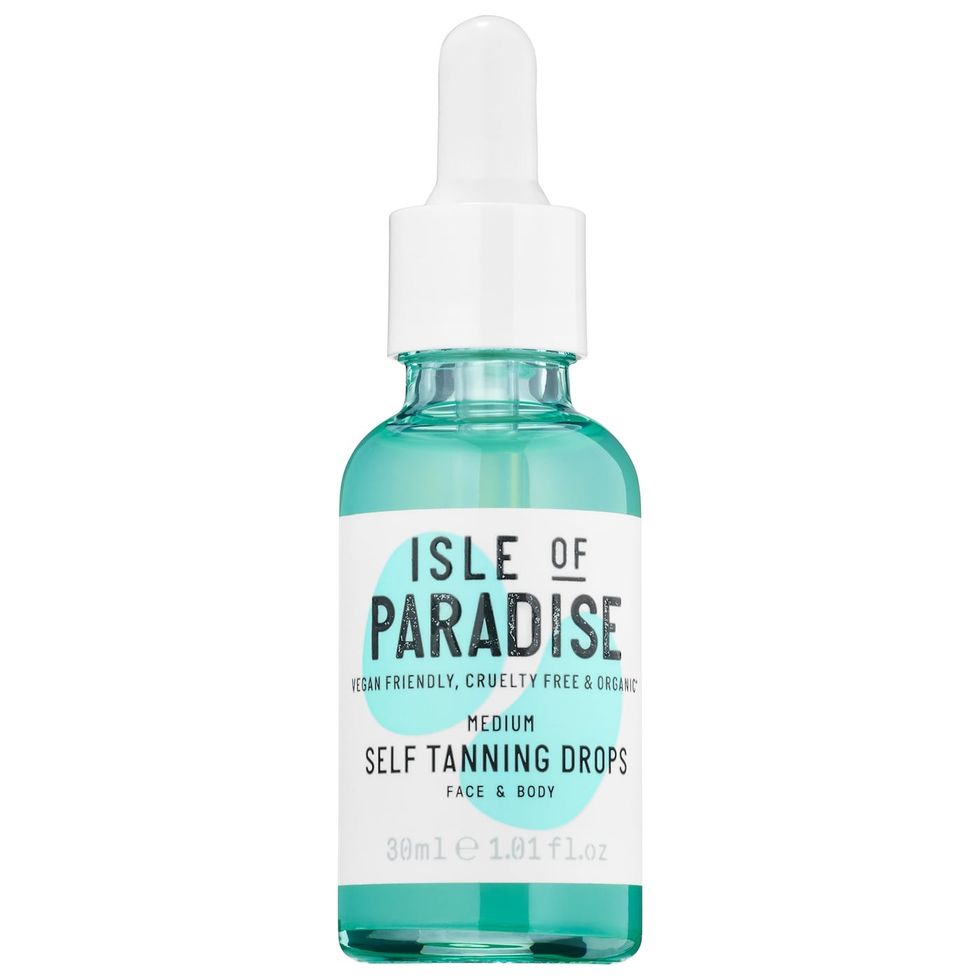
Tanning drops work by mixing them with the face and body lotions you already use. They’re often transparent, meaning they don’t have a visible bronzing effect until it develops on your skin.
With drops, it’s easy to customize your shade since you control the amount of product that goes right into your skincare routine. You can even infuse your foundation with these natural drops from Isle Of Paradise (jaw drops)! Use just a few drops to start to avoid a messy tan – once you perfect your tanning routine, experiment with more tanning drops.
Sprays

Utilize the same self-tanning prep with sprays as you would with mousses: exfoliate, shave, and moisturize a considerable amount of time beforehand, and you’ll be good to go.
Sprays require more thought behind actually finding the right space for application. Because spills and over-sprays happen, (and they can stain your floors and walls) make sure whatever location you choose is covered. Some old towels or sheets will work fabulously!
Sprays are good at reaching challenging areas of the body you want to tan. Applying them evenly can be equally challenging, so the best tip we have is to hold the spray can around 8 inches out from your skin. This organic, naturally-derived self-tanning mist from COOLA is fit for all skin types – even sensitive ones.
Gradual Self Tanners
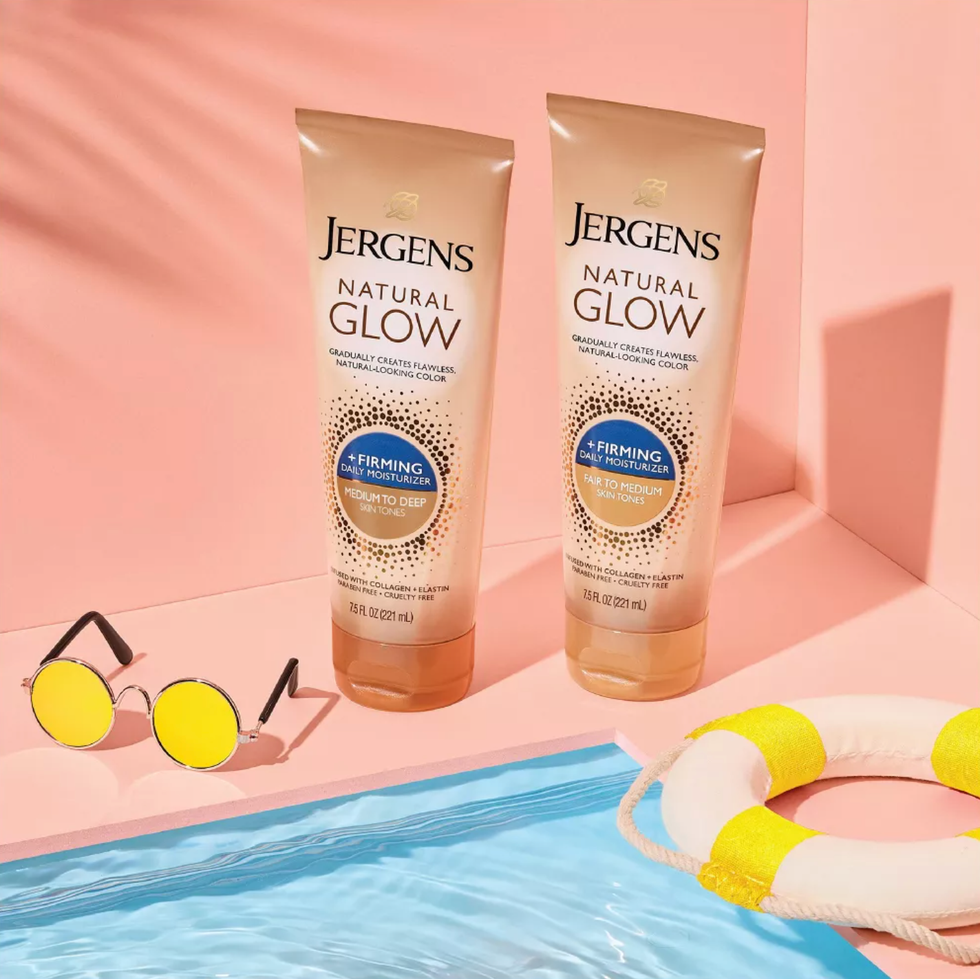
A gradual self-tanner option is suitable for beginners still trying to find the right color. This way, you can take your tan day-by-day as the product builds upon itself and gets darker… gradually. These often come in the form of a lotion, like the beloved Jergen’s Natural Glow Body Lotion.
Self-Tanning Made Simple: Follow This Step-By-Step
- Exfoliate with a washcloth. Do this as early as 24 hours before your tanning sesh for best results. If you want to remove any body hair, do so at least 24 hours before as well, and moisturize after the fact.
- Dry your skin completely before applying self tanner.
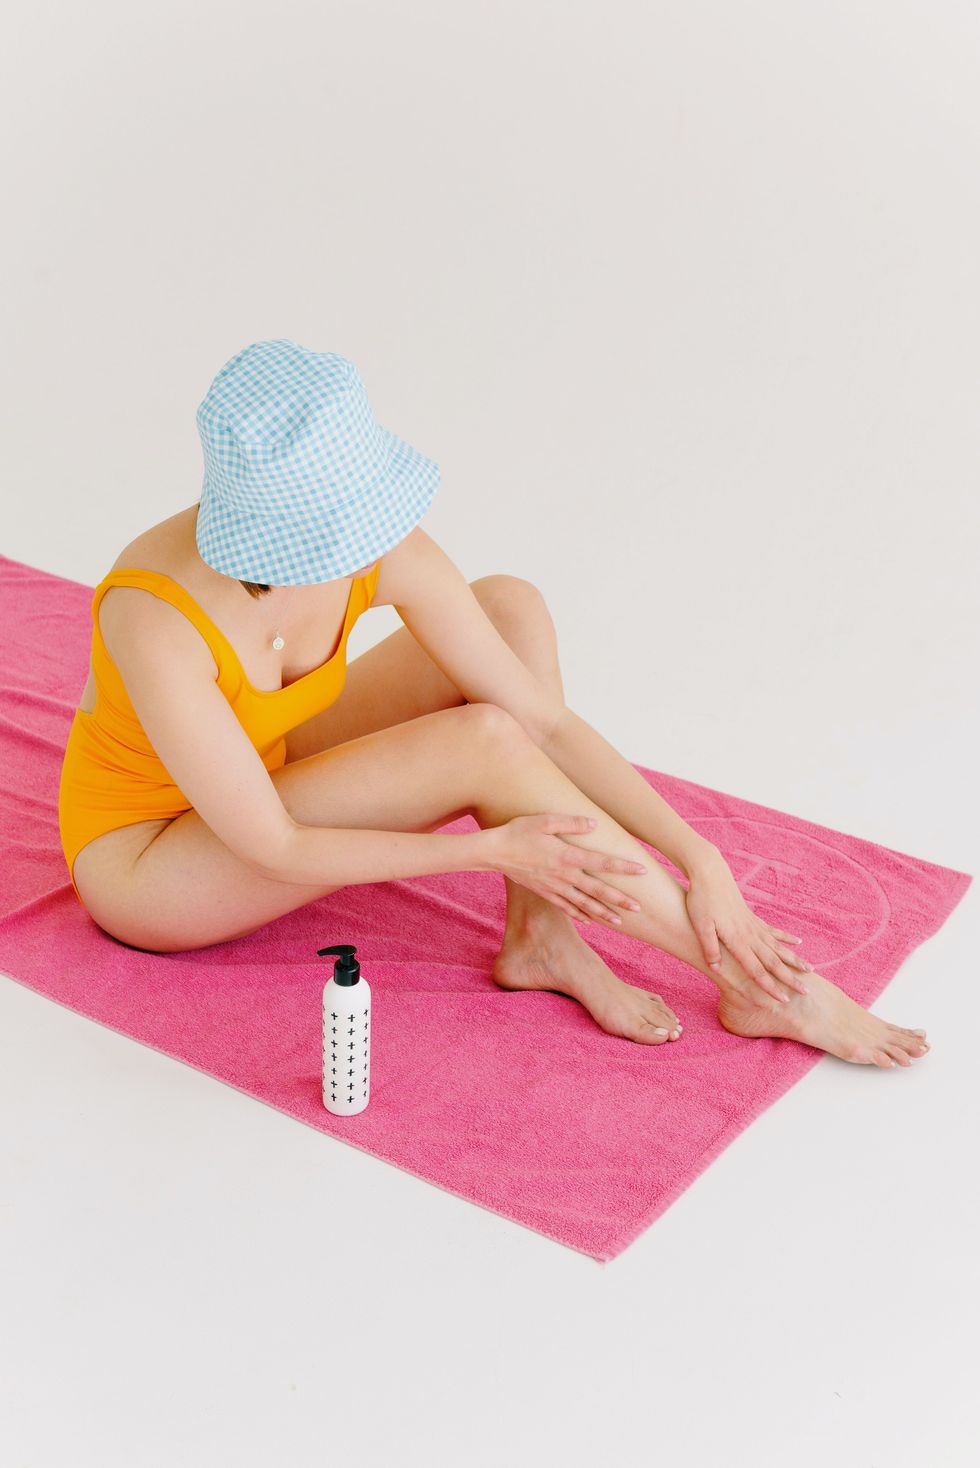
- Apply the tanner, starting at your feet, working in sections. Blend the tanner from your wrists and ankles onto your hands and feet for a flawless finish. You can also add moisturizer to dilute the product going near your joints, since these areas will absorb more product than the rest of the skin.
- Let the self tanner dry longer than the instructions tell you to – it’s better to be safe than sorry!
- Wear loose-fitting clothing for the remainder of the day to avoid too much of the tanner rubbing off.
How to tell it's time to reapply?
It’s time to reapply your tanner when you notice splotches and fading from your previous tanning job. To start reapplication, prioritize exfoliating, shaving, waxing, and moisturizing around 24 hours before you begin.
Our best tips:
- Remove any lingering self-tan product before applying a new layer. There are even special tan-removing products that can assist!
- Aim to reapply your tanning product as evenly as possible, while being diligent to not lay it on thick around your joints.
How to Reach The Tricky Parts? Self-Tanning Your Hands, Feet, Face, and Back
- Moisturize in specific areas such as the wrists, ankles, and any other tricky spots you may be worried about right after you apply tanner.
- To bring the product onto your back while self-tanning, you’ll want to use a special back mitt. There are tons of options you can buy that make the hard-to-reach areas more accessible.
- Keep baby wipes on-hand to clean up any mistakes. Starting from scratch just means taking up more of your time, and we want this process to be smooth. Wipes are also helpful for getting that pesky leftover tanner that’s accrued under your nails.
How to fix a patchy tan?
When you hit a sort of rough patch with your self-tan, try spot exfoliating the areas where there’s excess product. This will even things out so your tan looks professional! To fill in lighter patches, reach for a temporary self-tanner so you can create cohesive color.
Is self-tanning good for your skin?
Because self-tanner often substitutes for real rays, it means you may not be spending as much time in the sun exposing your skin to cancer-causing UV. Don’t you dare write off wearing sunscreen, though – your skin still needs protection under any circumstance. Slather on that sunscreen, or opt for a self tanner with SPF!
Not every self tanner is made equally. Some may use ingredients that irritate and dry out your skin. Remember when we mentioned DHA? DHA can be either synthetically manufactured, or derived naturally from fruit. Both methods are currently FDA-approved, but that doesn’t mean they’re free from damaging effects. Your skin will likely appreciate a product with natural DHA a lot more.
Sign up for our newsletter for more beauty tips delivered straight to your inbox.
Brit + Co. may at times use affiliate links to promote products sold by others, but always offers genuine editorial recommendations.
Header image by Sora Shimazaki / PEXELS


0 Commentaires