Whether you're looking to personalize your home decor, or plan to gift your bestie a fragrant springtime bouquet, time spent stepping up your floral arranging skills is never wasted. Before going forth and free-styling your next floral arrangement, take some tips from the pros! Putting professional floral arranging methods to work in your own home shows the difference between a store-bought bouquet, and a special bespoke one. Get ready to feel all the inspiration with these easy floral arranging tips!
1. Before starting, ideate about the final floral arrangement.
Before buying flowers, think about what you want the final product to look like. Is your ideal floral arrangement big and luscious, or is it bare and playful? Consider the shape, color, and size of your arrangement to create a plan of what flowers and materials to buy! We love to scroll through our socials and Pinterest for the best ideas!
2. Have a range of different flowers.

At the most basic level, floral arrangements make use of several different types of florals: focal flowers, line flowers, and filler flowers. Focal flowers are larger and hold more visual weight. These are the flowers with eye-catching factor, like lilies or roses. Line flowers are a bit thinner, with blooms growing along the stems — think snapdragons or other line-shaped greenery. Finally, filler flowers are smaller stemmed blooms used to balance out your floral arrangement. Zinnias, baby’s breath, or mums are just a few examples.
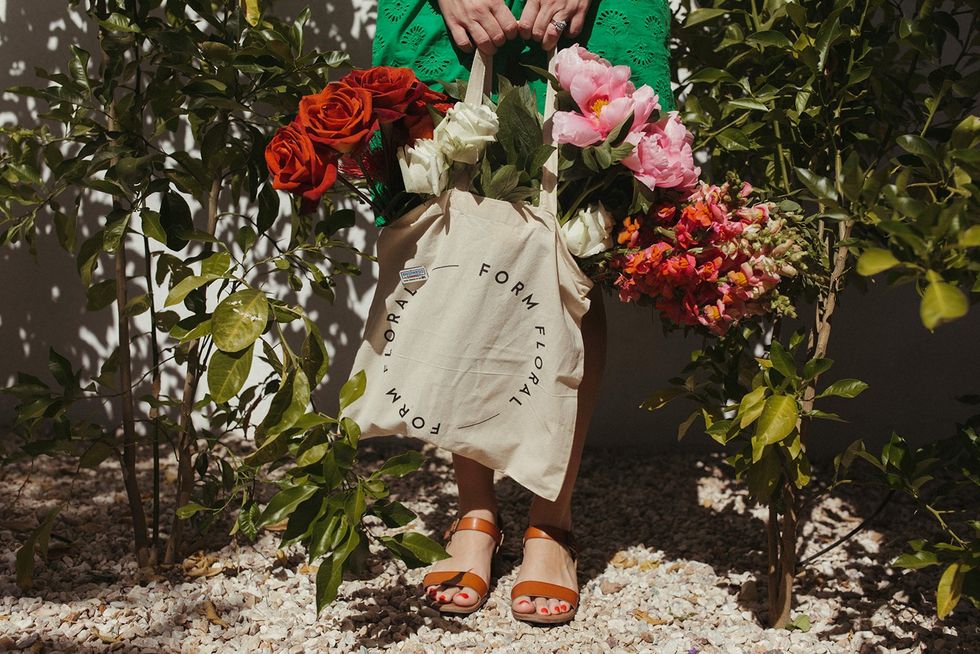
"Flowers with stronger stems are ideal for beginners. When you're just getting started, work with carnations, mums, roses, spray roses – basically any grocery store blooms," says Malori Maeva, CEO and Founder of Form Floral. "It'll give you an opportunity to experiment without a huge price tag and they're more forgiving than super delicate blooms like dahlia or poppies. Plus, if you can make grocery store flowers look beautiful, you're going to have no problem making more luxe flowers look beautiful."
Depending on your OG arrangement idea, you may need more of one type of flower than others. Big, lush arrangements (more focal flowers) are most suitable for special occasions and celebrations, while thinned out arrangements (more line and filler flowers) give off an artsy, experimental vibe.
Some floral combos Maeva recommends:
- Rose + Eucalyptus + Tulips
- Dahlia + Ruscus + Ranunculus
- Chrysanthemum + Fern + Cornflower
3. Use color theory.
Color theory isn’t as daunting as you may think. Essentially, you can use color theory as a tool to guide which color flowers you’re buying for your arrangement, and how to place them together.
Using monochrome colors means your arrangement will be the same color all around. You can add different hues of the same color for variety – say you’re crafting a red arrangement – then you can also incorporate some pink shades!
Analogous color palettes make use of like colors. More technically, analogous colors are next to each other on the color wheel. So, reds are analogous to oranges, and greens are analogous to blue shades. A good way to think about it for beginners is to either work with a warm or cool color palette.
Complementary colors lie directly opposite from each other on the color wheel. Some pairings include red and green, yellow and purple, and blue and orange.These combos are known for their boldness, so move forward with complimentary colors if you’re looking for a jaw-dropping arrangement!
Considering saturation (strength of the color) and contrast (lightness vs. darkness) is also helpful in building an arrangement.
Though design rules like color theory are helpful in floral arranging, sometimes the best way to learn the art is by getting your hands dirty, says Maeva. "Play around with different heights, shapes, textures, and color palettes. So much of floral design is figuring out your personal style, and the only way to make good work is to make some not-so-good work first."
4. Start small.

Begin filling your arrangement with line and filler flowers, and small greenery you’ve collected before adding bigger focal flowers. This provides a good foundation for where you want the arrangement to go. Remember, nothing is permanent, and you can experiment with different placements before you’re finished making your floral arrangement!
5. Play with layering.
Layering flowers refers to the height each bloom is placed. Instead of having every focal flower stand at the same height, you can layer them by trimming the stems at varying lengths, so they lie closer to the lip of the vase you’re using. This adds visual interest and diversity to your floral arrangement! When layering, aim to get a feel for the natural shape of each stem and flower, and cooperate with that.
6. After you're done, be sure to take care of your floral arrangement.

Now that you’ve assembled quite possibly the best beginner floral arrangement, make sure you’re caring for it so it lasts! Checking the water levels each day and topping your vase off when it’s low helps your flowers live longer. Adding flower food is better supports them, too!
"Those little packets of flower food that come with your blooms? Use them! The directions are easy to follow and you'll want to make sure you get the right ratio of food to water for most longevity," says Maeva. "If you don't have flower food, don't fret. Changing the water in your vase every day, keeping your flowers in a cool spot out of direct sunlight and away from any air vents, and giving your stems a fresh cut when you change the water out will go a really long way in keeping your flowers fresher for longer."
If you catch your flowers looking a bit dull, trimming the ends of their stems every few days with shears allows them to drink up the nutrients and water more effectively. Once your arrangement is on the way out, repurpose the petals to make some gorgeous flower DIY projects!
Sign up for our newsletter for more home decor tips!
Brit + Co. may at times use affiliate links to promote products sold by others, but always offers genuine editorial recommendations.
Header photo via Form Floral
0 Commentaires