As cute and clever as store-bought greeting cards are, there's something incredibly thoughtful that can be felt in a homemade birthday card from a friend or loved one. Not only does the act of creating a DIY birthday card give you the chance to slow down from the business of life and reflect on what you cherish most about the person you're celebrating, but the one-of-a-kind touch will be super memorable for the recipient as well.
Even if you're not the craftiest person, don't fret, because we've put together a straightforward guide on how to craft your own DIY birthday card for your besties and S.O.'s. Step into the world of DIY magic as we embark on a quest to create birthday cards that will leave your recipients in awe. From unexpected pop-up surprises to mind-bending interactive features, discover fresh ways to make birthday cards burst with fun and excitement. Prepare to unleash your inner artist as we dive into all the tips to help you craft unique and captivating birthday cards. And keep reading for some thoughtful text ideas to ensure that your birthday wishes are just as fun as the card design they're on.
Step 1: Gather Your DIY Birthday Card Supplies

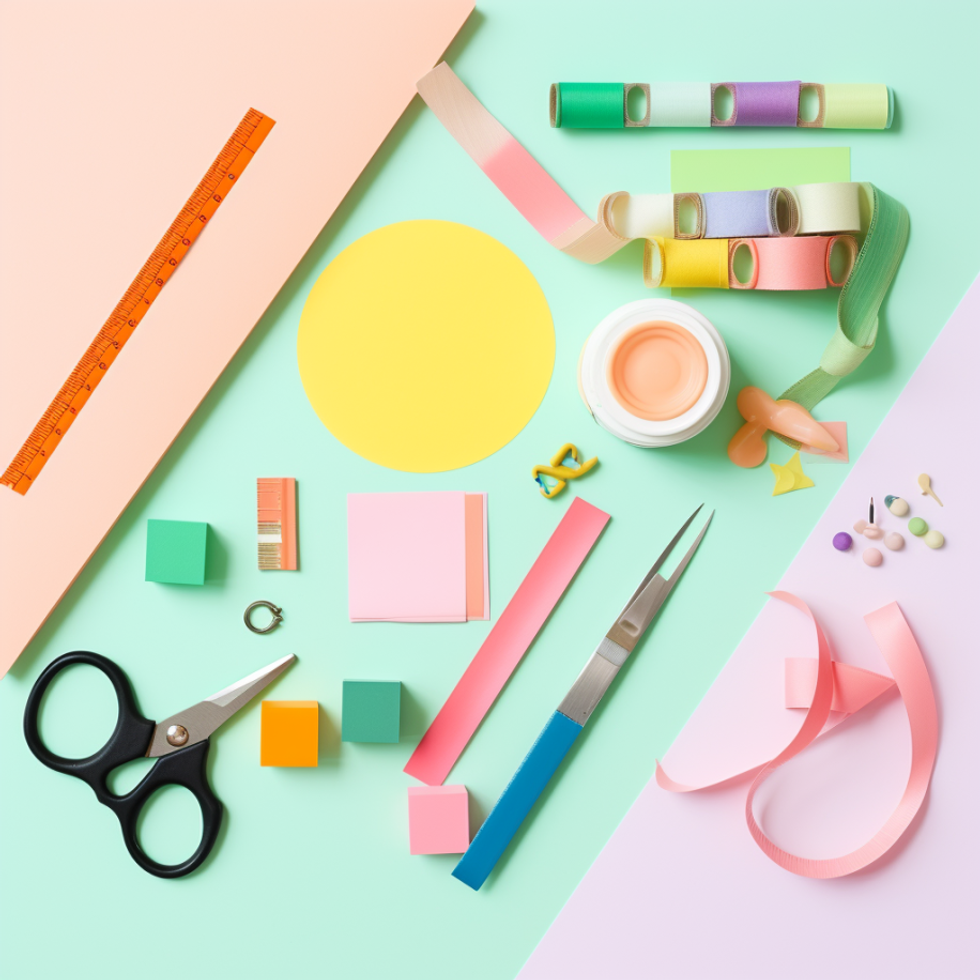
Before embarking on your DIY birthday card adventure, gathering all the necessary supplies is essential. A well-prepared crafter is a confident crafter! So, let's make sure you have everything you need to bring your imaginative card ideas to life.
- Start with colored cardstock or paper as the foundation of your cards. Choose a variety of vibrant hues to suit different themes and moods. Scissors are your trusty sidekick, enabling you to precisely cut out shapes, create borders, and trim your cardstock.
- Grab glue or adhesive tape to hold everything together securely. Opt for a glue stick for a mess-free experience or double-sided tape for a clean and seamless finish.
- Round up all the art supplies you have, from markers and colored pencils, or pens. These magical tools will be your gateway to adding personalized messages, whimsical doodles, and vibrant colors to your DIY creations.
- Stock up on a dazzling array of embellishments for an added dose of flair and personality. Let your creativity soar as you explore the boundless possibilities of stickers, sequins, ribbons, twines, buttons, beads, and more. Watch your creations come alive with vibrant colors, textures, and eye-catching details. With these delightful elements at your fingertips, there's no limit to the magic your birthday cards can be infused with.
Step 2: Choose Your Card Design

The card design will function as the first impression that sets the tone for the entire experience. A well-designed card can evoke emotions ranging from joy and excitement to nostalgia and warmth, leaving friends and family in awe of the thoughtful gesture.
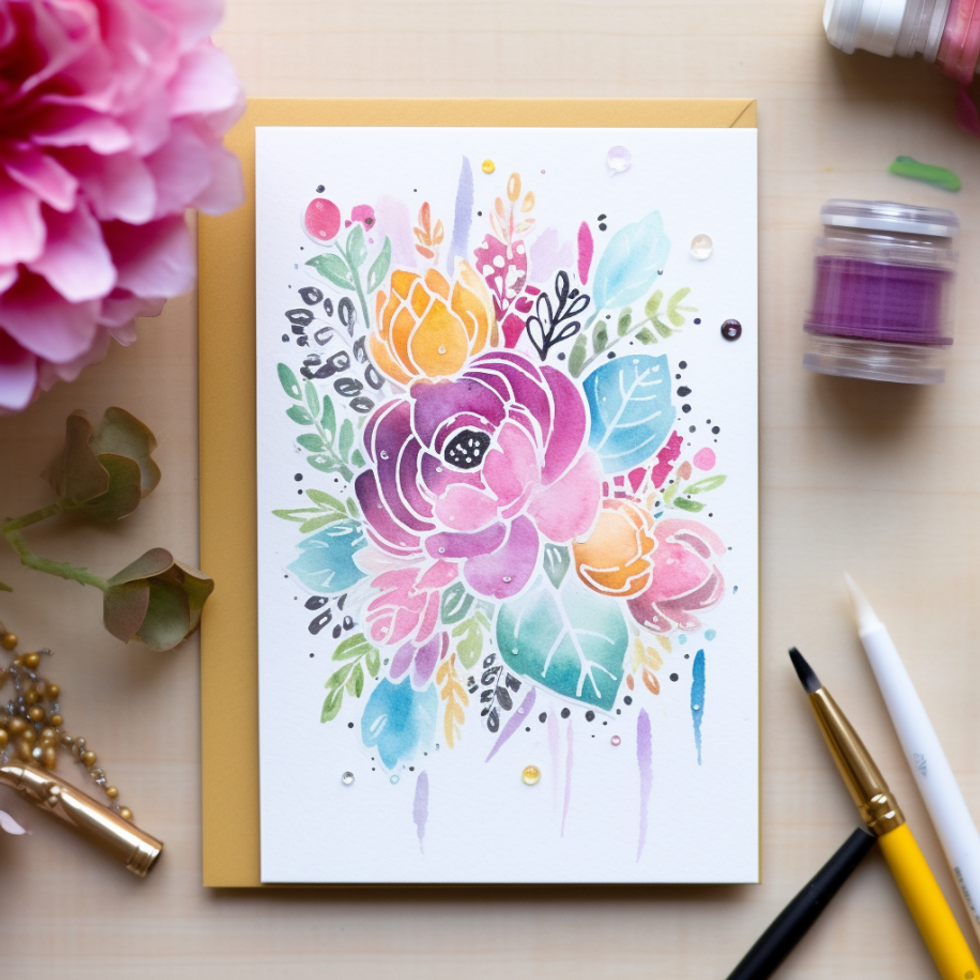
Handmade Watercolor Design:
Express your artistic side by creating a handmade watercolor masterpiece for a genuinely one-of-a-kind birthday card. Start with a blank cardstock or watercolor paper as the base, and let your creativity flow. Use watercolors to paint a vibrant and personalized design, such as flowers, balloons, or a recipient's favorite hobby or color palette. Add a heartfelt birthday message inside to complete the card.
Pop-Up Surprise:
Add an element of surprise and delight to your card with a pop-up feature. Cut out a simple pop-up mechanism using cardstock or colored paper and attach it to the inside of the card. Then, unleash your creativity by designing and cutting out fun shapes, such as cakes, candles, or balloons, and attach them to the pop-up mechanism. When the card is opened, the surprise element will make the birthday celebration of your loved one even more memorable.
Quilled Creations:
Quilling is a paper art technique that involves rolling and shaping thin paper strips to create intricate designs. Use quilling techniques to create beautiful and delicate patterns, flowers, or even personalized messages on your birthday cards. Experiment with different colors and shapes to bring your design to life and make it truly unique. The recipient will appreciate the time and effort put into crafting such an elegant and artistic card.
Hand-Stitched Greeting:
Consider incorporating those skills into your DIY card if you enjoy sewing or embroidery. Use a needle and thread to create hand-stitched designs or patterns on fabric or cardstock. You can stitch the recipient's name, a birthday message, or even cute motifs like balloons or cupcakes. The texture and charm of a hand-stitched card will make it a cherished keepsake.
Interactive Slider Card:
Create an interactive slider card to take your birthday card to the next level. Use cardstock to make a slider mechanism that reveals a hidden message or image as it is pulled. Write a heartfelt message or attach a memorable photo that slides out when the recipient pulls the tab. This interactive element adds a playful touch to your card and makes it truly engaging.
Step 3: Write A Clever Message
- "Happy birthday, queen of the hashtags! May your day be as fabulous as your Instagram feed."
- "You're the avocado to my toast, the squad to my goals. Happy birthday, superstar!"
- "It's your birthday, so let's turn up the 'Lit' level and celebrate like it's 1999... or 2023!"
- "Birthdays are nature's way of telling us to eat more cake. Enjoy your special day!"
- "May your birthday be filled with good vibes and a bottomless brunch. Cheers to another fabulous year!"
- "Sending you birthday wishes with all the heart emojis. You deserve all the love and happiness today and always."
- "Happy birthday to my favorite extremely online friend. May your Wi-Fi always be strong and your battery never die."
- "Time to celebrate another trip around the sun. Let's make this year even more epic than the last!"
- "You're not getting older, you're leveling up! Happy birthday, gamer!"
- "Happy birthday, trendsetter! May your day be filled with selfie-worthy moments and viral-worthy adventures."
Step 4: Add The Perfect Finishing Touch

As a bonus, consider creating a DIY envelope to complete the package. Choose decorative paper or repurpose materials like magazine pages or fabric scraps to craft a unique envelope that adds creativity and thoughtfulness to your handmade card. Personalize it by adding hand-drawn designs, stamps, or calligraphy for an extra special touch.
So, there you have it! DIY birthday cards offer endless possibilities for fun, creativity, and the chance to unleash your imagination. With just a few simple steps, you can create customized and sincere cards that will bring joy to your loved ones on their special day. Remember, the beauty of DIY is that there are no limits or rules. Let your creativity run wild, experiment with different techniques, colors, and textures, and, most importantly, have fun. Happy crafting!
For more crafty ideas, check out all of our DIY ideas on Brit + Co.
0 Commentaires