
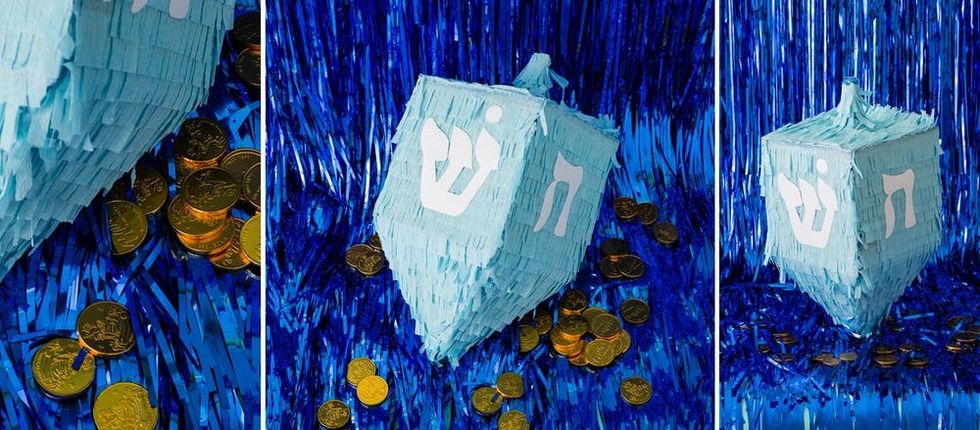
Hanukkah is almost upon us! And with it comes gold, gelt, potatoes, and presents. As you prep for the festivities and light your menorah, we have one finishing touch for your holiday decor — this adorable DIY dreidel piñata. It's super easy to make and takes less than an hour to whip up. Let’s get started!
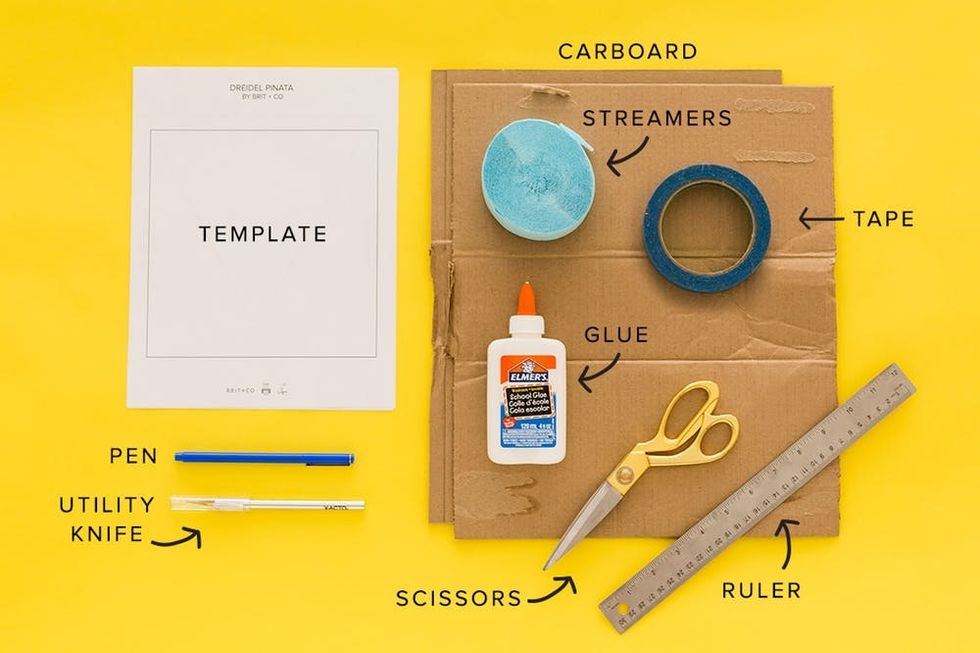
Materials + Tools:
- Cardboard
- Scissors
- Utility knife
- Crepe paper streamers
- Blue tape
- Glue
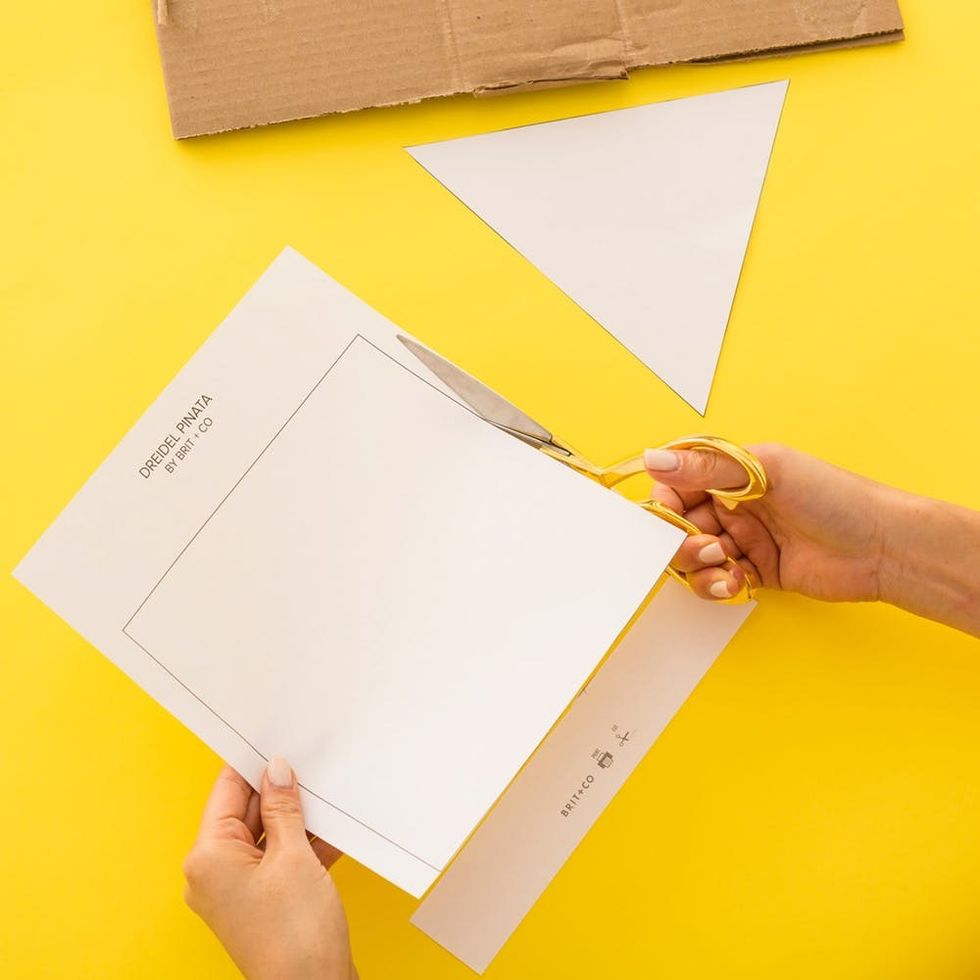
Cut out a square and a triangle to make your DIY dreidel piñata.
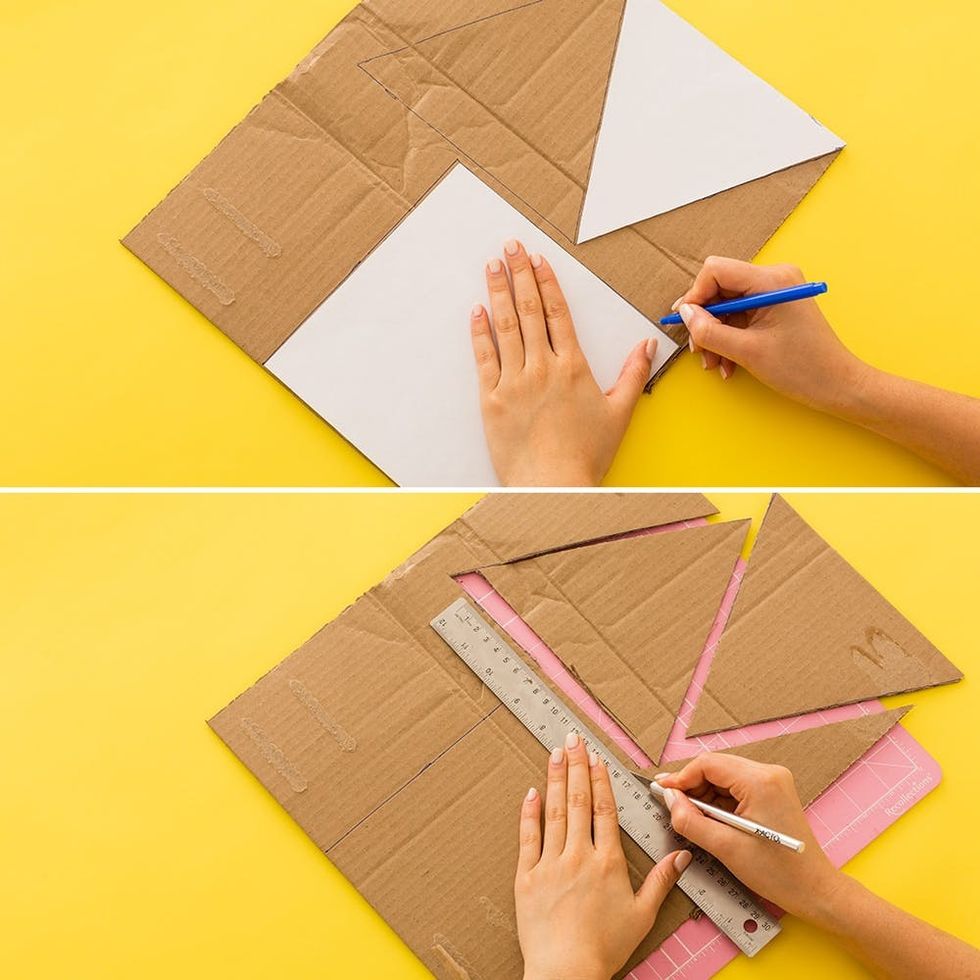 Trace the shapes on the cardboard and cut out.
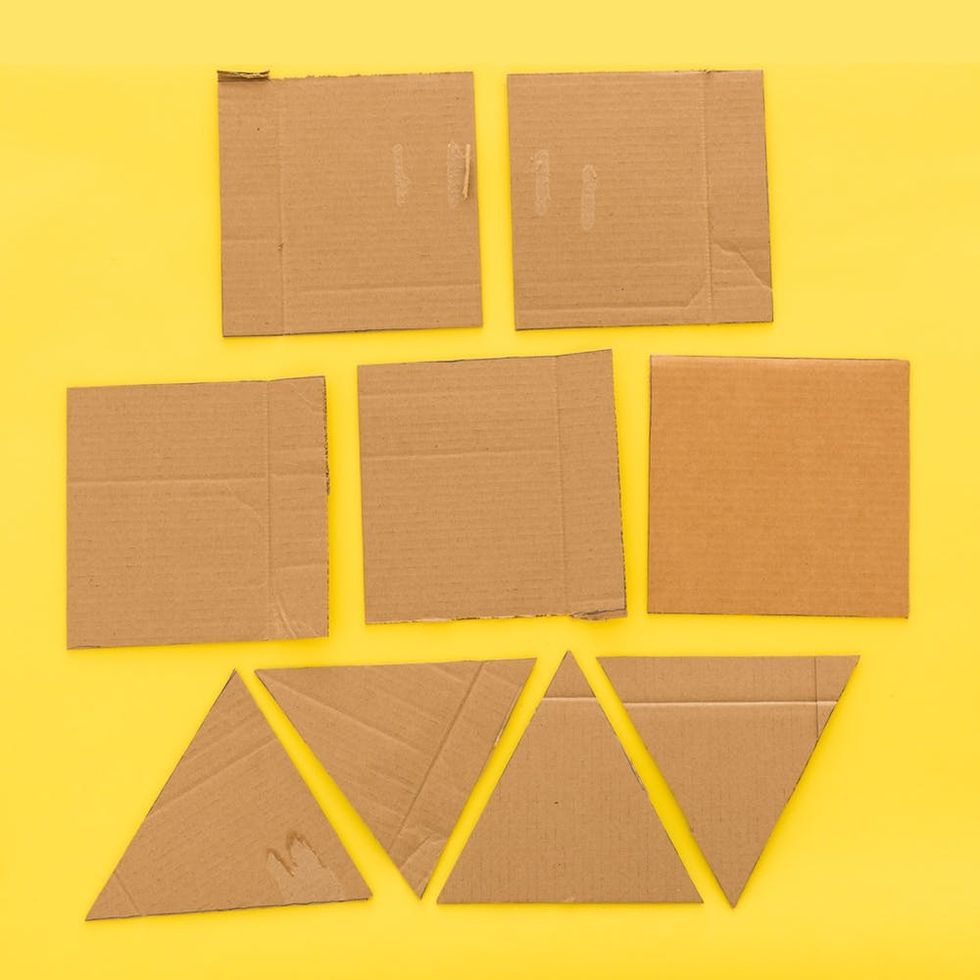 You'll want five squares and four triangles.
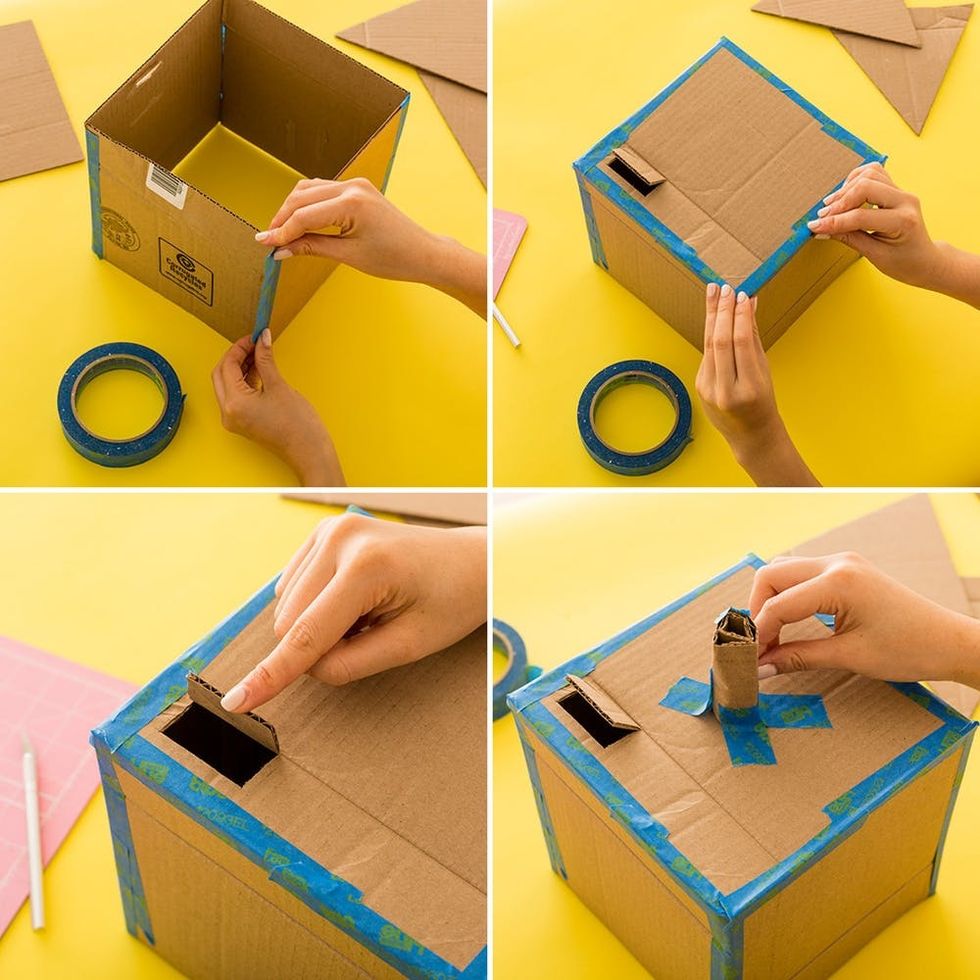
Assemble your dreidel piñata by taping together the five squares to make a cube-like shape. If you want to fill your dreidel with candy (or gelt!), cut a little flap on the top.
Make the handle by rolling a scrap of cardboard into a tube and tape on top of the dreidel.
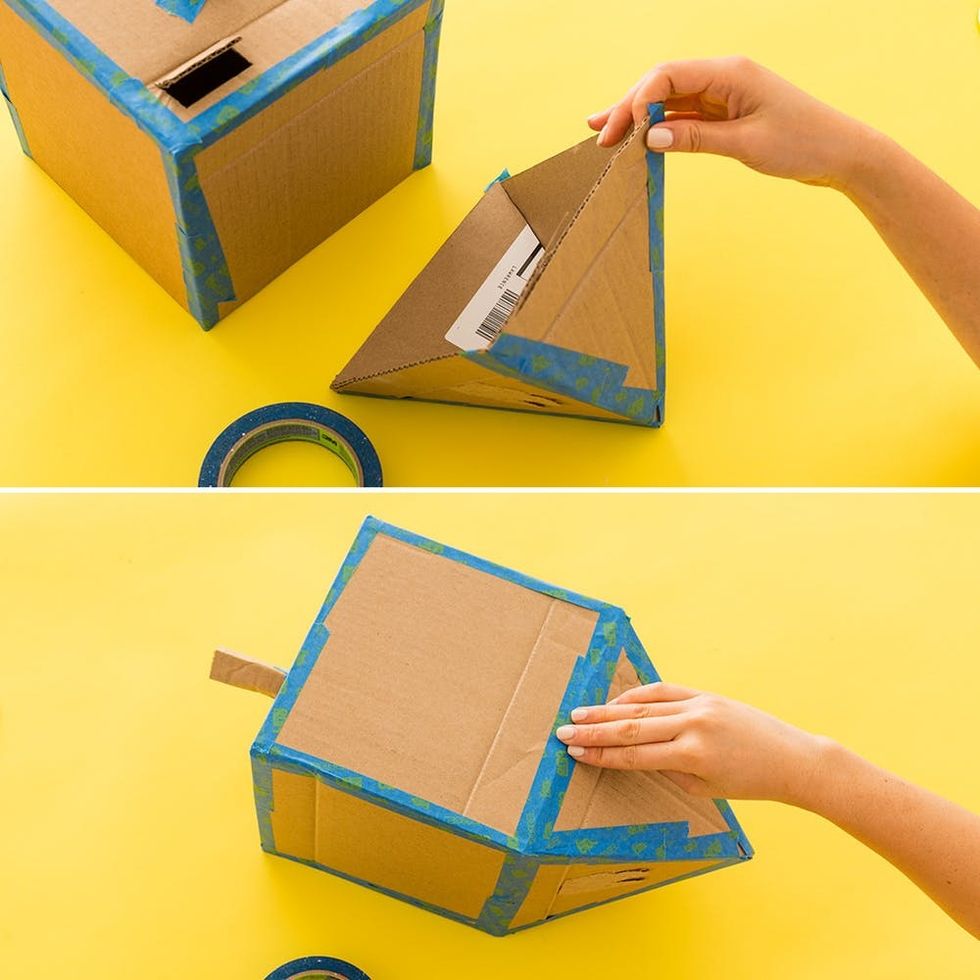 Tape together the triangles to make a pyramid-like shape and then tape the cube and pyramid together.
 Fringe your streamer. You’re going to need a lot! Fringe, fringe, fringe!
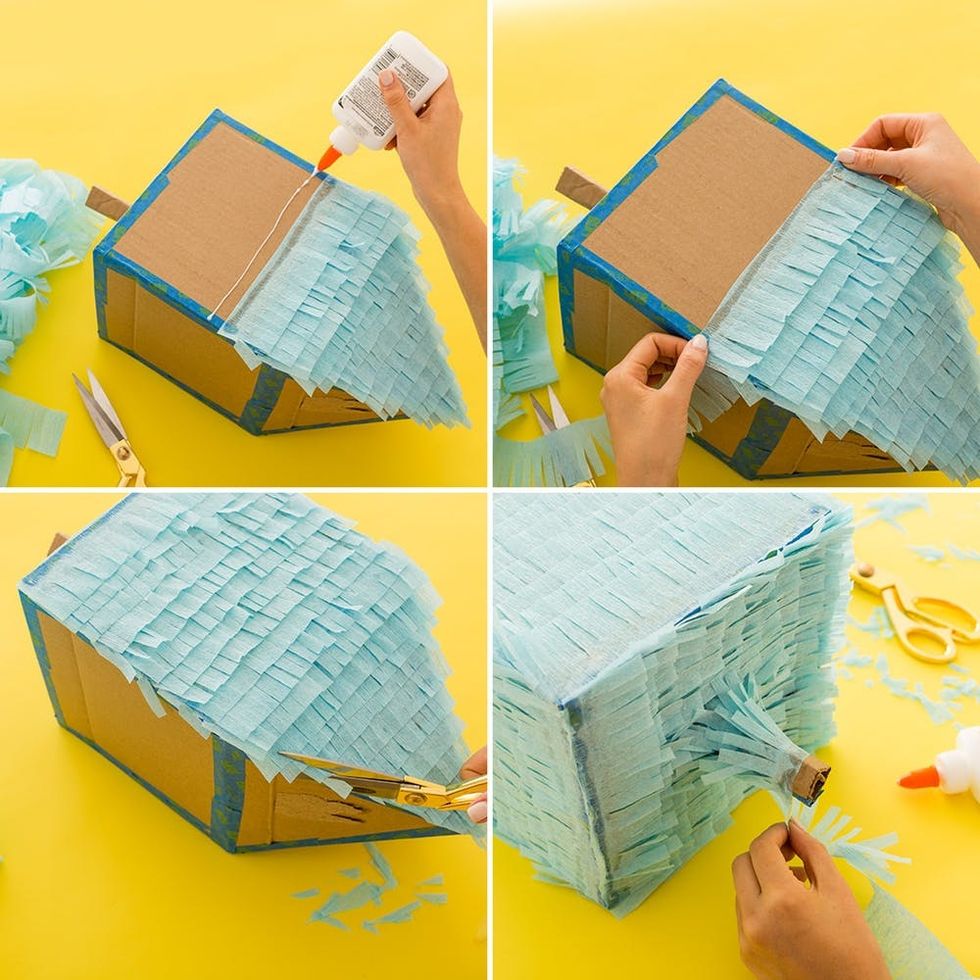
Starting from the bottom of DIY dreidel piñata, glue the fringe onto the cardboard. Keep gluing until you finish one side. Trim the edges.
Continue gluing fringe on all the sides until your dreidel is completely covered. Don’t forget the handle!
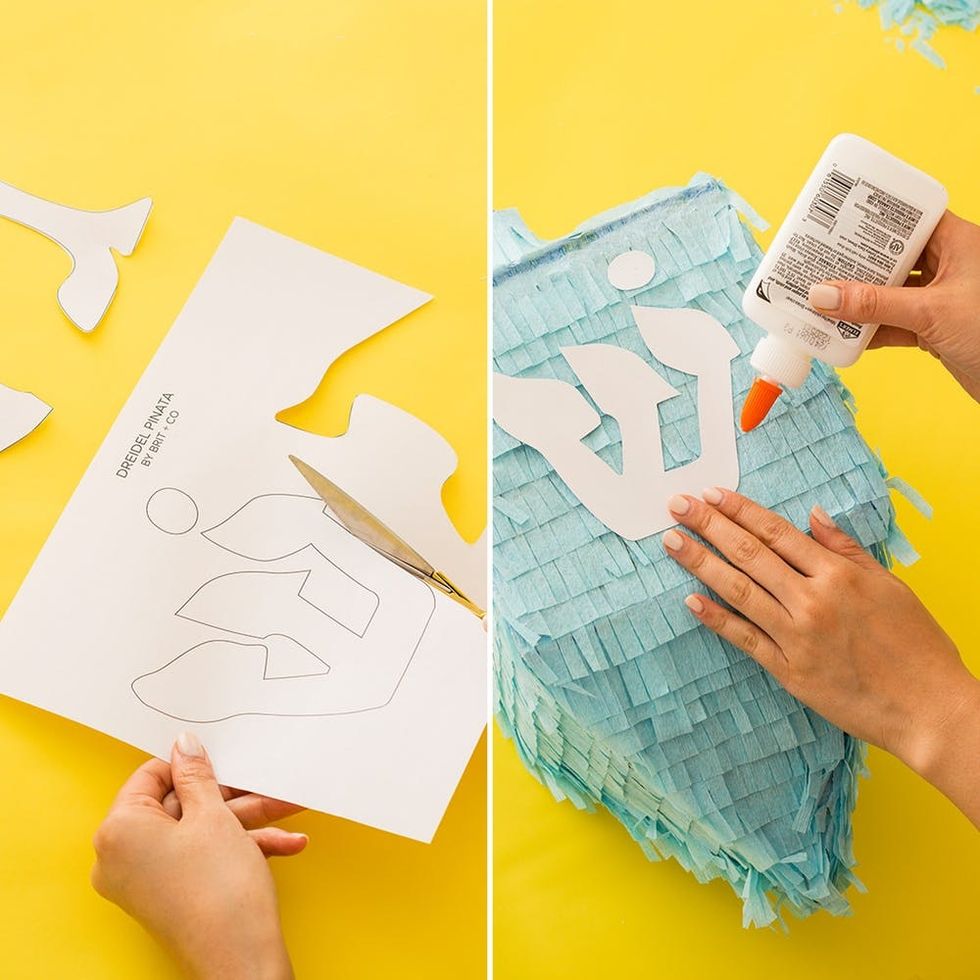
Cut out the letters: Nun, Gimel, He, and Shin. Glue the paper letters on each side of the dreidel.
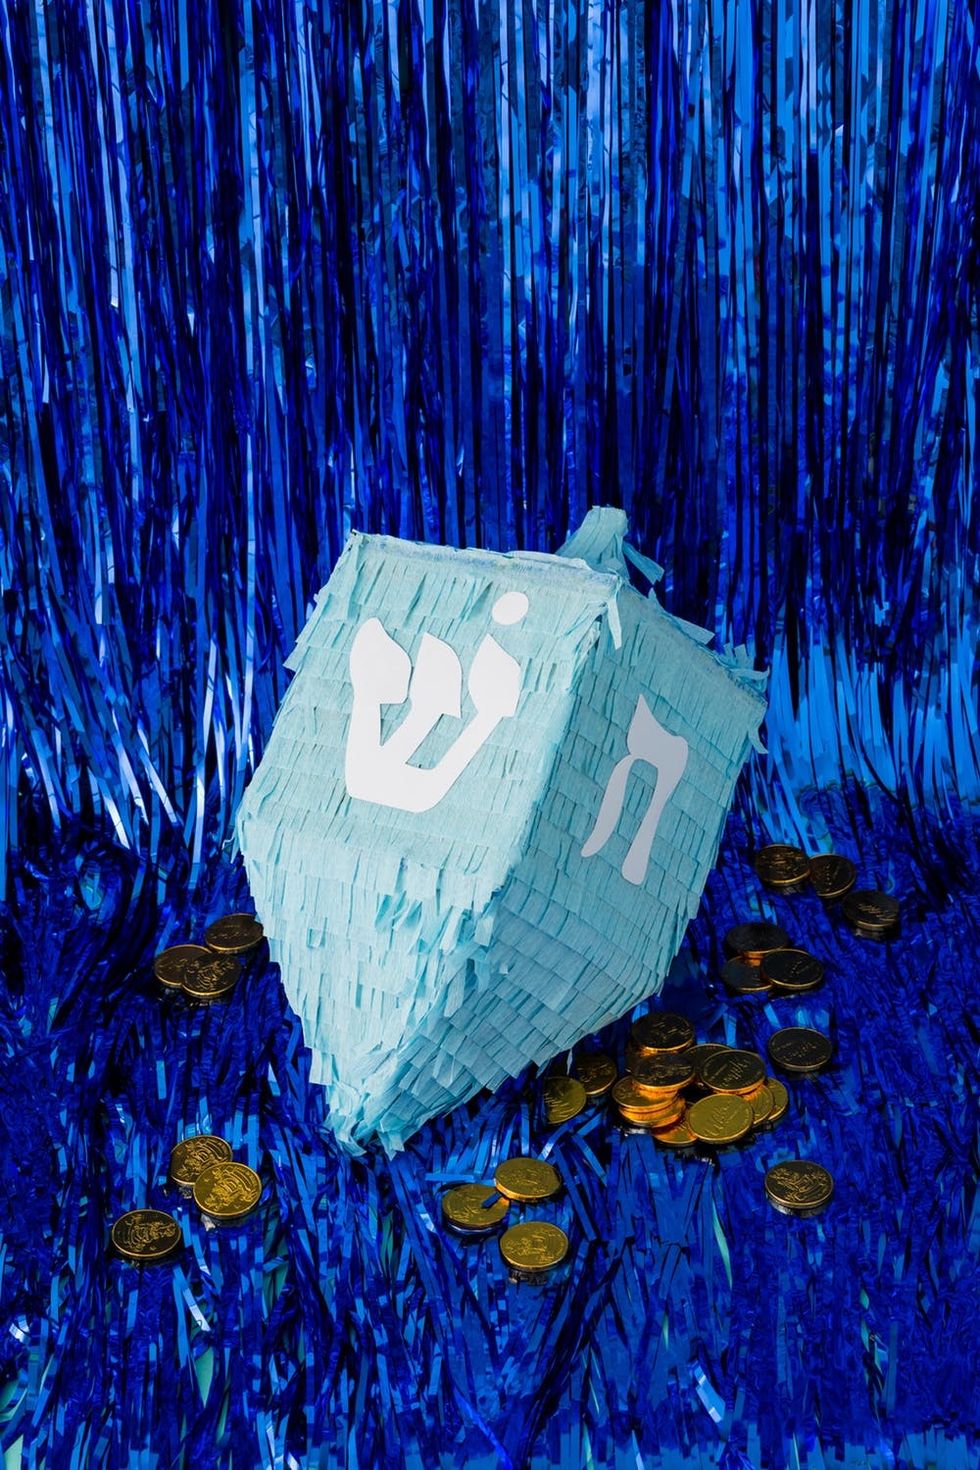 Fill with gelt and you’re all set!
 Dreidel, dreidel, dreidel, I made you out of crepe paper!
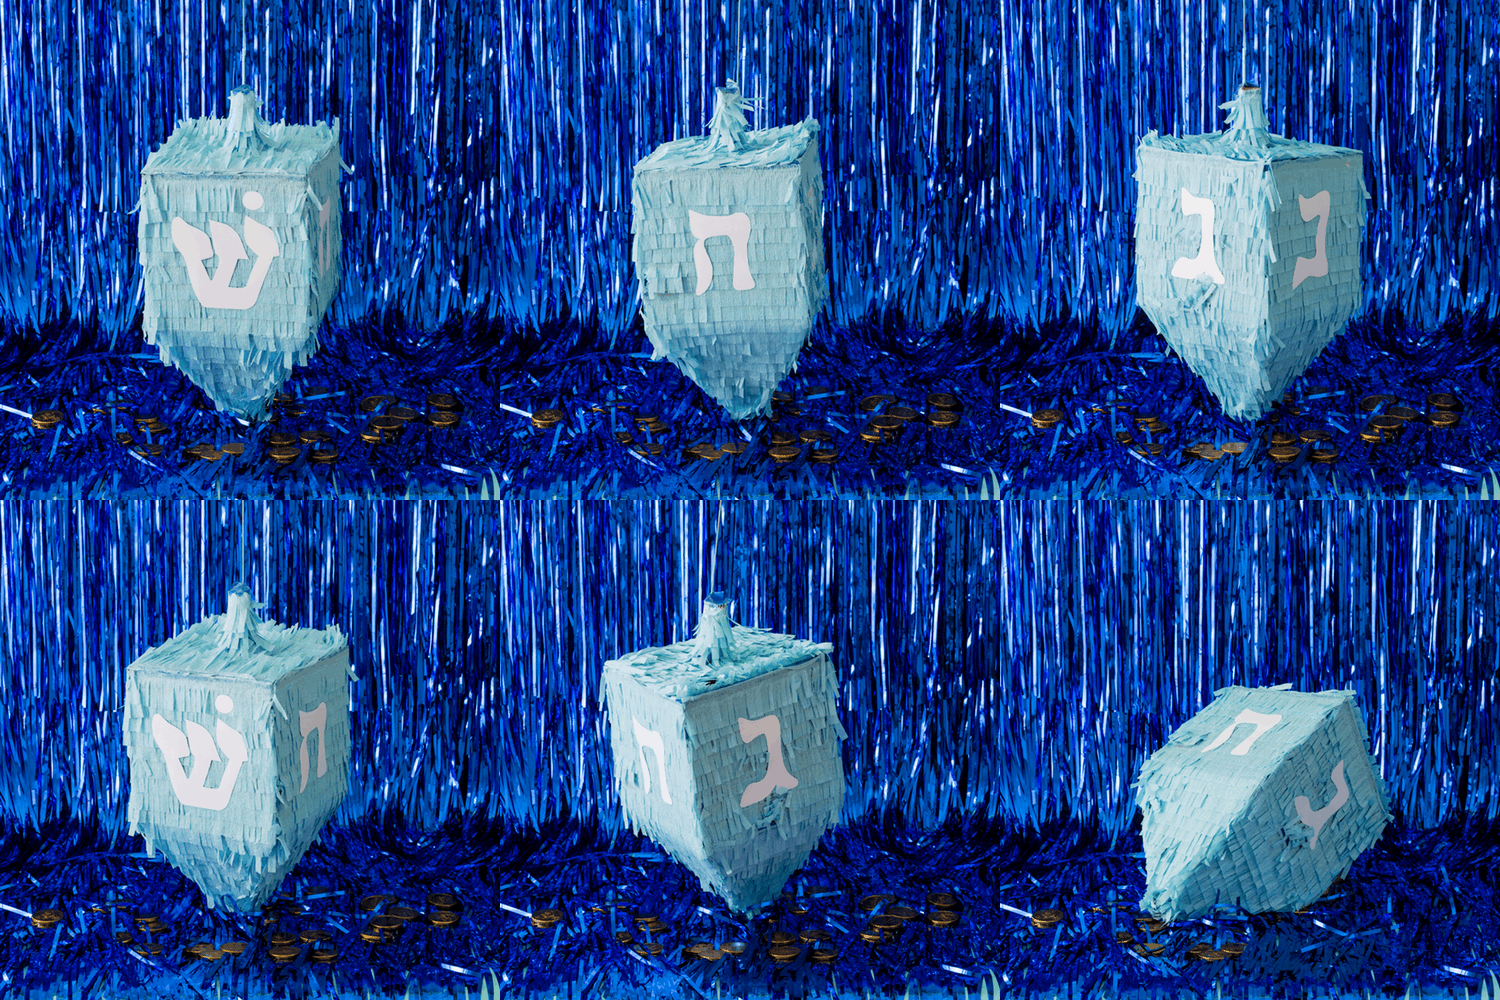 Happy Hanukkah!
Loving this DIY dreidel piñata? Follow us on TikTok for more DIY inspiration and tag us with your own crafts on Instagram!
DIY Production and Styling: Irene Lee
Photography: Chris Andre
This post has been updated.
0 Commentaires