
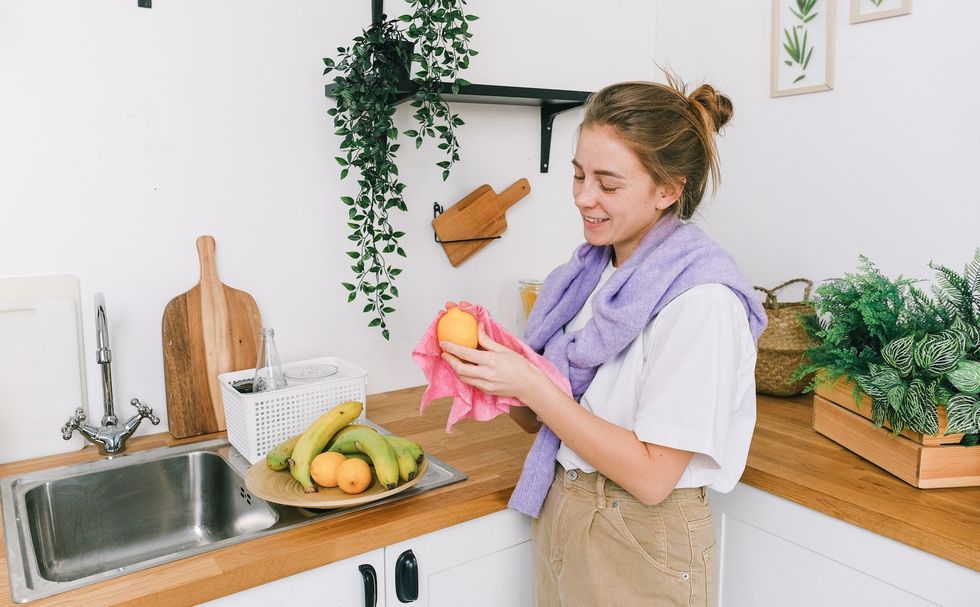
Are you tired of seeing your kitchen and yard scraps go to waste? It's time to take matters into your own hands and start composting! Making a DIY compost bin is a fun and rewarding project that allows you to turn organic materials into nutrient-rich compost right in your own backyard. By composting, you not only reduce the amount of waste that ends up in landfills, but you also create a valuable resource for your garden.
In this comprehensive guide, we'll walk you through the step-by-step process of building your own DIY compost bin. From choosing the right materials to setting up the ideal composting system, we've got you covered. Not only will this DIY project help you reduce your carbon footprint and contribute to a more sustainable lifestyle, but it will also reward you with rich, dark compost that will nourish your plants, improve soil structure, and promote healthy growth.
What are the different composting methods?

Traditional Composting: This method involves creating a pile of organic materials such as kitchen scraps, yard waste, and leaves in a designated area. Turn the pile occasionally to aerate it and promote decomposition. Over time, the materials will break down into nutrient-rich compost.
Vermicomposting: Vermicomposting utilizes worms to break down organic waste. Create a bin with adequate ventilation and bedding material such as shredded newspaper or coconut coir. Add worms and organic waste, ensuring a balanced mix of greens (fruit and vegetable scraps) and browns (dry leaves or shredded paper). The worms will eat the waste and convert it into nutrient-rich worm castings.
Trench Composting: This method involves digging a trench in your garden or designated composting area. Bury kitchen scraps and organic waste in the trench, covering them with soil. Over time, the waste will decompose, enriching the soil. Rotate the location of the trench periodically for best results.
Bokashi Composting: Bokashi composting utilizes a specialized system that ferments organic waste using beneficial bacteria. Place kitchen scraps in an airtight container and sprinkle a layer of bokashi bran, a mix of beneficial microbes, on top. Repeat this layering process until the container is full. The waste undergoes fermentation, and after a few weeks, it can be added to a compost bin or buried in the soil to complete the decomposition process.
These composting methods offer flexibility and can be adapted to suit different preferences, space limitations, and available materials. Choose the method that best fits your needs and resources for successful DIY composting.
How To Make A DIY Compost Bin: Super Easy Step-by-Step Guide
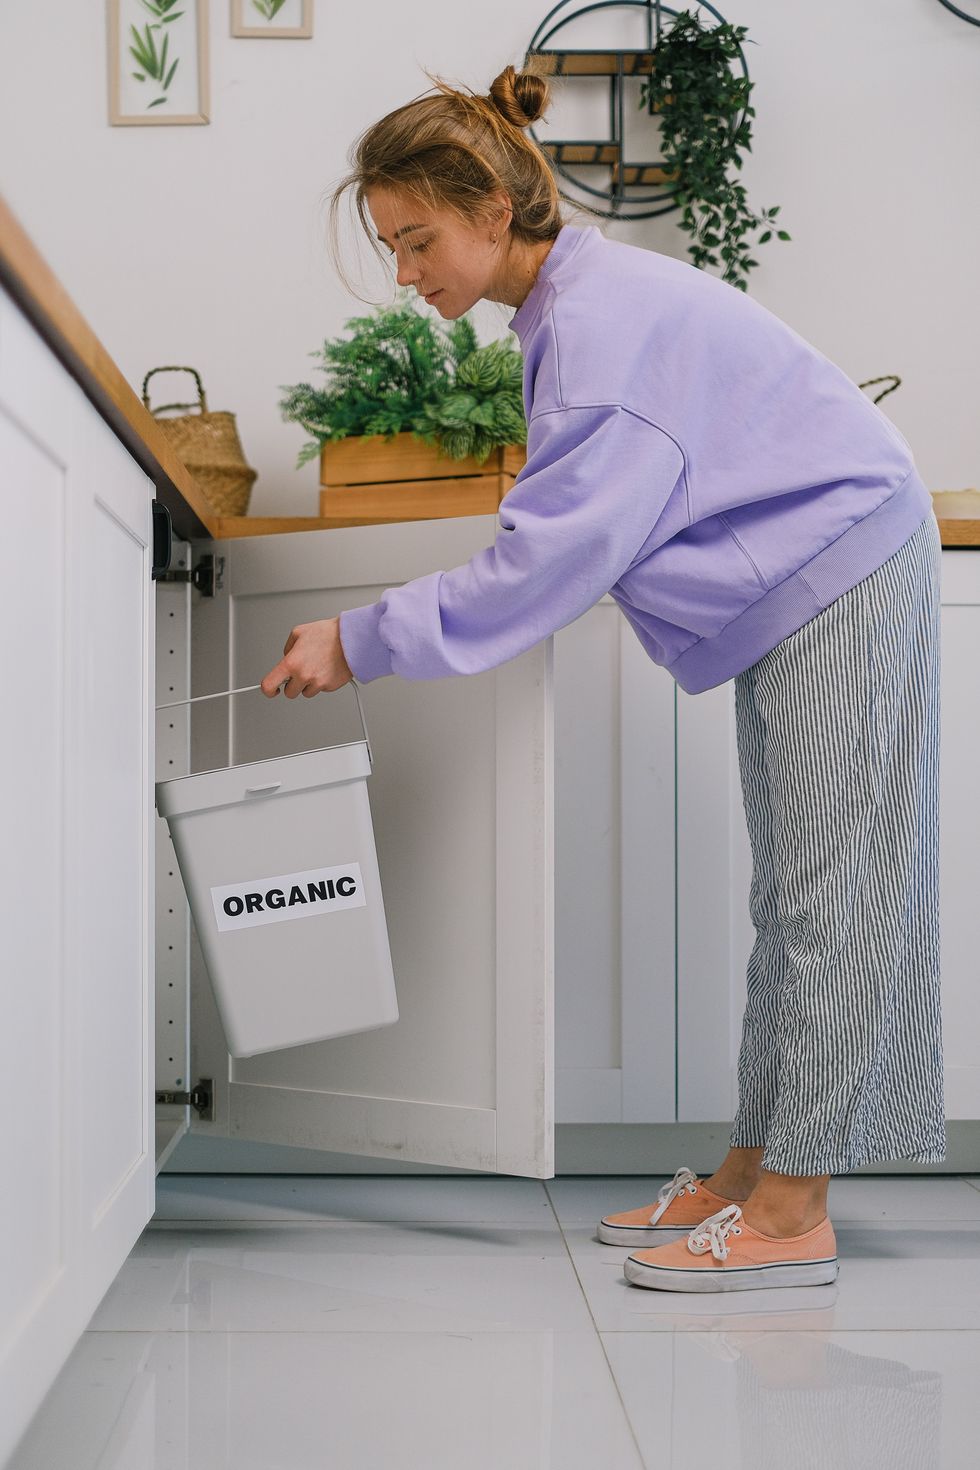
- Gather your materials: You will need a container or bin to hold your compost. Choose a suitable option such as a plastic bin, wooden crate, or repurposed barrel. Ensure it has a lid or cover to keep pests out and retain moisture.
- Drill ventilation holes: Using a drill, create several small holes on the sides and bottom of the container. These holes will allow for proper airflow, essential for the decomposition process.
- Set up a base: Place your compost bin in a convenient location, preferably on soil or grass. This allows beneficial organisms to enter the compost and aids in drainage.
- Layer your compost: Start with a layer of brown materials such as dried leaves, shredded newspaper, or straw. This provides carbon-rich material. Follow it with a layer of green materials like vegetable scraps, grass clippings, or coffee grounds, which provide nitrogen.
- Maintain a balanced ratio: Aim for a balanced ratio of about 3 parts brown materials to 1 part green materials. This ensures proper decomposition and prevents the compost from becoming too wet or too dry.
- Add water: Moisture is crucial for composting. Occasionally, sprinkle water over the layers to keep the compost moist, similar to a damp sponge. Avoid overwatering, as it can lead to a smelly or anaerobic compost pile.
- Mix and turn: Every few weeks, use a pitchfork or shovel to mix and turn the compost. This helps aerate the pile, speeds up decomposition, and prevents unpleasant odors. You can also add more brown or green materials as needed.
- Monitor the compost: Keep an eye on the compost's moisture level and temperature. The ideal temperature range for composting is between 110°F and 160°F (43°C and 71°C). Adjust the moisture or add materials accordingly to maintain optimal conditions.
- Let it decompose: Depending on the composting method and materials used, it can take several months to a year for the compost to fully mature. During this time, continue to monitor and maintain the compost as needed.
- Use the finished compost: Once your compost has turned into dark, crumbly soil-like material with an earthy smell, it's ready to use. Incorporate it into your garden beds, mix it with potting soil for potted plants, or use it as a top dressing for your existing plants to enrich the soil.
Common Composting Problems—Solved
Composting problems can arise from various factors, but here are some common issues and troubleshooting tips to help you with your composting experience:
Foul odor: If your compost pile emits a strong, unpleasant odor, it may indicate an imbalance of materials. To remedy this, ensure a proper balance between green (nitrogen-rich) and brown (carbon-rich) materials. Stir or turn the pile to improve aeration and add dry, brown materials like leaves or shredded paper to absorb excess moisture.
Slow decomposition: If your compost is taking longer than expected to break down, it could be due to insufficient moisture, lack of oxygen, or a poor mix of materials. Check the moisture level by squeezing a handful of compost. It should feel damp but not dripping wet. If it's too dry, add water; if it's too wet, add dry, brown materials. Turning the pile regularly will improve aeration and help accelerate decomposition.
Pests: Unwanted pests like flies, rodents, or ants can be attracted to your compost pile. To deter them, avoid adding meat, dairy, or oily food scraps that can attract pests. Cover food scraps with a layer of carbon-rich material to minimize odor. Consider adding a wire mesh or hardware cloth to your compost bin to prevent larger pests from accessing the pile.
Excessive moisture: Too much moisture can lead to a soggy compost pile that slows down decomposition and promotes anaerobic conditions. Ensure proper drainage by placing the compost bin on well-drained soil or adding a layer of coarse materials at the bottom. Adjust the moisture level by adding dry, brown materials or turning the pile to improve aeration.
Unwanted weed growth or disease: If your compost pile contains weed seeds or diseased plant materials, they may proliferate in your garden when using the compost. To prevent this, avoid adding weeds that have gone to seed or diseased plant materials. Maintain a hot composting process by maintaining the right carbon-to-nitrogen ratio and turning the pile regularly to kill weed seeds and pathogens.
By following these steps and tips, you can create your own DIY compost bin and transform your organic waste into nutrient-rich compost that will benefit your garden and reduce waste sent to landfills. Happy composting!
Sign up for our email newsletter to stay up-to-date with all things DIY and sustainability!
Header image via Pexels/Shvets Production


0 Commentaires